Sourdough Bread Recipe
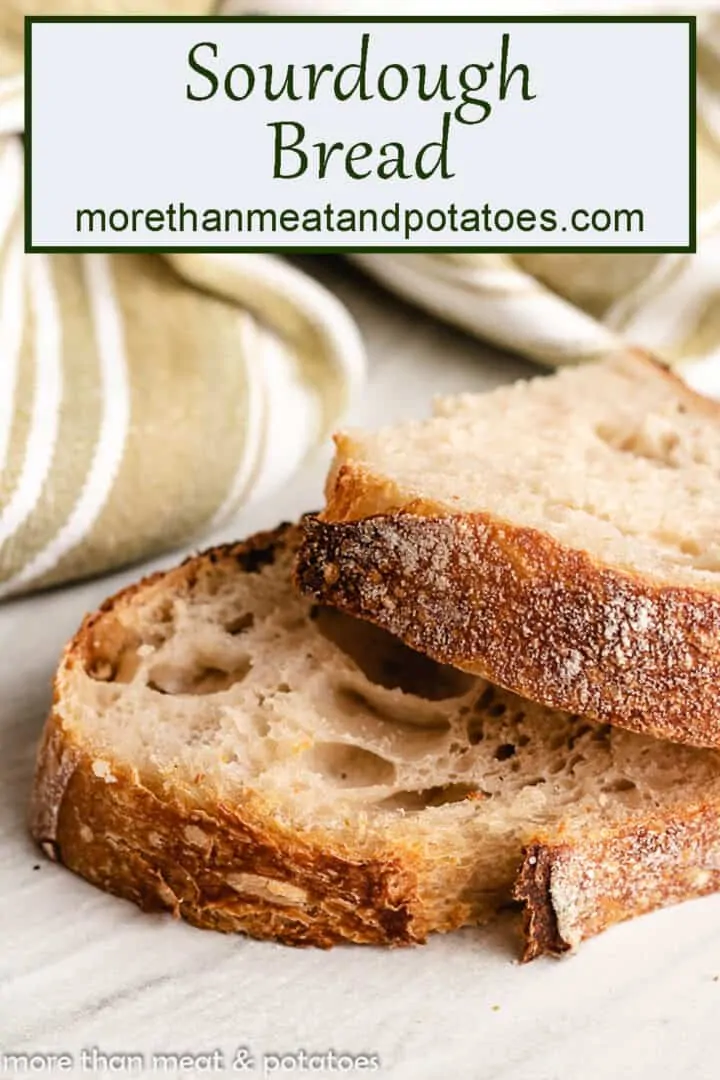
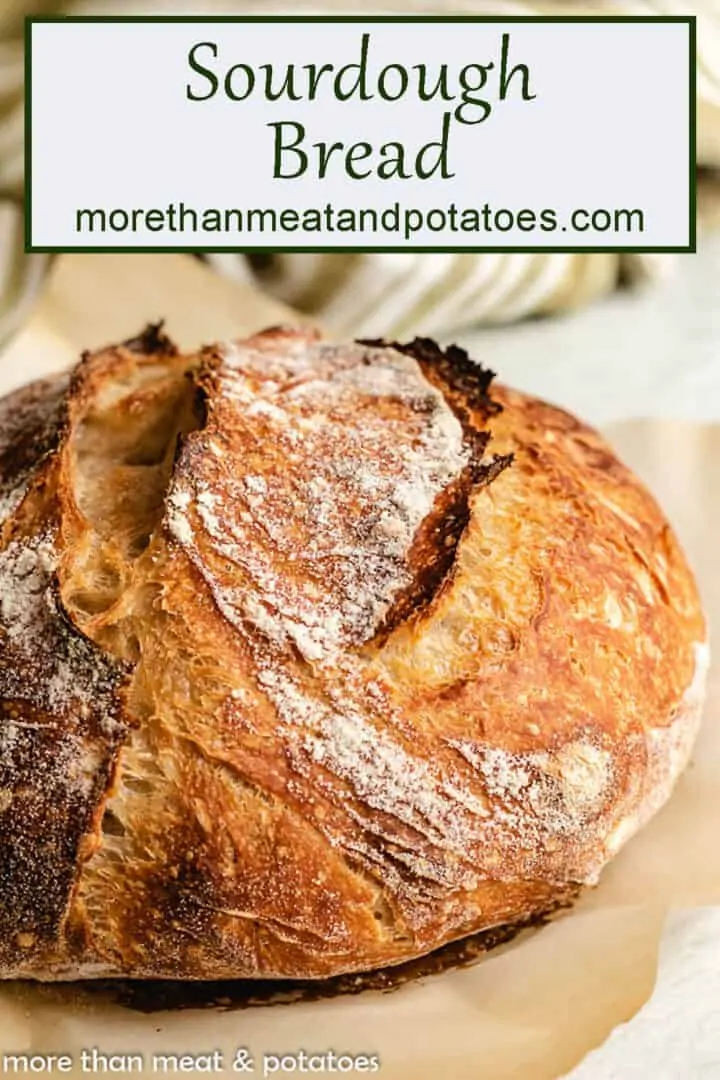
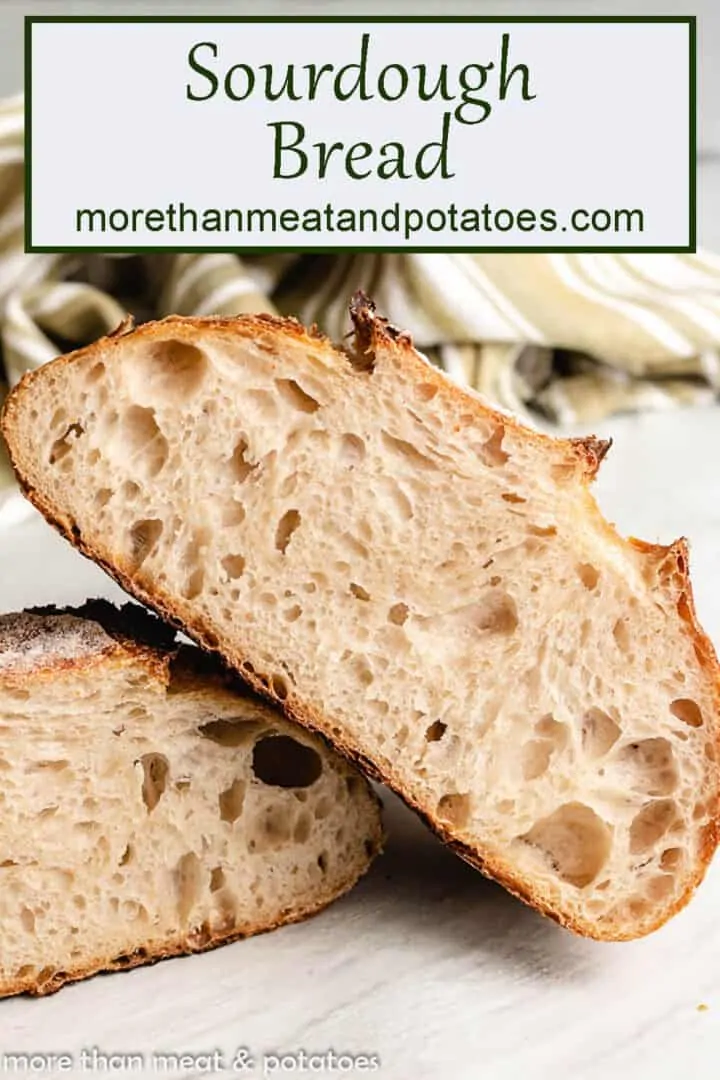


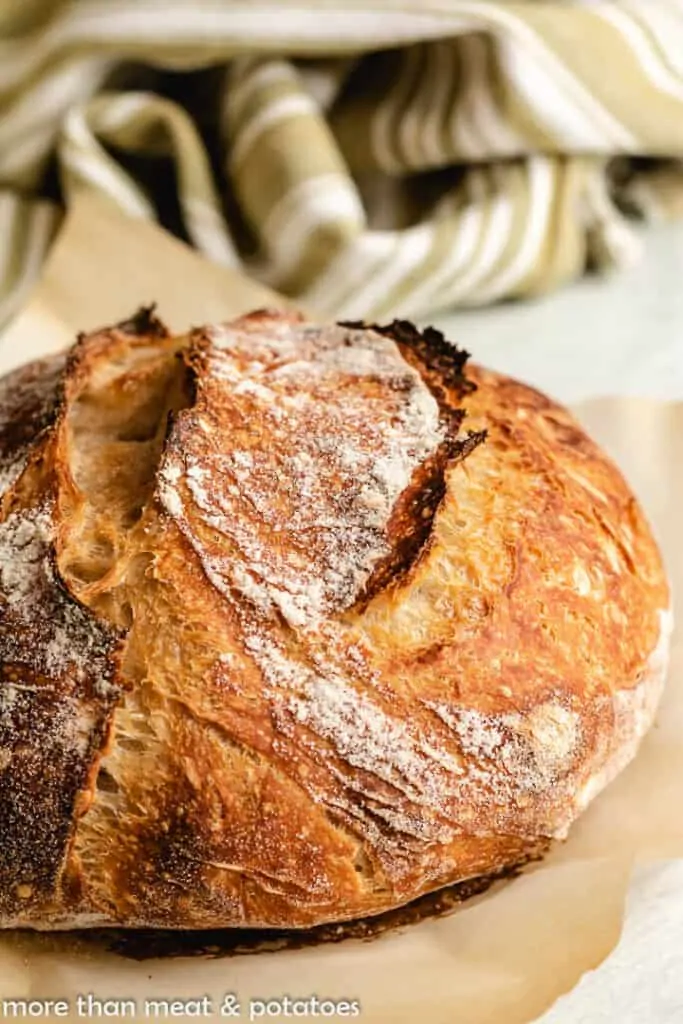
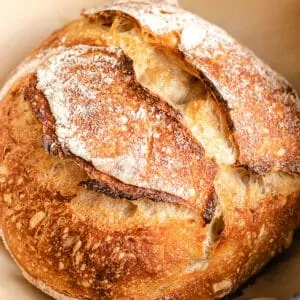
This rustic sourdough bread recipe only requires a few basic ingredients. The result is a sourdough loaf with a chewy interior and a golden brown, crusty exterior.
Sourdough recipes can range from easy to advanced with lots of instructions and unfamiliar terms and techniques. The goal with this rustic sourdough bread recipe is provide an easy to follow recipe without a lot of fuss and fancy words.
We’ve included several step-by-step photos to help along the way and will break down the techniques in the easy to understand instructions. This is a real sourdough bread recipe that uses a wild yeast starter not Greek yogurt or conventional yeast. If you don’t have a sourdough starter, check out our post explaining how to make sourdough starter before diving in.
Making a rustic sourdough bread recipe is different from making yeast bread, like our jalapeno cheddar bread or Parmesan rosemary bread, or any other quick bread which uses baking powder or baking soda for leavening.
Sourdough bread uses wild yeast that’s been developed over several days or weeks. Additionally, sourdough takes time. The hands-on time is minimal, but the overall time for preparing a loaf of bread can be quite lengthy. If you have the time and patience, the outcome is worth the wait.
Tips for Our Sourdough Bread Recipe:
- This particular rustic sourdough bread recipe takes several hours to make. It could actually be considered an overnight sourdough. It’s best to read over the instructions before starting to ensure you have plenty of time to make the bread and complete the steps timely.
- As mentioned earlier in the post, make sure the sourdough starter (wild yeast starter) is active and bubbly. It should be doubled in size and pass the float test.
- This is a sourdough bread recipe with no yeast. That means no conventional yeast (yeast from a packet). In this instance there is no need to add the conventional yeast to the recipe.
- Don’t add extra flour. The dough should be wet and sticky. It’s different than working with conventional yeast dough, so working with wet hands is really helpful.
- All-purpose flour can be substituted for bread flour. However, the end result will be a less chewy bread with a lighter texture.
- Similar to our sourdough cinnamon rolls, be patient and don’t rush the process. There is chemistry at work, and it needs time to make all the necessary changes to the dough without speeding up the process.
More Sourdough Recipes to Try


Like this recipe?
We’d love it if you would leave a 5 Star ⭐️⭐️⭐️⭐️⭐️ rating and comment below!
What You’ll Need
- 1 cup (227 g) filtered water
- ½ cup (100 g) sourdough starter, active
- 2 cups (240 g) all-purpose flour
- ½ cup (60 g) bread flour
- ½ tablespoon salt
- Rice Flour, for dusting bowl
How to Make It
- In a large bowl, whisk together the bubbly, active sourdough starter and the filtered water. Add the all-purpose flour and bread flour. Use a sturdy spoon or spatula to combine. The mixture will be wet and sticky.1 cup (227 g) filtered water½ cup (100 g) sourdough starter2 cups (240 g) all-purpose flour½ cup (60 g) bread flour½ tablespoon salt
- Sprinkle it with salt, and gently pinch it with your fingers. Cover with plastic wrap and let rest for 1 hour.
- After 1 hour, leave the dough in the bowl, and complete 4 sets of "stretch and folds." These will be completed in 30 minute intervals.
Stretch and Folds
- Wet your hands with water, and grab a piece of dough near the top of the bowl. Pull it straight up to stretch making sure not to tear the dough. Fold it over to the center of the dough and press down lightly.
- Repeat this on each side of the bowl and the bottom. You'll do this 4 times (think of the bowl in fourths or quarters). After completing a stretch and fold in each quarter of the bowl, that is a "set." Complete 3 more sets of stretch and folds at 30 minute intervals over the next hour and a half, and cover with plastic wrap between each.
- After completing all 4 sets of stretch and folds, cover the bowl with plastic wrap, and refrigerate for 8 hours or up to overnight. When you're ready to work with the dough again, remove it from the refrigerator, and allow it to come to room temperature, about 1 to 2 hours. (Note: you can also leave the dough at room temperature to rise if your home isn't overly warm.)
- When the dough has warmed a bit, pour it from the bowl onto an unfloured work surface. Lightly flour the dough, and wet your hands. Place your hands on opposite sides of the dough and gently turn to tighten the dough and form a ball. The dough should stick to work surface and provide traction.
- Let it sit for 20 minutes to rest. It will spread some, but if it flattens out, repeat the process to tighten it into a ball. Let it rest for an additional 20 minutes. While the dough rests, prepare a cloth lined banneton or glass bowl lined with a lightweight kitchen towel. Dust the banneton or bowl lightly with rice flour then set aside.
- After the dough rests, wet a bench scraper and gently wedge it under the dough. Transfer the dough to the prepared bowl, cover with plastic wrap, and allow it to double in size. This usually takes about 2 to 4 hours depending on how active the yeast is.
- When the double has doubled in size, adjust an oven rack to the bottom third of the oven. Place a large Dutch oven with lid on the rack, preheat the oven to 450°F, and cut a large piece of parchment paper.
- Remove the plastic wrap from the bowl and carefully flip the bowl upside down, so the dough is now on the parchment paper. Use a bread lame or sharp knife to score the dough if desired.
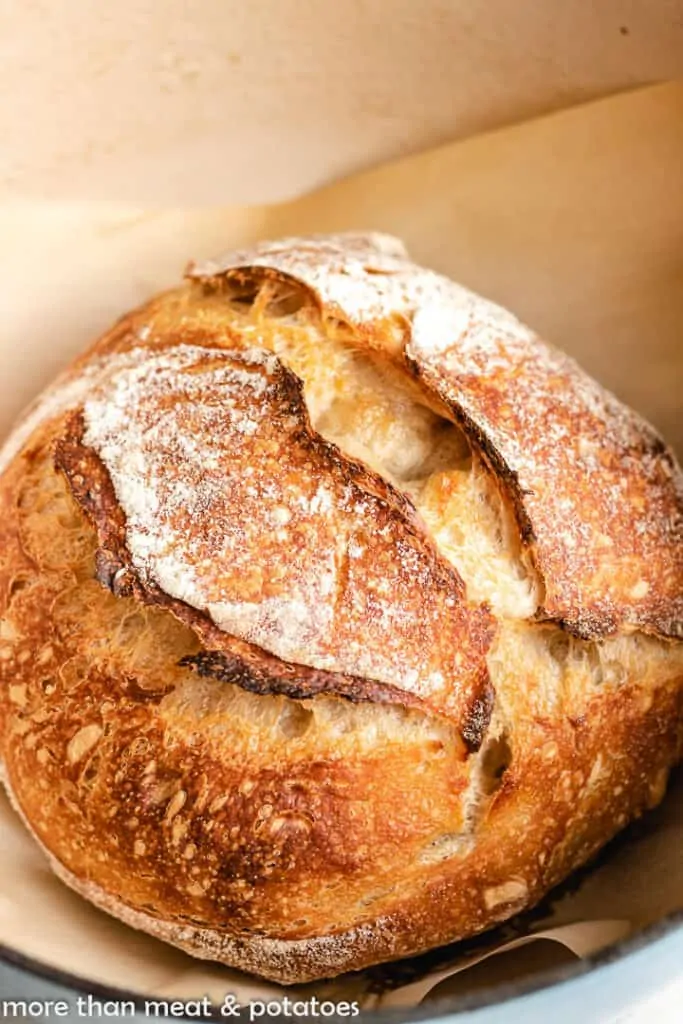
- Very carefully place the parchment paper and dough into the hot Dutch oven. Cover with the lid and bake for 30 minutes. After 30 minutes, remove the lid and bake for an additional 15 minutes.
- Remove the bread from the oven and transfer to a wire rack to cool completely before slicing, about 1 hour. Store any leftovers in a plastic zip bag. The leftovers stay fresh for about 2 days.
Suggested Equipment
- Mixing Bowls
I love the flavor of this bread. Have made it several times now. Just wondering how long I can leave it in the refrigerator? Is overnight the max or would 24-48 hours still be ok?
Hi Julianne,
Sorry for the delayed response!
Thank you so much! We’re happy you love the bread. Are you referring to how long the dough can proof in the fridge? If so, it depends on the dough. Some can go up to 36 hours or a little longer and some don’t have a hearty enough starter. The key is to not let it overproof or the bread won’t get good height as it bakes. It will be flat and dense. You could always test it for 12 hours to start then increase from there.
Have a great evening! 🙂
I’ve tried this twice and curious why the bread isn’t rising. The starter was perfect and after an hour it’s not even close to rising in the refrigerator. Outside maybe? Thank you for your help! 😉
Hi Donna!
I’m sorry to hear that. Yes, try leaving it loosely covered on the counter at room temperature. Sometimes that will do the trick. 🙂 Have a wonderful day!
Do you have to put in the refrigerator for 8 hours or can you bake right away?
Hi Donna!
This dough does need to be refrigerated for several hours for a bulk rise. Eight hours or up to overnight is optimal. It also helps develop the flavor and texture of the bread. Have a great afternoon! 🙂