Sourdough Sandwich Bread


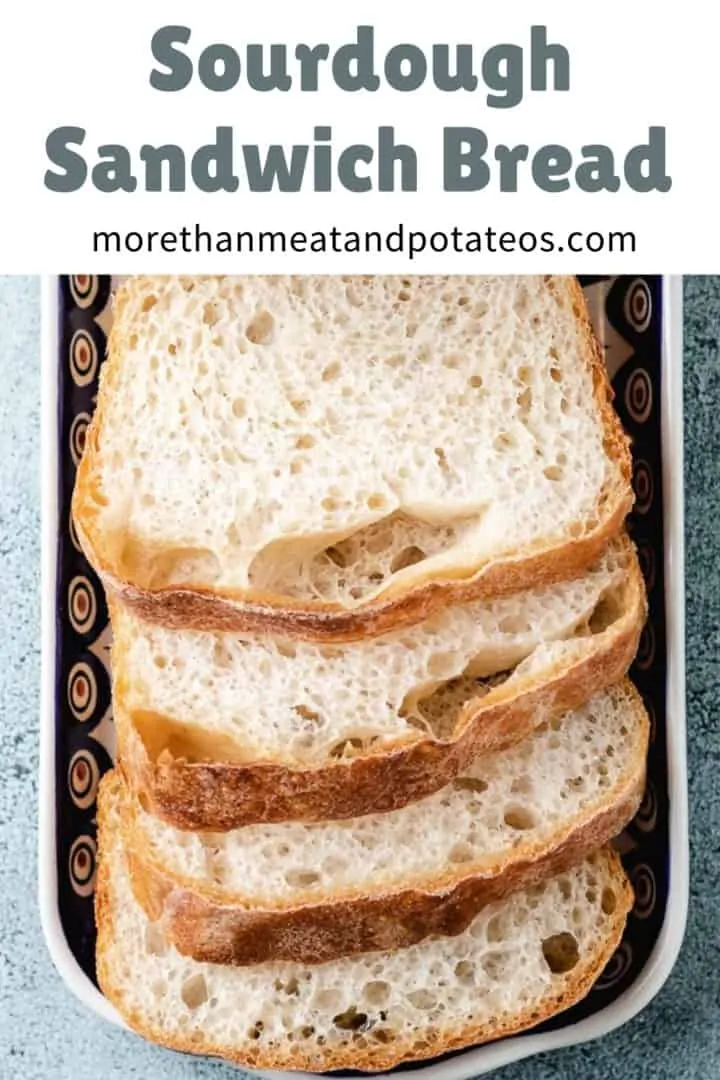
With a little time and patience you can create perfectly baked, chewy sourdough sandwich bread from scratch in your own kitchen.
As you may have already figured out, we bake a lot of homemade bread at More than Mean and Potatoes. We make all kinds, like our jalapeno cheddar bread, sweet potato biscuits, rosemary parmesan bread, and our sourdough pumpkin bread. No matter how you slice it, we love bread! For today, we’re sharing Kim’s made from scratch sourdough sandwich bread.
While the recipe only has 5-ingredients, it happens to have quite a few steps. So, hang in there, because I promise you, this chewy loaf of bread is worth the effort. However, before we get started, you should be aware that you will need 1-cup of active sourdough starter. If you don’t know how to make a starter, then I recommend visiting our easy sourdough starter recipe first.
It will explain everything you need to know to get started making your own homemade sourdough breads. If you have all the ingredients, then let’s get to baking!
How to make sourdough sandwich bread from scratch:
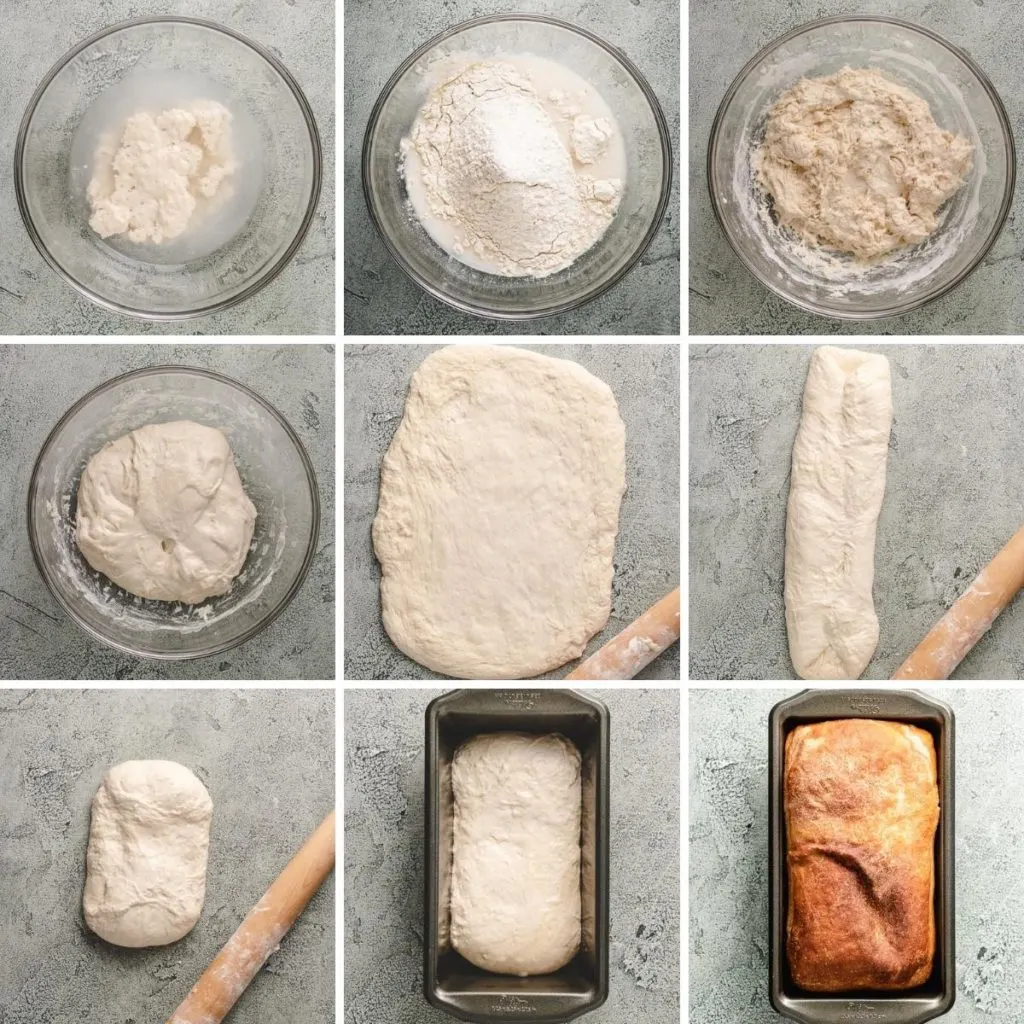
- First, grab a large mixing bowl and use a whisk to combine the sourdough starter and filtered water. After that, stir in the all-purpose and bread flours. Use a wooden spoon for this step.
- Now, sprinkle the salt over the wet, sticky dough and pinch it with your fingers. Afterward, cover the bowl with a clean kitchen towel or plastic wrap and let it rest for 60-minutes (or 1-hour).
- Once the hour has passed, you need to stretch and fold the dough. Kim recommends 4-sets of stretching and folding.
How to stretch and fold the dough:
- Start by wetting your hands with water. Grab a piece of dough near the top of the bowl and pull it straight up to stretch the dough out. Make sure not to tear the dough, only pull it upward a little. Afterward, fold the pinched piece toward the center of the dough and press it down lightly.
- Continue the pinch and fold process on each side of the bowl and on the bottom. Imagine the bowl is divided into fourths or quarters. Each time you pinch and fold all four quarters and the bottom of the dough, you will have completed one set.
- The dough will need to be pinched and folded for a total of 4 sets. To be completed over a 2-hour time span. Meaning, you will complete 1 set, every 30-minutes. If my instructions are a little difficult to understand, try Kim’s explanation in the recipe card.
- You’ve spent the last 2-hours pinching and folding sourdough, it’s time to move forward with the recipe. Cover the dough with plastic wrap and place it into your fridge for at least 8-hours or overnight to chill. Then, remove the dough from the fridge and let it slowly come to room temperature.
- Meanwhile, go ahead and grease a 9×5-inch loaf pan and set it aside. Once the dough reaches room temperature (1-2 hours later), transfer it to a lightly floured (all-purpose flour) surface.
- Using a floured rolling pin, roll the dough out into a rectangle. Try to roll out as many air bubbles as possible.At this point, it’s time to wet your hands and a dough scraper with warm water.
- You can use your hands and the scraper to fold each side of the dough in, towards the center. Be sure to start with the long sides first and pinch them together when they form a seam in the center.
- Repeat the process with the shorter sides of the dough. You should have a short, thick loaf of dough. Transfer it, seam side down, to the loaf pan. Grease a large piece of plastic wrap and loosely cover the pan.
- Place the pan in a warm, draft-free spot and let the dough rise until comes up over the sides of the pan. This rising process could take any from 2-6 hours depending on both the humidity and temperature in your kitchen.
- Once the bread is ready to bake, preheat your oven to 400 degrees F. and bake the sourdough loaf for 40-45 minutes. The crust should be golden brown. If the top starts to brown too quickly, then place a foil tent on top of the loaf pan.
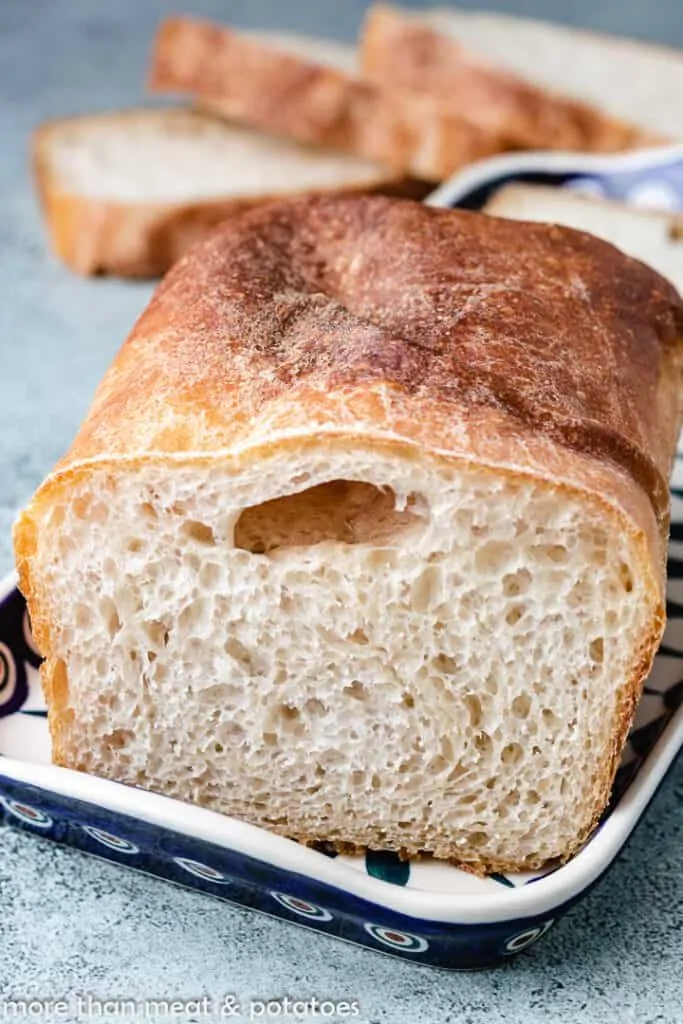
- Once baked, remove the bread from the oven. Let it cool for at least 5-minutes before moving it to a cooling rack. Additionally, the bread will need to cool completely before slicing.
Recipe Tips:
- Let’s be honest, this recipe is long and takes a lot of time and patience to complete. I recommend starting it on a Friday evening and finishing it the following day. Just be sure not to have anything planned for Saturday because, you’ll have a date with bread dough.
- The sourdough starter needs to be active in order for this bread recipe to work. If the starter isn’t bubbly and gassy, then it’s not ready to use.
- For the foil tent method; form a large piece of aluminum foil into a tent and place it over the bread as it bakes. Kim usually does this about halfway through the cooking process.

Other sourdough recipes you may enjoy:
What You’ll Need
- 1 cup (227 g) filtered water
- ½ cup (100 g) sourdough starter, active
- 2 cups (240 g) all-purpose flour
- ½ cup (60 g) bread flour
- ½ tablespoon salt
How to Make It
- In a large bowl, whisk together the bubbly, active sourdough starter and the filtered water. Add the all-purpose flour and bread flour. Use a wooden spoon or spatula to combine. The mixture will be wet and sticky. Sprinkle it with salt, and gently pinch it with your fingers. Cover with plastic wrap and let rest for 1 hour.1 cup (227 g) filtered water½ cup (100 g) sourdough starter2 cups (240 g) all-purpose flour½ cup (60 g) bread flour½ tablespoon salt
- After 1 hour, leave the dough in the bowl, and complete 4 sets of "stretch and folds." These will be completed in 30 minute intervals.
- Stretch and Folds: Wet your hands with water, and grab a piece of dough near the top of the bowl. Pull it straight up to stretch making sure not to tear the dough. Fold it over to the center of the dough and press down lightly. Repeat this on each side of the bowl and the bottom. You’ll do this 4 times (think of the bowl in fourths or quarters). After completing a stretch and fold in each quarter of the bowl, that is a "set." Complete 3 more sets of stretch and folds at 30 minute intervals over the next hour and a half, and cover with plastic wrap between each.
- After completing all 4 sets of stretch and folds, cover the bowl with plastic wrap, and refrigerate for 8 hours or up to overnight. When you’re ready to work with the dough again, remove it from the refrigerator, and allow it to come to room temperature, about 1 to 2 hours. While the dough warms, oil a 9 x 5-inch loaf pan with your choice of cooking oil. Set aside.
- When the dough has warmed a bit, transfer it to a lightly floured work surface. Lightly flour a roll pin, and roll the dough into a flat, rectangle shape. Press as many of the air bubbles out of the dough as you can. Any leftover air bubbles will make holes in the baked sandwich loaf.
- After you finish shaping a rectangle, wet your hands and a bench scraper. Starting with a long side of the rectangle, gently fold ⅓ of the dough over to the center. Repeat on the other side. There should be a seam down the middle of the down where the two sides meet. Gently pinch the seams shut.
- Next, fold the two short ends towards the center and pinch the seam together. Alternatively, take one short end and roll it towards the other end. Either way, you’ll end up with a short, thick loaf shape. The loaf will be significantly shorter than the loaf pan. Wet the bench scraper again, and gently transfer the dough to the prepared loaf pan seam side down. Cover the dough with a piece of plastic wrap that’s been lightly greased with avocado or olive oil. Allow the dough to rise until it comes up over the edge of the pan. This could take anywhere from 2 to 6 hours depending on the temperature and strength of the starter.
- When the bread is ready to bake, preheat the oven to 400°F. Bake the bread for 40 to 45 minutes or until the top is golden brown. If the top begins to brown too quickly, fold a piece of aluminum foil and loosely drape it over the top. I usually do this about 20-25 minutes into the baking process.
- Remove the bread from the oven, and let it cool in the pan for 5 to 10 minutes before transferring it to a cooling rack. Allow the bread to cool completely before slicing.
- Store any leftovers in a plastic zip bag. The leftovers stay fresh for about 2 days.
Suggested Equipment
- Mixing Bowls