Sourdough Pumpkin Bread
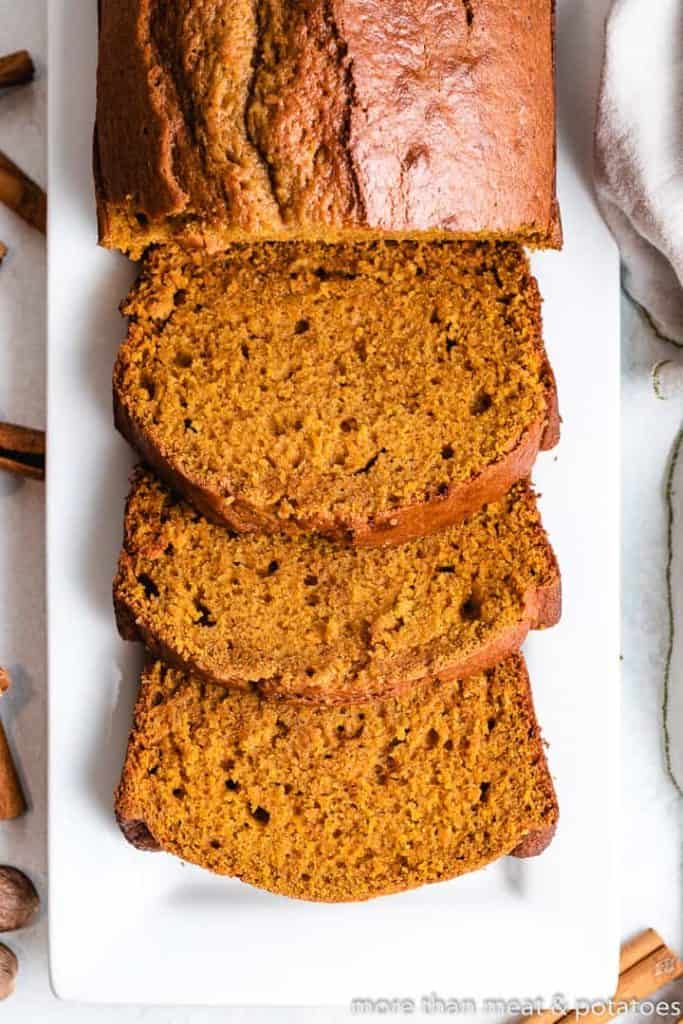
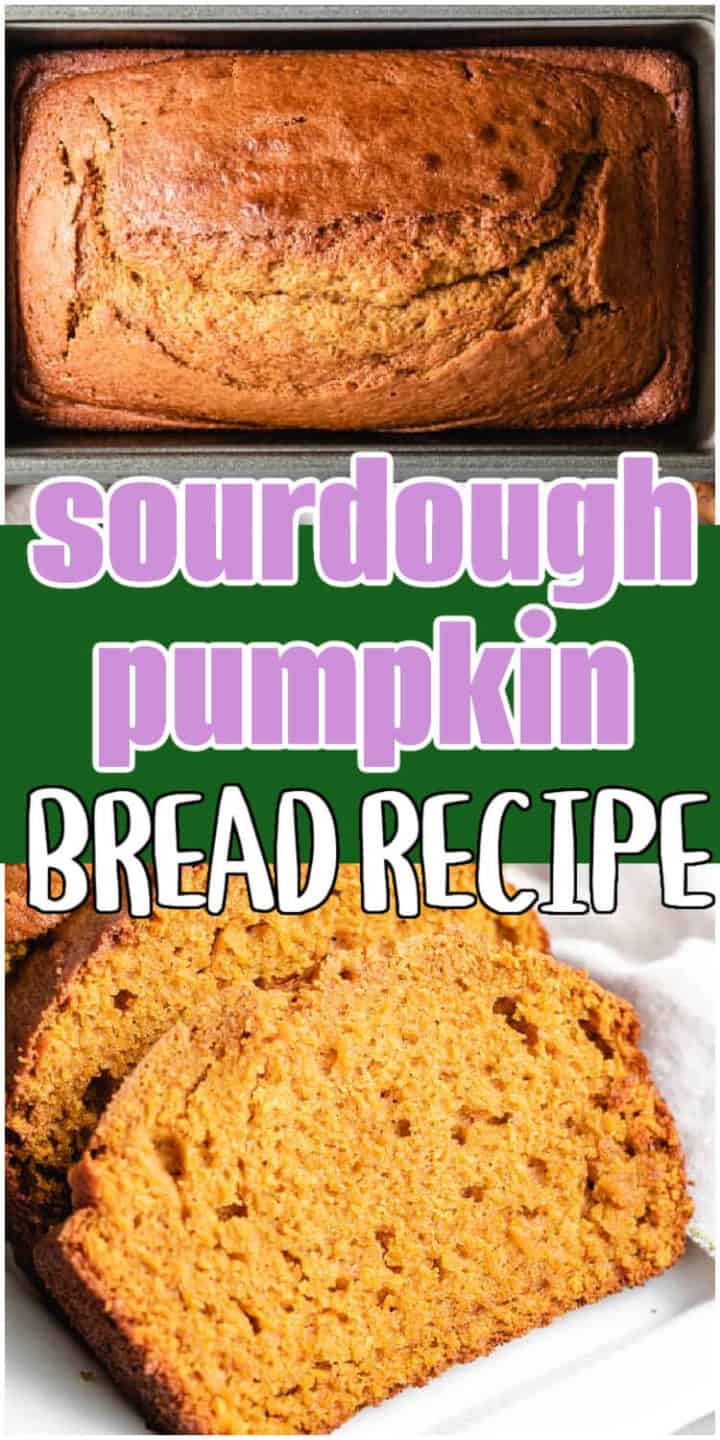
This Sourdough Pumpkin Bread is the perfect way to celebrate pumpkin season. It’s a sweet, moist, and tender sourdough loaf with hints of pumpkin, cinnamon, vanilla, and nutmeg.
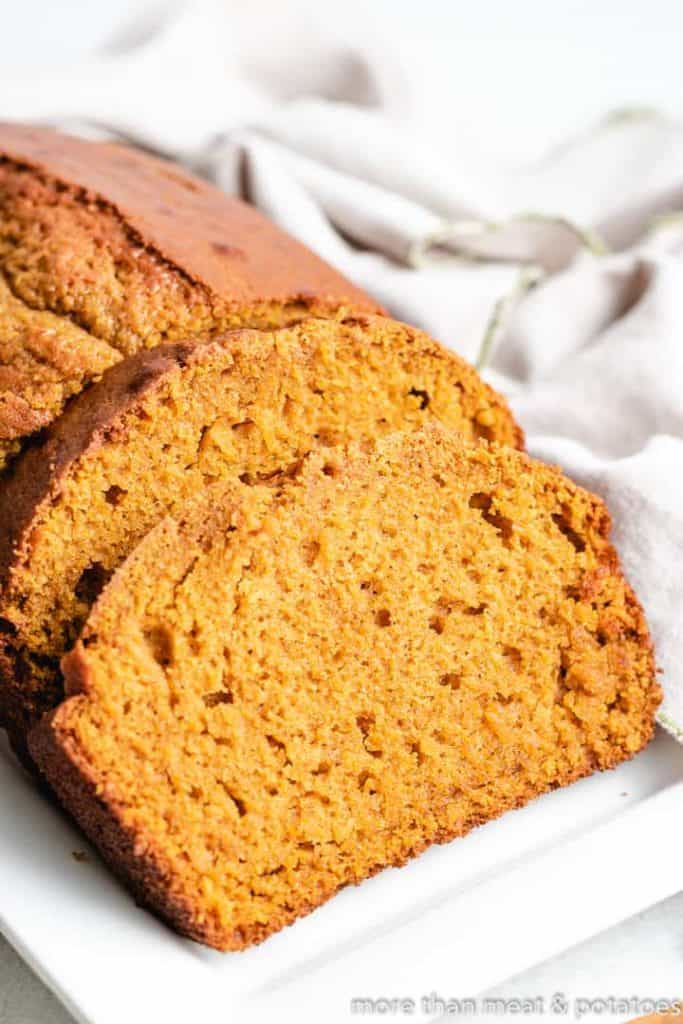
Easy Pumpkin Sourdough Bread
It’s pumpkin season! And this sourdough pumpkin bread is one of my favorite pumpkin recipes…It’s also one of my favorite sourdough bread recipes!
This easy sourdough pumpkin bread recipe features all of the flavors of fall with a sourdough twist: cinnamon, pumpkin, vanilla, and nutmeg.
It starts with a homemade sourdough starter discard, which does require a little bit of planning, but once that’s ready to go, your bread comes together in just 15 minutes!
This delicious bread is sweet and warm, has the perfect pumpkin flavor, and has that subtle tangy sourdough flavor that comes with all sourdough breads.
A fun baking project is always a great way to celebrate fall!
How to Make Sourdough Pumpkin Bread
This homemade sourdough pumpkin bread requires just 15 minutes to prep!
Scroll to the recipe card below for the ingredient amounts and full instructions.
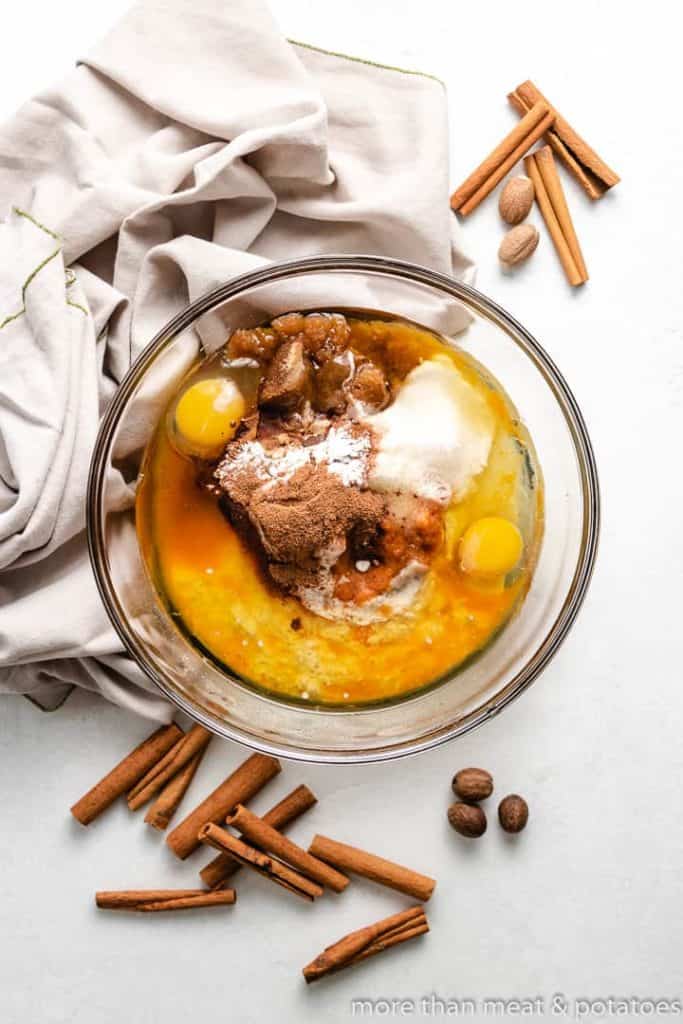
- In a large mixing bowl, whisk together all-purpose flour, pumpkin puree, sugars, sourdough starter, coconut oil, water, eggs, baking soda, cinnamon, vanilla, nutmeg, and salt.
- Pour the batter into a prepared loaf pan. Bake in a preheated oven at 375ºF for 15 minutes, then decrease the temperature to 350ºF and bake for another 40-45 minutes.
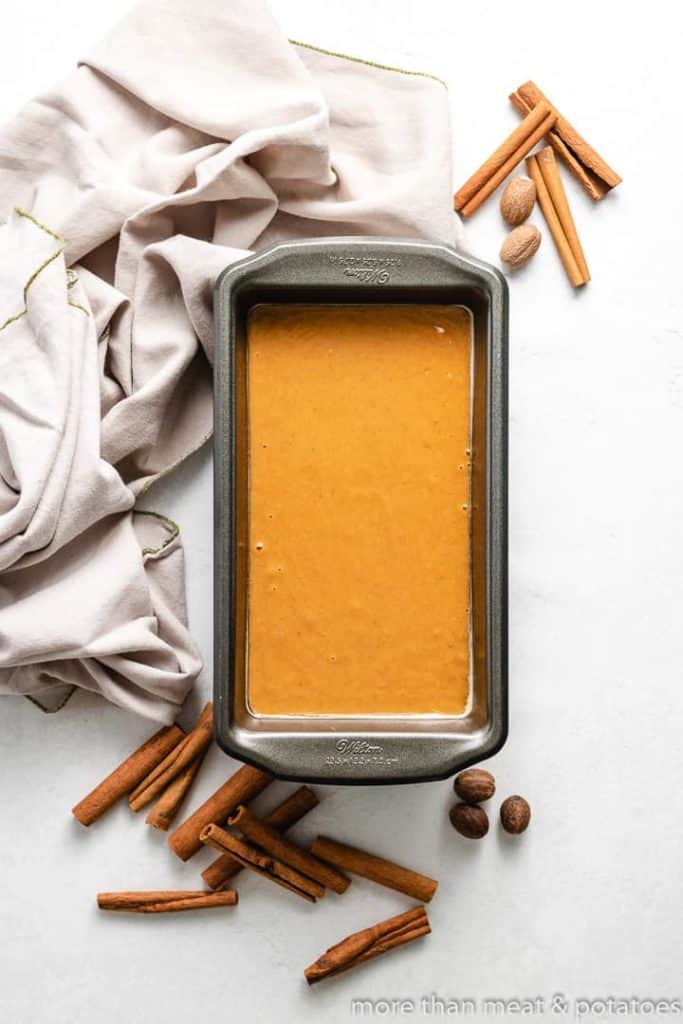
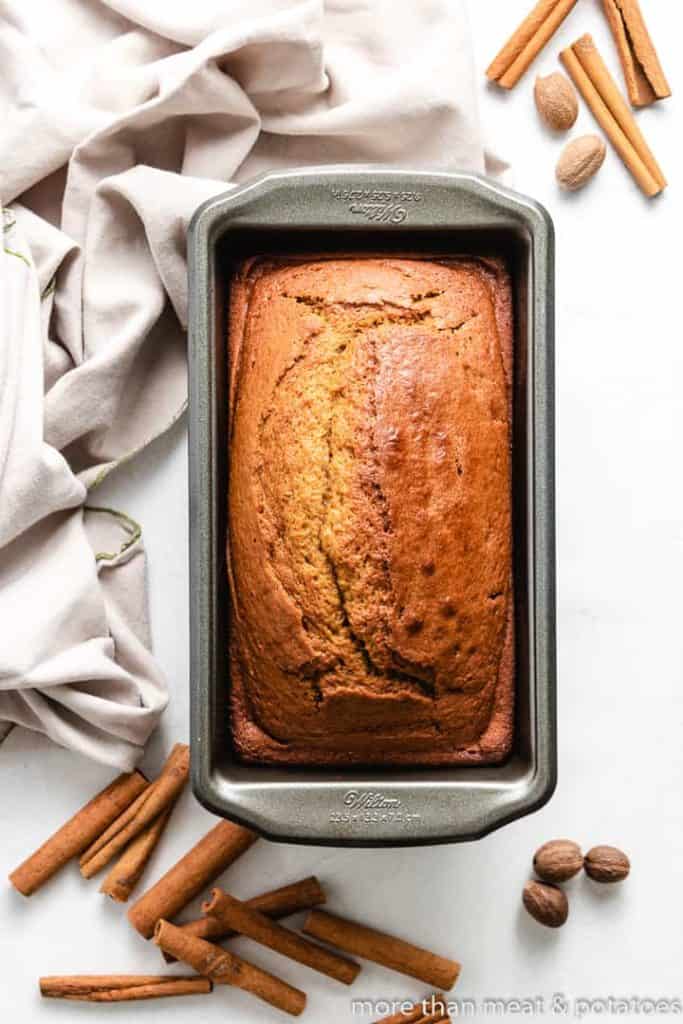
- Remove from the oven, cool for 5-10 minutes in the pan, then transfer to a wire rack and cool completely. Once the bread is cool, slice and serve.
Tips and Notes
- Check your pumpkin. For this recipe, make sure you’re using pumpkin purée, not pumpkin pie filling. You can make homemade pumpkin puree or grab the store-bought, canned stuff.
- Weigh your dry ingredients. If you have a kitchen scale, it is best to weigh the dry ingredients rather than measure them out with a measuring cup. A scale gets you the most accurate amount.
- Don’t over-mix. This is key to ensuring you get the best texture. Over-mixing will cause the bread to be dry and dense.
- Use a metal loaf pan. This recipe is designed using a metal pan. If all you have is glass, then preheat the oven to 350ºF and drop it down to 325ºF after the first 15 minutes.
- Place the loaf pan on a baking sheet. While this isn’t totally necessary, it makes handling the loaf pan easier. It also prevents the bottom of the loaf from over-browning.
- Bake at two temperatures. You’ll start the bread at 375ºF for the first 15 minutes, then drop the oven temp to 350ºF for the remainder of the baking time. The high heat helps the bread rise, then the lower heat allows the bread to cook all the way through.
- If your bread is browning too quickly, cover the top of the baking pan with a foil tent for the remainder of the cooking time.
- Check for doneness. The best way to know if your pumpkin loaf is done cooking is to insert a toothpick into the center of the loaf. If it comes out clean, then it’s good to go.
- Cool before slicing. This makes for the cleanest cuts! I recommend letting the bread cool fully to room temperature before slicing it.
Variations
- Make chocolate sourdough pumpkin bread. Simply toss a handful of your favorite chocolate chips into the batter before baking.
- Make sourdough pumpkin muffins. Swap the loaf pan out for a regular muffin pan. Keep in mind that this will alter the cooking time as well. I recommend baking at 350ºF for 17-23 minutes. Add time only as needed until a toothpick comes out clean.
- Add frosting. Try adding another layer of tangy flavor by slathering the top of the loaf with a layer of cream cheese frosting.
- Add nuts. Mix in a handful of your favorite chopped nuts. Almonds, pecans, and walnuts are all great options.
Serving Suggestions
You can enjoy a slice of this delicious pumpkin bread recipe all on its own or with a spread of cinnamon butter.
However, it also makes an excellent addition to breakfast or brunch! Here are a few of our favorite breakfast pairings:
Storage
A loaf of pumpkin bread will last in an airtight container in the fridge for up to 5 days or wrapped tightly and stored in the freezer for up to 3 months.
To enjoy again, thaw overnight in the fridge if frozen!
What Makes Sourdough Bread Different Than Regular Bread?
The difference is that sourdough uses a sourdough starter to help the bread rise rather than the traditional baker’s yeast.
Sourdough starter is a mixture of fermented flour and water. It’s made over the course of a few weeks using whole wheat flour, all-purpose flour, and bottled water.
The ingredients are mixed and then left to ferment—with a little bit of hands on attention throughout the process. The result is a more nutrient dense loaf with a delicious, slightly tangy flavor.
Why Does My Pumpkin Bread Taste Bland?
If your pumpkin bread is a little bland for your tastes, then you just prefer a little extra spice! Feel free to adjust the cinnamon, vanilla, and nutmeg as desired to create your perfect flavor.
More Sourdough Recipes You’ll Love
Do you have extra sourdough discard? Here are more of our favorite sourdough recipes to make using our homemade sourdough starter.
Like this recipe?
We’d love it if you would leave a 5 Star ⭐️⭐️⭐️⭐️⭐️ rating and comment below!
How to Video
What You’ll Need
- 1 ¾ cups (210 g) all-purpose flour
- 1 cup (227 g) pumpkin puree
- ¾ cup (149 g) granulated sugar
- ¾ cup (160 g) light brown sugar
- ¾ cup (175 g) sourdough starter, unfed/discard
- ½ cup (99 g) coconut oil, or other neutral tasting oil
- ⅓ cup (76 g) water
- 2 (100 g) large eggs
- 1 teaspoon baking soda
- 1 teaspoon ground cinnamon
- 1 teaspoon vanilla extract
- ½ teaspoon ground nutmeg
- ½ teaspoon salt
How to Make It
- Preheat the oven to 375°F, and grease a 9 x 5-inch aluminum loaf pan. Set aside.
- Whisk together all the ingredients until smooth and well combined. Pour the batter into the prepared loaf pan.1 ¾ cups (210 g) all-purpose flour1 cup (227 g) pumpkin puree¾ cup (149 g) granulated sugar¾ cup (160 g) light brown sugar¾ cup (175 g) sourdough starter½ cup (99 g) coconut oil⅓ cup (76 g) water2 (100 g) large eggs1 teaspoon baking soda1 teaspoon ground cinnamon1 teaspoon vanilla extract½ teaspoon ground nutmeg½ teaspoon salt
- Bake for 15 minutes, then decrease the oven temperature to 350°F. Bake for an additional 40 to 45 minutes or until a toothpick inserted into the center comes out clean.
- Remove the bread from the oven and allow it to cool in the pan for 5 to 10 minutes before transferring to a wire rack. Cool completely before slicing and serving.
- Scroll up and see the post for tips, FAQs, and storage information.


I have the pumpkin bread in the oven! it smells delightful!❤
Hi Beth Ann!
Thank you so much! Happy Holidays! 🙂
Best pumpkin bread! Loved it! Followed recipe and added some cinnamon sugar on top for a crunch. Will be making again!
Followed the recipe to the T and came out so moist and delicious. Thank you for this. Will be making it again through the fall.
Thanks so much, Kimberly!
We’re happy you enjoyed the sourdough pumpkin bread! Happy baking! 🙂
Thanks so much, Molly! We’re glad to hear to that the coconut sugar worked well as a substitute and that you loved the pumpkin bread. Have a great evening! 🙂
This is the best pumpkin bread I’ve ever had! Swapped out the brown sugar with coconut sugar. Absolutely delicious! My whole family loved it. Will be a fall tradition from now on!
We LOVE this recipe!! I used fed sourdough starter and mixed everything except the eggs, pumpkin and baking soda and let it rise for 8 hour so that it is fully fermented. ABSOLUTELY YUMMY!!
Hi Rebecca Ann!
We’re so glad you enjoyed the bread! This is one of our favorites, too. Have a fantastic weekend! 🙂
@Rebecca Ann, After the 8 hours how and when did you add the eggs, pumpkin and baking soda?
Jody
@Rebecca Ann, can you tell me more about how you did this? How did you incorporate the pumpkin and eggs and did you still add the baking soda?
I have tons of sourdough starter but it is fed regularly. I notice your recipe says unfed starter. Can I use fed starter or should I take a cup of fed starter out and leave it unfed for a week or ten days?
Good Morning Delilah, that’s a good question. Let me see if I can clarify the instructions for you. I spoke with Kim and you don’t have to do that. All she means is to use 1-cup of starter before the next feeding. So, you can use your regular (fed) starter. Simply, remove 1-cup of starter to make the bread before it gets fed for the day. Hopefully, that makes sense the way I explained it. Thank you for asking the question. We hope you have a lovely day 🙂
This is a moist bread! And the recipe is so-o easy! Just stir and bake. I add mini choc chips and baked in 4 mini loaf pans! Delish! This recipe is a keeper for sure!!
That’s wonderful Lori! We’re glad you enjoyed it. Thank you for coming back to comment on the recipe card. Have a great weekend 🙂