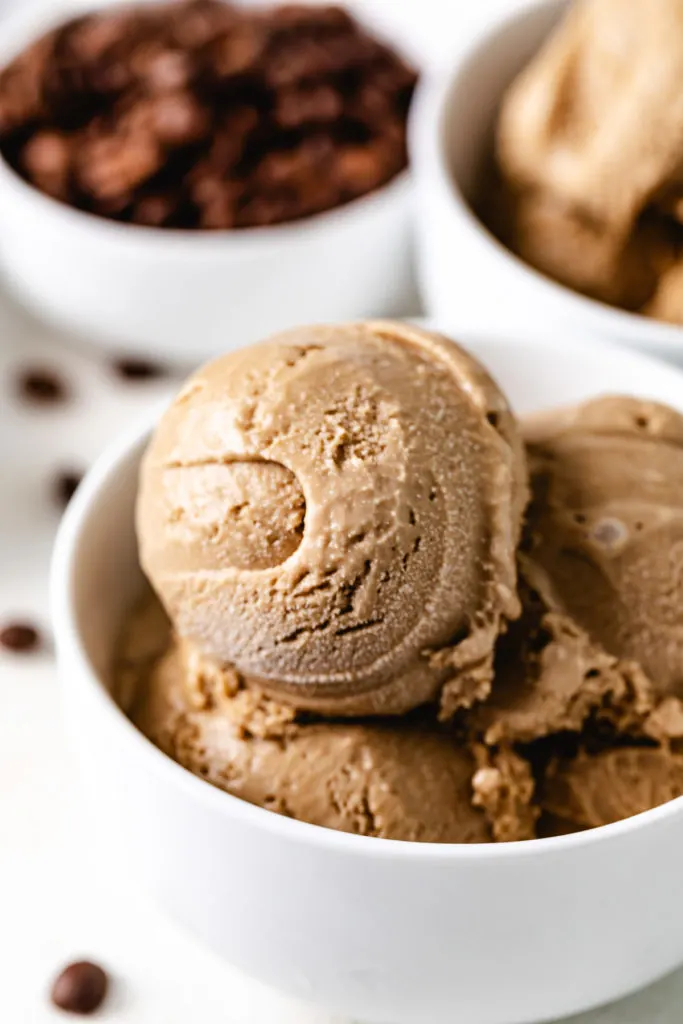
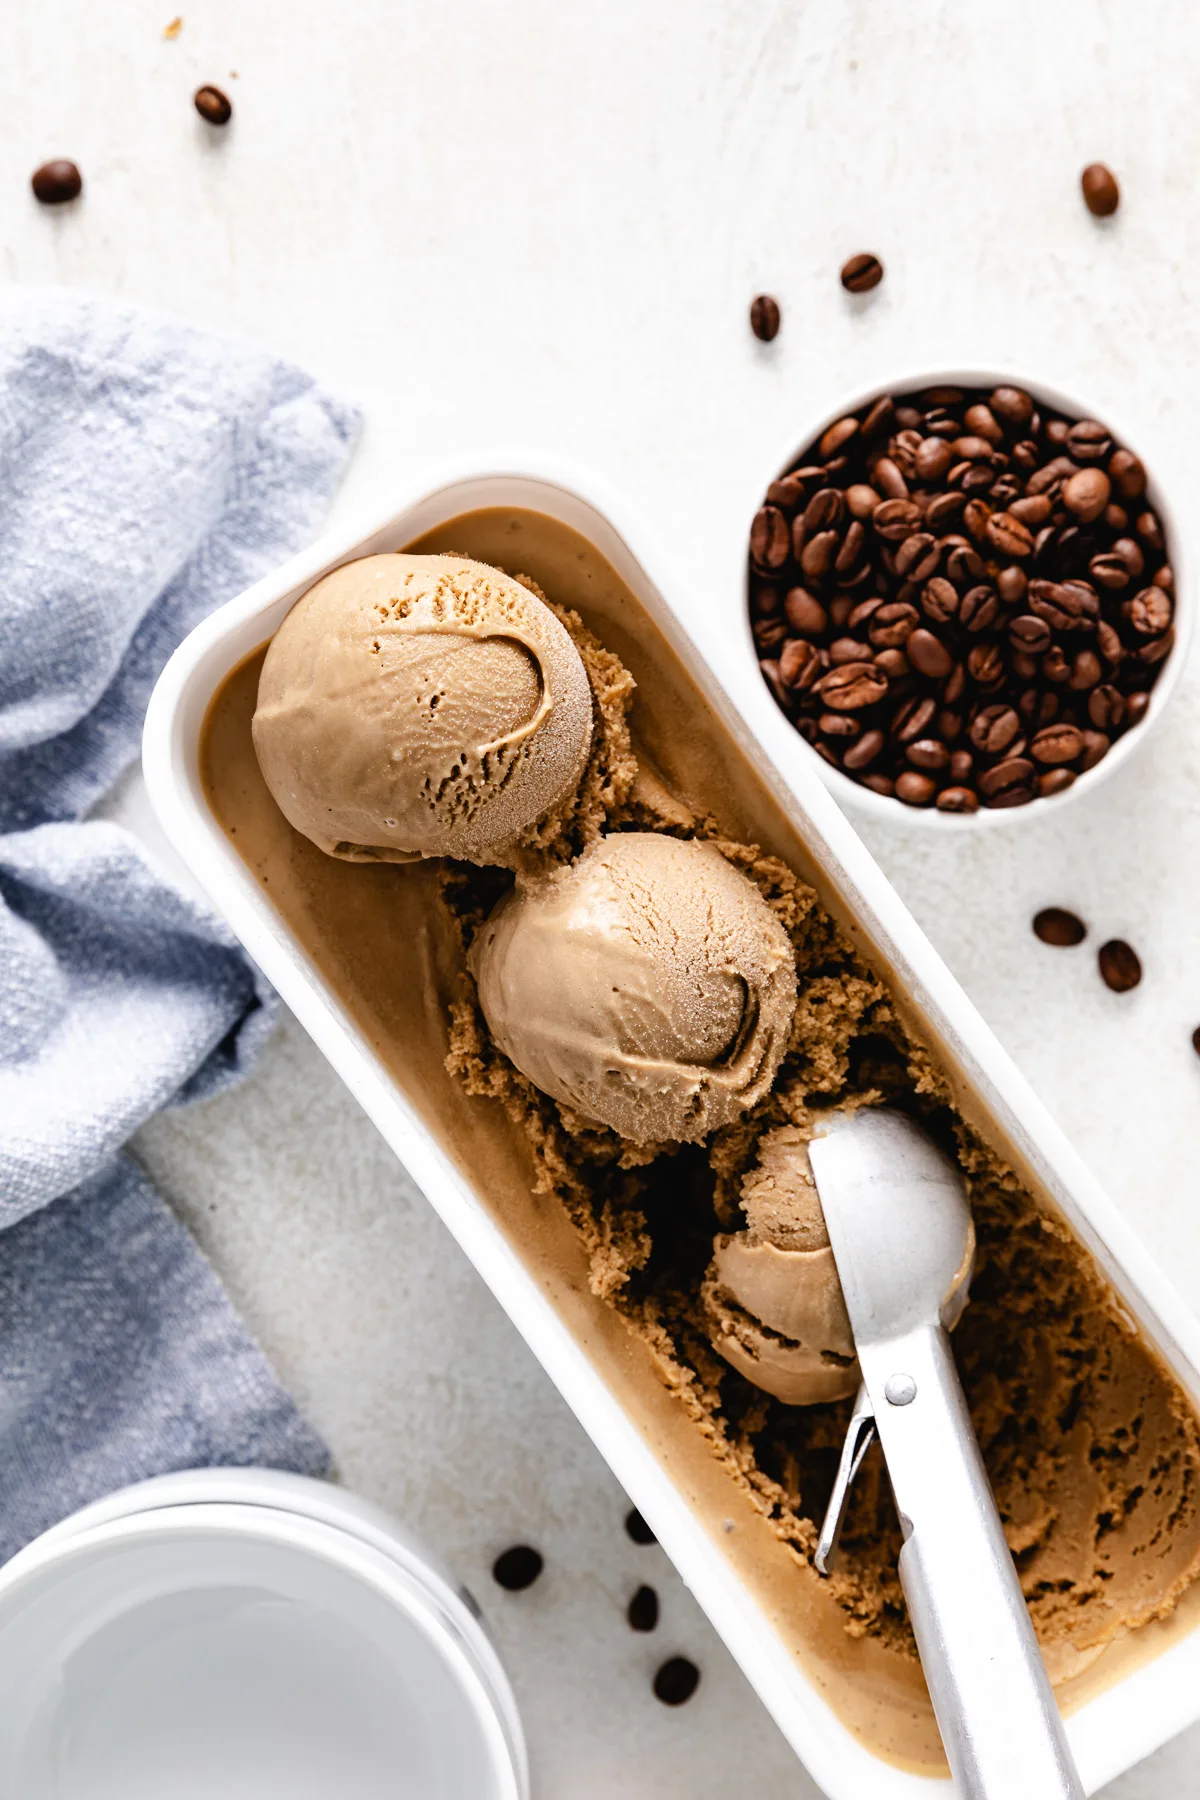
Coffee Ice Cream

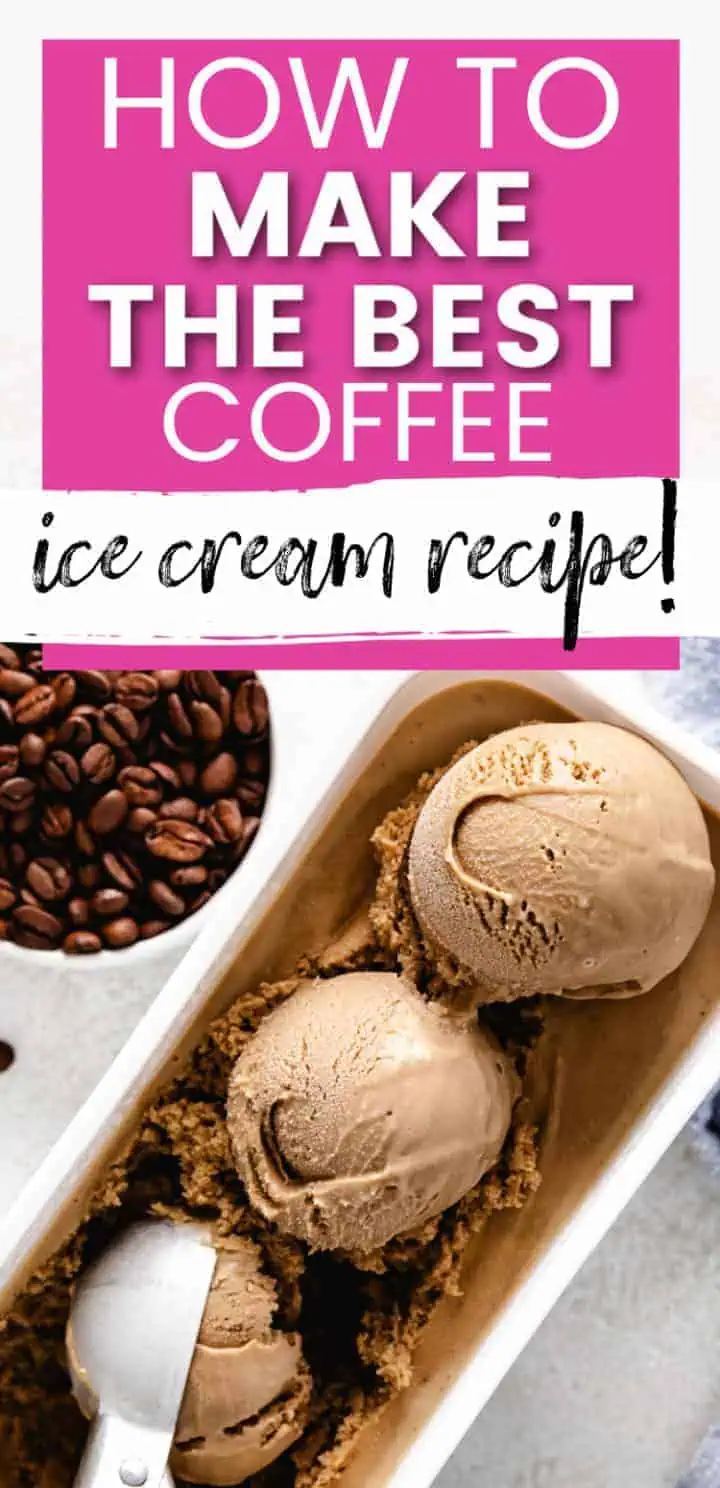
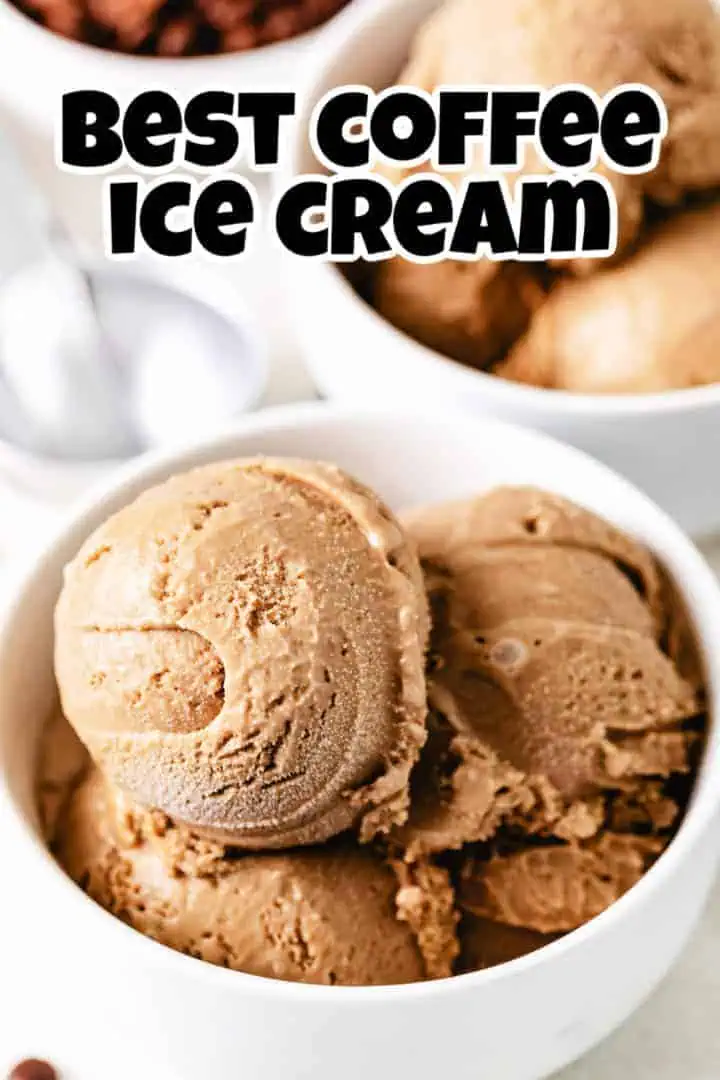
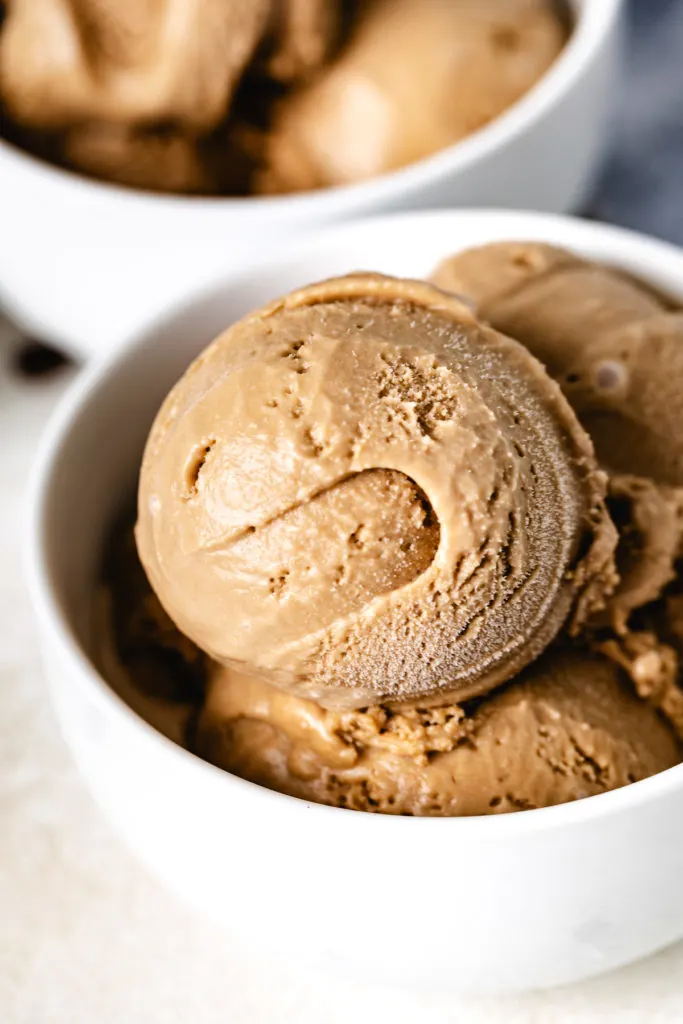
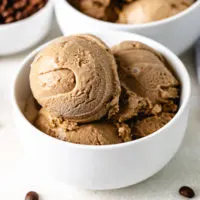
Looking for the Best Coffee Ice Cream Recipe? We have you covered with our homemade coffee ice cream recipe made with simple ingredients like heavy cream, milk, granulated sugar, egg yolks, and cold brew concentrate. It’s smooth, creamy, and has the perfect amount of bold coffee flavor in every bite.
If you’re anything like me, you love a lot of goodies in your ice cream (hello Ben & Jerry’s!). This creamy ice cream recipe doesn’t have a single mix-in, and you won’t miss them one bit.
It’s the perfect ice cream for any coffee lover, especially during the summer months, and there’s no need for a trip to local ice cream shops.
The ice cream base has a creamy texture with the perfect balance of sweetness and rich coffee flavor.
And probably the best part is the way we add the coffee flavor.
We use cold brew concentrate making it completely customizable, so you can make the ice cream as light or as strong as you’d like.
And if you can’t resist some mix-ins, I’m adding a list of my favorites further down the page.
Ingredients You’ll Need:
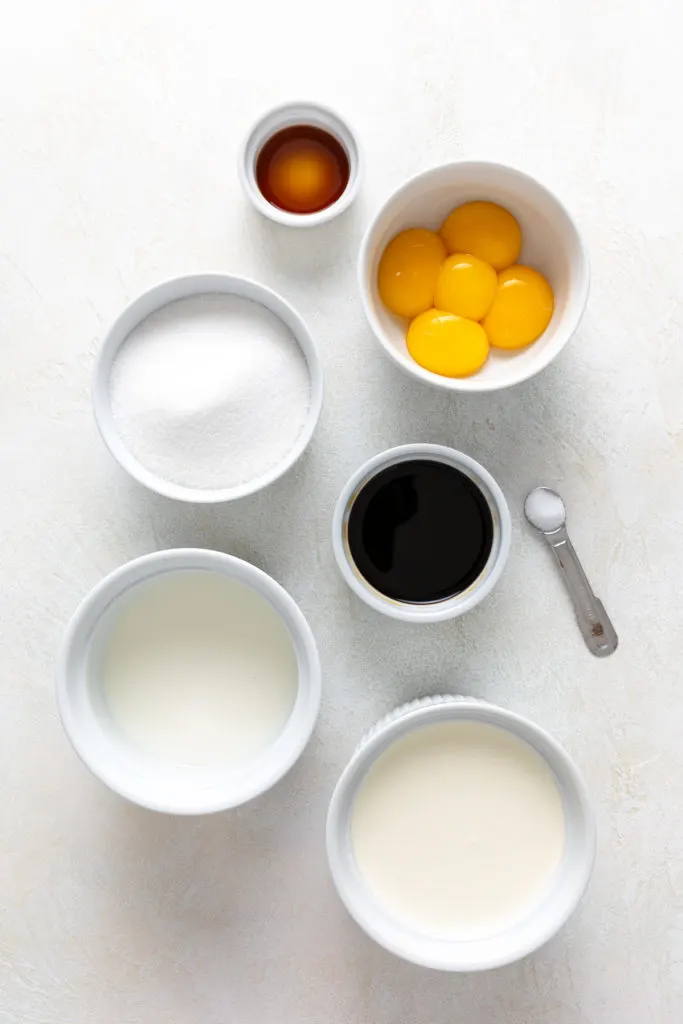
- Heavy Cream.
- Milk: whole milk works best.
- Granulated Sugar.
- Egg Yolks.
- Cold Brew Concentrate: I love to use cold brew concentrate pods!
- Kosher Salt.
- Vanilla Extract.
How to Make the Best Coffee Ice Cream Recipe:
You’ll find the exact measurements and full instructions in the recipe card near the bottom of the page.
You’ll need an ice cream maker for this recipe. Make sure that it’s prepared ahead of time according to the manufacturer’s directions.
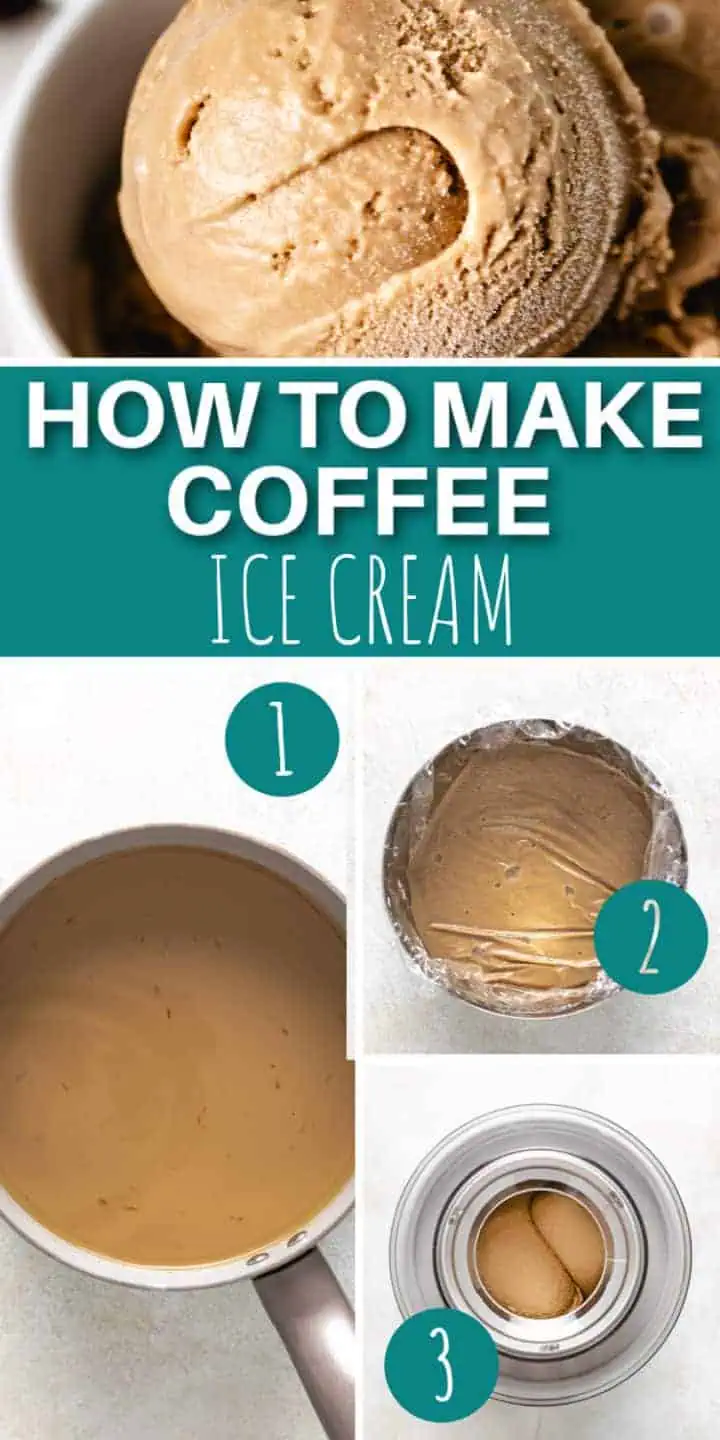
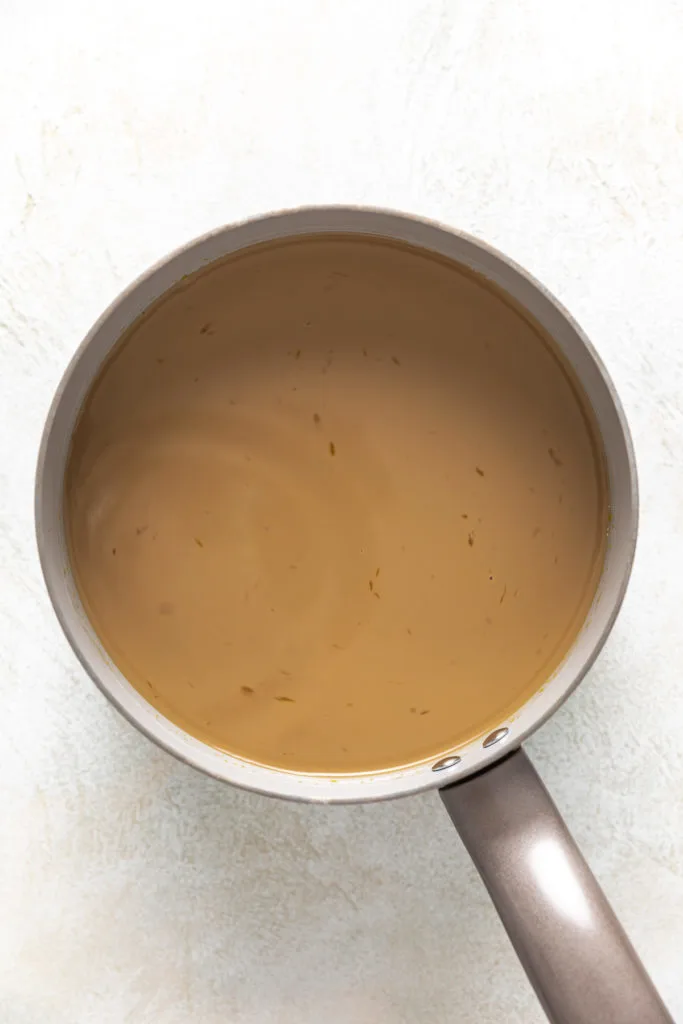
- Combine the heavy cream, milk, egg yolks, sugar, coffee concentrate, and salt in a saucepan. Bring to a steep over low-medium heat, but don’t let it boil.
- Stir consistently and continue to cook for approximately 8 to 10 minutes until the custard thickens slightly. It should lightly coat the back of a spoon when ready.
- Remove from heat then stir in the vanilla extract.
- Transfer the custard to a bowl to cool (pour through a mesh strainer if desired). Place the bowl of custard into a larger bowl of ice for about 30 minutes to 1 hour.
- After the custard ice cream base cools to room temperature, cover it with plastic wrap. The plastic wrap needs to touch the top of the custard to prevent a skin from forming.
- Then transfer it to the refrigerator to cool completely, about 2 hours. Once cooled, the custard has a thin, pudding-like consistency.

- After the custard cools, pour it into the prepared ice cream maker. Churn according to the manufacturer’s instructions until the ice cream sets enough to transfer it to a freezer-safe container. It should be firmer than soft-serve consistency.
- Freeze until the ice cream is completely firm. (Ours took 8 to 10 hours.)

Tips and Variations:
- Make sure to use cold brew concentrate not regular cold brew. These are two different products!
- Adjust the amount of cold brew concentrate to your personal preference.
- Make sure to cook the ice cream base until it coats the back of spoon. Otherwise, the ice cream may not freeze properly.
- Follow the instructions on your ice cream maker! We use a Cuisinart ice cream maker which requires a component to freeze overnight. Yours may work differently.
- Pour the ice cream base through a strainer. I always pour the custard base through a fine mesh strainer to remove any solid pieces.
- Look for decaf! If you’d prefer a decaffeinated coffee ice cream, use a decaf cold brew concentrate.
- Don’t skip the salt. A pinch of salt enhances the sweetness of homemade ice cream.
Storage:
Refrigerator: Store the custard ice cream base in the refrigerator until ready to use. Make sure to cover it with plastic wrap, so that the plastic wrap touches the custard. Store until cold or up to overnight.
Freezer: Keep the coffee ice cream in a sealed, airtight container (freezer-safe) container for up to 2 months. To help prevent ice crystals from forming on the ice cream, store with a layer of plastic wrap touching the ice cream.
How do you keep the egg yolks from scrambling in the ice cream base?
The key to keeping the egg yolks from scrambling in the the ice cream base is to cook it over low heat and to keep it moving.
The base thickens slowly. You’ll know it’s ready when you can run your finger across the back of a spoon, and the base doesn’t quickly come back together.
Pouring the ice cream through a mesh strainer removes any solid pieces that may form during the cooking process.
What mix-ins can you add to homemade coffee ice cream?
There are several mix-in options you can add to homemade coffee ice cream. You’ll want to add these while the ice cream is churning in the ice cream maker.
For best results, try to keep the mix-ins to 1 cup or less. Here are some of our favorites:
- Chocolate Chips.
- Espresso Fudge Chunks or Espresso Chips – located in the baking aisle of the grocery store.
- Toffee Bits.
Our favorite toppings are:
- Hot Fudge.
- Marshmallow Sauce (Fluff).
- Caramel Sauce.
- Espresso Beans.
Can you use instant coffee granules in place of cold brew concentrate?
Yes, you can use instant coffee granules in place of cold brew concentrate, but there are a couple of things to keep in mind.
Depending on the brand of instant coffee granules used, they may not be as strong as cold brew concentrate.
The other thing is the use of granules. Some types of granules dissolve better than others.
We prefer to use instant espresso instead of instant coffee granules. The instant espresso dissolves more easily, so you’ll have less an of issue with the potential for gritty ice cream.
Can you use freshly brewed coffee in coffee ice cream?
Freshly brewed coffee works in our coffee ice cream recipe if you don’t use too much.
If you add too much liquid to the custard, it won’t set up in the ice cream maker, and the ice cream won’t freeze properly.
Iced coffee (not from concentrate) works the same as freshly brewed coffee. You wouldn’t want to add too much to the custard base.
Note: If using freshly brewed or iced coffee, add it after the custard thickens. Also, make sure that freshly brewed coffee is cool or cold.
Do you have to use whole milk?
No, you don’t have to use whole milk in coffee ice cream, but it yields the best results.
Other milk options like skim milk, almond milk, coconut milk, ect., may not yield the same flavor and texture.
Other Sweet Treats You May Enjoy:
- Pineapple Sorbet
- Peach Ice Cream
- Homemade Chocolate Pudding
- Cherry Vanilla Ice Cream
- Strawberry Mango Popsicles
What You’ll Need
- 2 cups heavy cream
- 1 cup whole milk
- 5 large egg yolks
- 1 cup granulated sugar
- 1 ½ to 3 ounces cold brew coffee concentrate
- ¼ teaspoons salt
- 1 teaspoon vanilla extract
How to Make It
- You'll need an ice cream maker for this recipe. It should be prepared ahead of time according to the manufacturer's directions.
- Combine the heavy cream, milk, egg yolks, sugar, coffee concentrate, and salt in a saucepan. Bring to a steep over low-medium heat, but don’t let it boil.2 cups heavy cream1 cup whole milk1 cup granulated sugar5 large egg yolks1 ½ to 3 ounces cold brew coffee concentrate¼ teaspoons salt
- Stir consistently and continue to cook for approximately 8 to 10 minutes until the custard thickens slightly. It should lightly coat the back of a spoon when ready.
- Remove from heat then stir in the vanilla extract.1 teaspoon vanilla extract
- Transfer the custard to a bowl to cool (pour through a mesh strainer if desired). Place the bowl of custard into a larger bowl of ice for about 30 minutes to 1 hour.
- After the custard ice cream base cools to room temperature, cover it with plastic wrap. The plastic wrap needs to touch the top of the custard to prevent a skin from forming.
- Transfer it to the refrigerator to cool completely, about 2 hours. Once cooled, the custard has a thin, pudding-like consistency.
- Pour the refrigerated ice cream base into the prepared ice cream maker. Churn according to the manufacturer's instructions until the ice cream sets enough to transfer it to a freezer-safe container. It should be firmer than soft-serve consistency.
- Freeze until the ice cream is completely firm. (Ours took 8 to 10 hours.)
- Serve in a bowl with toppings or in a cone. Scroll up and see the post for tips, FAQs, and storage options.