Roasted Garlic Butter
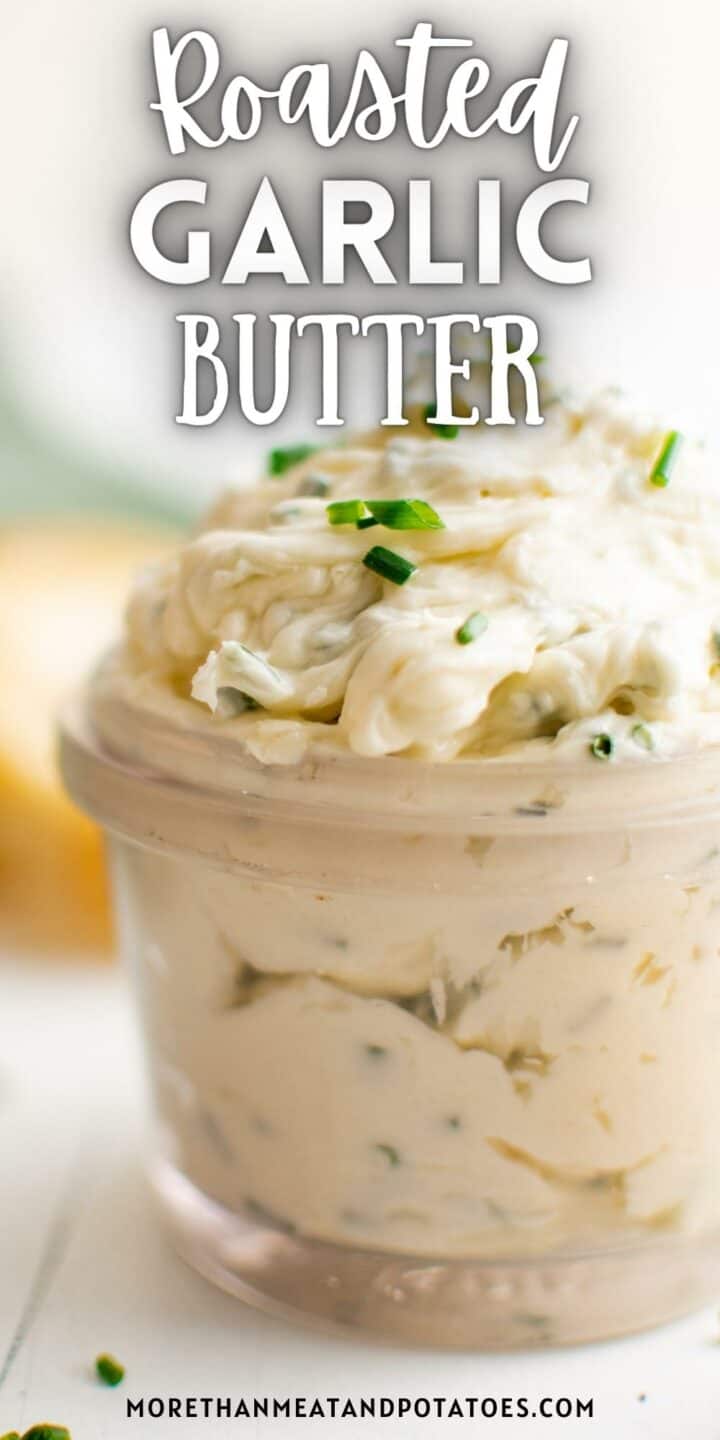
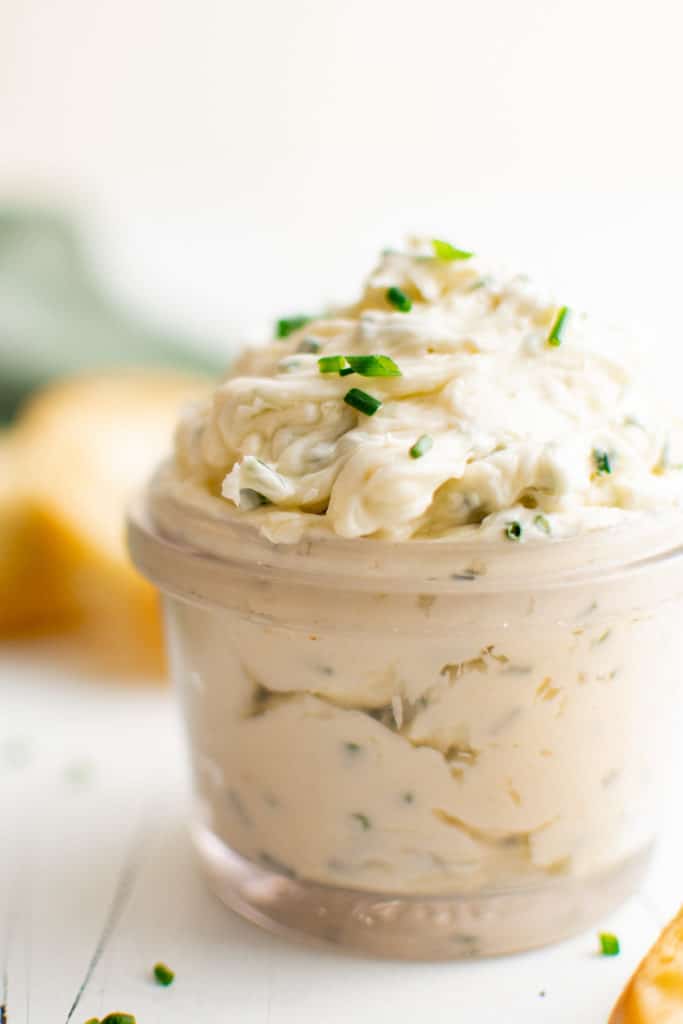
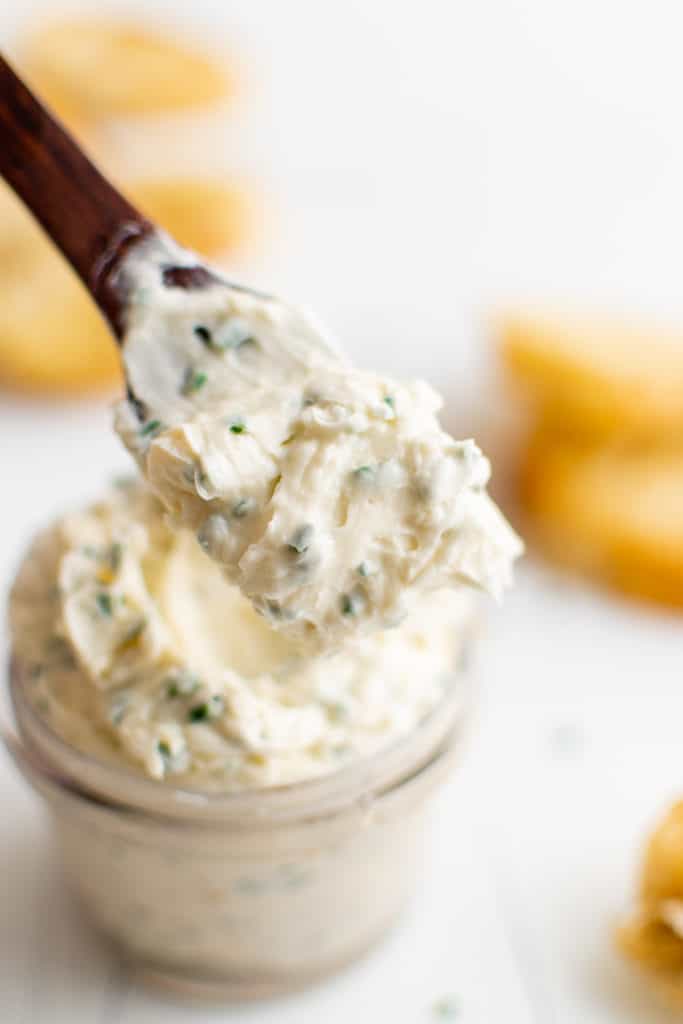
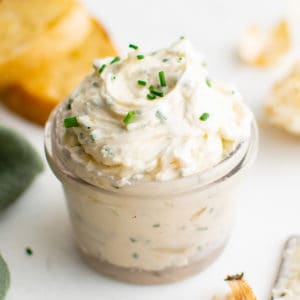
Roasted Garlic Butter is full of rich garlicky flavor and fresh chives. Incredibly versatile, this butter is perfect for rolls and fresh bread but is also great on chicken, steak, or veggies! Skip the expensive store bought versions and easily make your own right at home!
Try all our delicious butter concoctions like our Cinnamon Butter, Cajun Compound Butter, and savory Herb Butter.
Roasted Garlic Butter
Lacking some flavor in your favorite dishes? Instead of using traditional butter, try using homemade roasted garlic butter instead!
Great for sautéing veggies, melting over your favorite cut of steak, baking with chicken to add moisture and flavor, or of course spreading on your favorite breads and baked goods. Making your own flavored butter is so much easier than you’d think.
The longest part of the process is roasting the garlic and even that step is super simple! There are so many ways to use garlic butter, you’ll want to try it with everything!
How to Make Roasted Garlic Butter
Slow roasted garlic blended into creamy butter is a combination that can’t miss!
- Preheat your oven to 400°F.
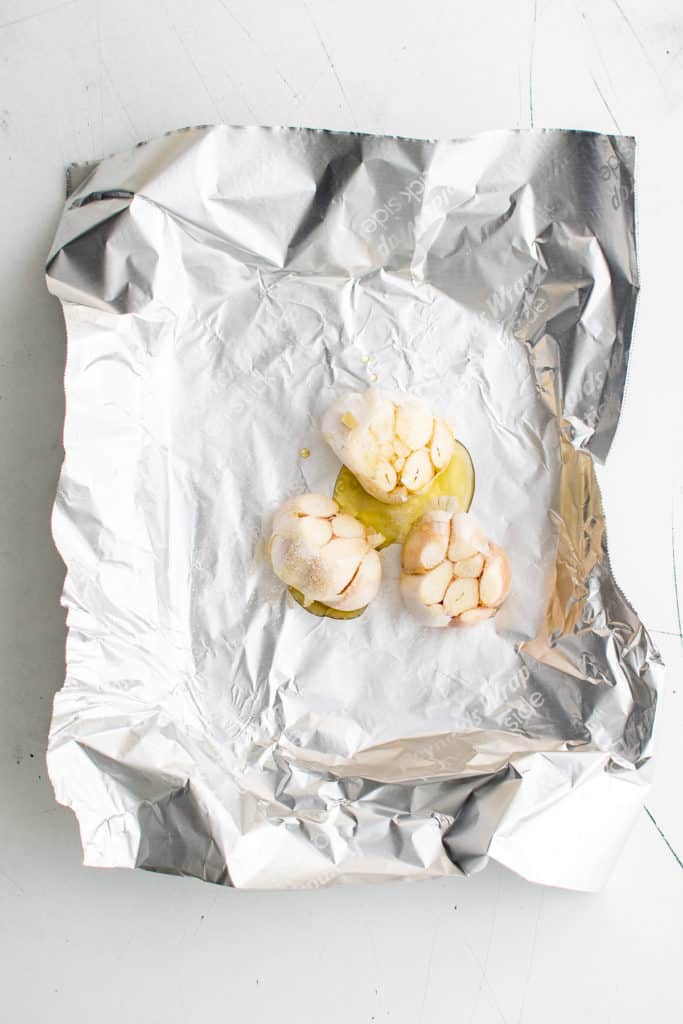
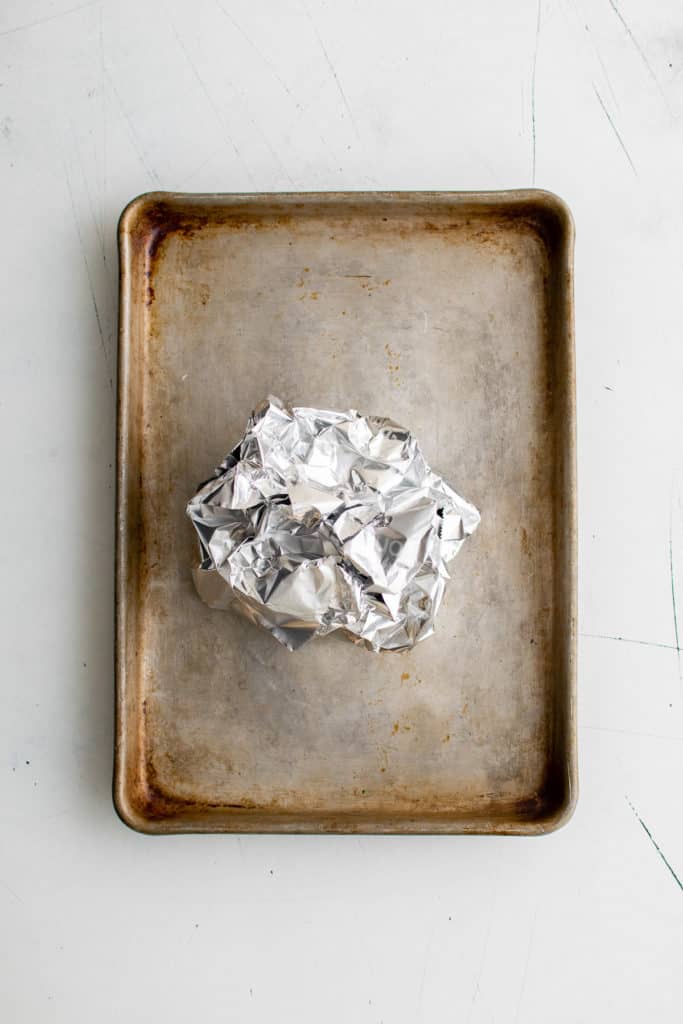
- Prep a baking sheet with aluminum foil. Place the heads of garlic on the sheet and drizzle with olive oil. Sprinkle it with salt.
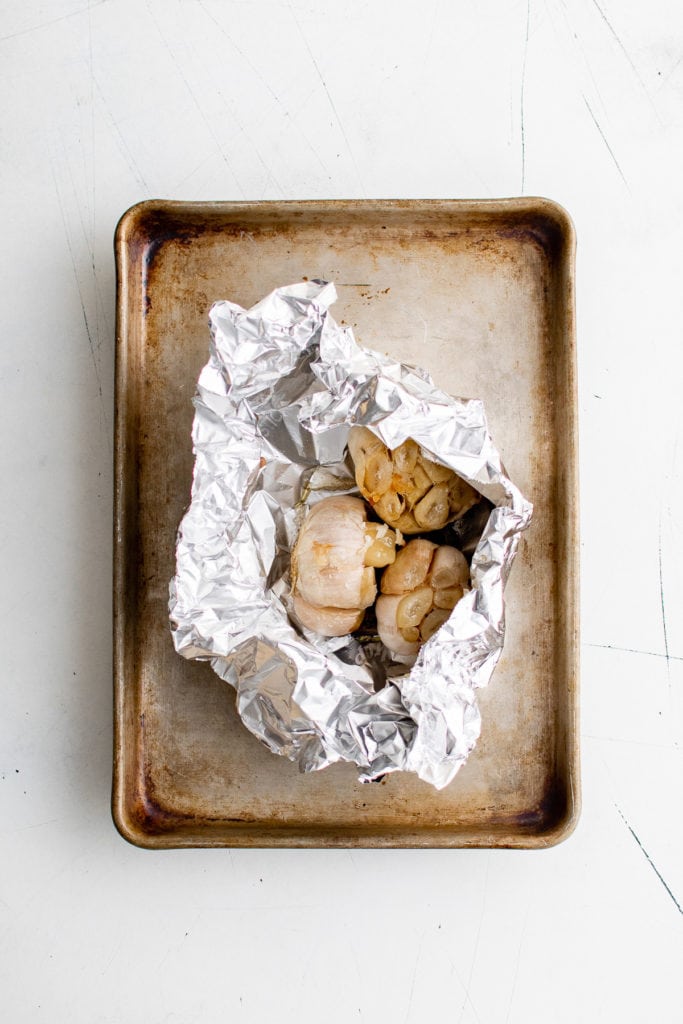
- Wrap the garlic in the foil and bake for 30-40 minutes. The garlic should be a light golden color when roasted.
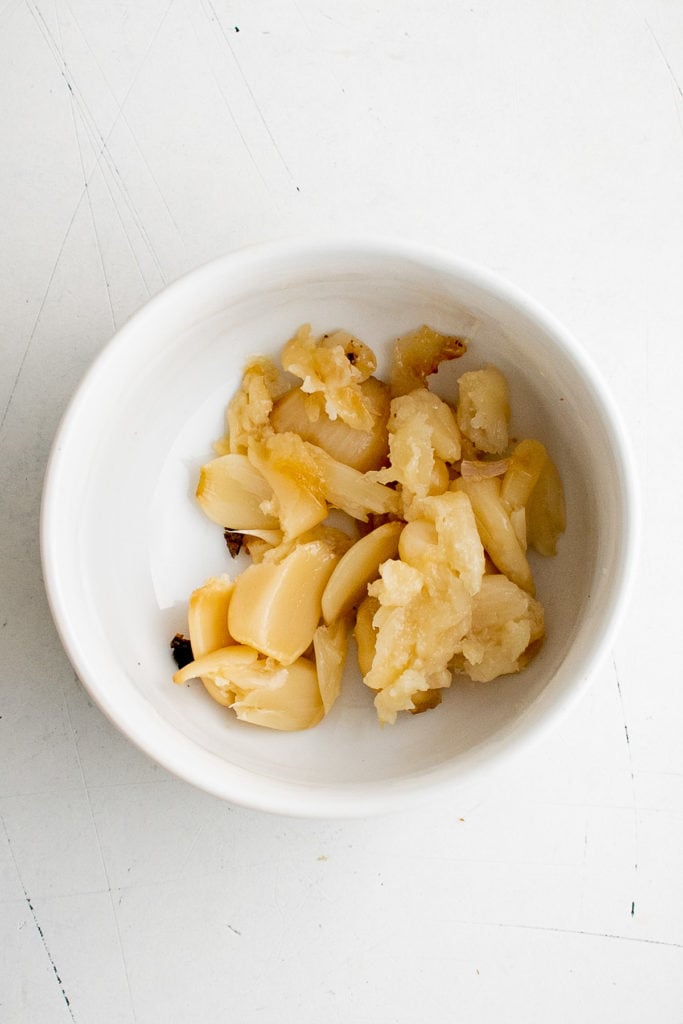
- Let the heads of garlic cool until they’re safe to touch, then squeeze it out of the peels into a bowl. Press firmly and stir until it is fairly smooth.
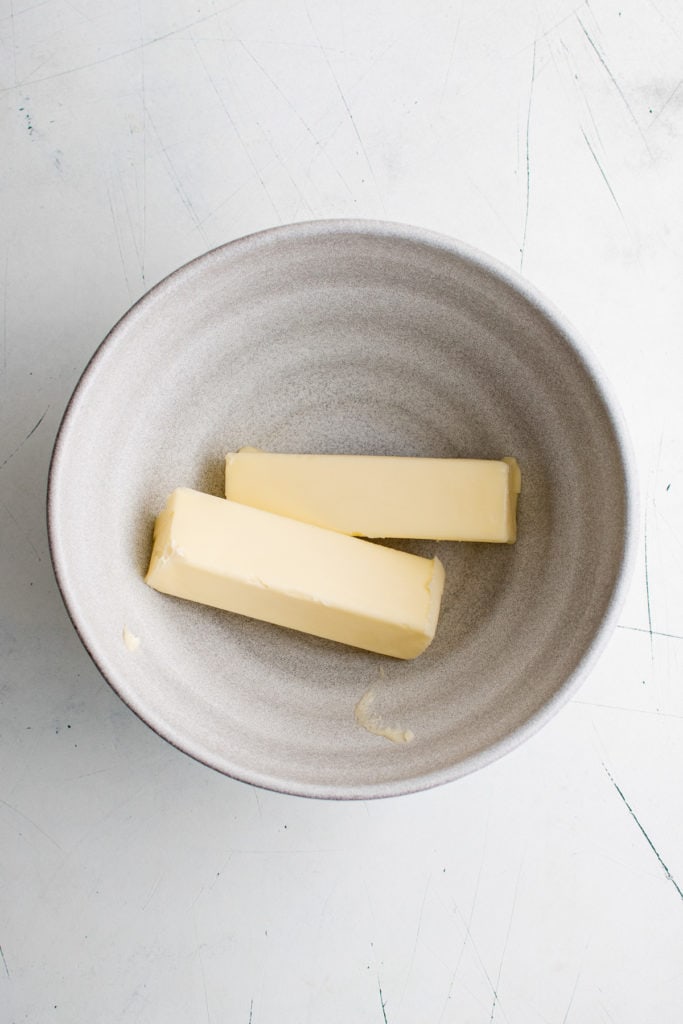
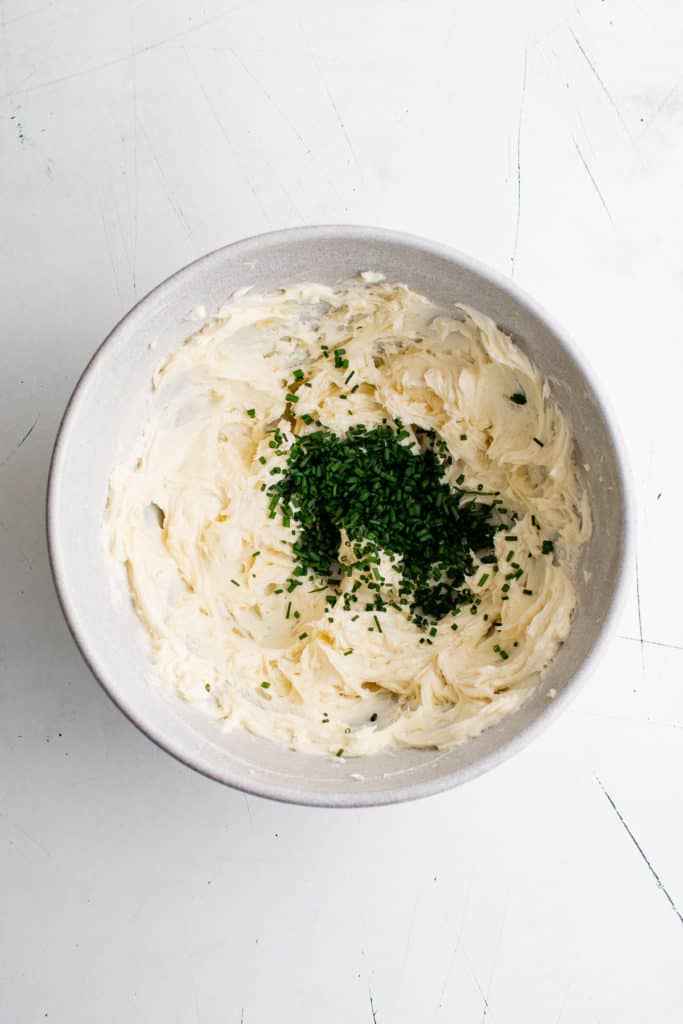
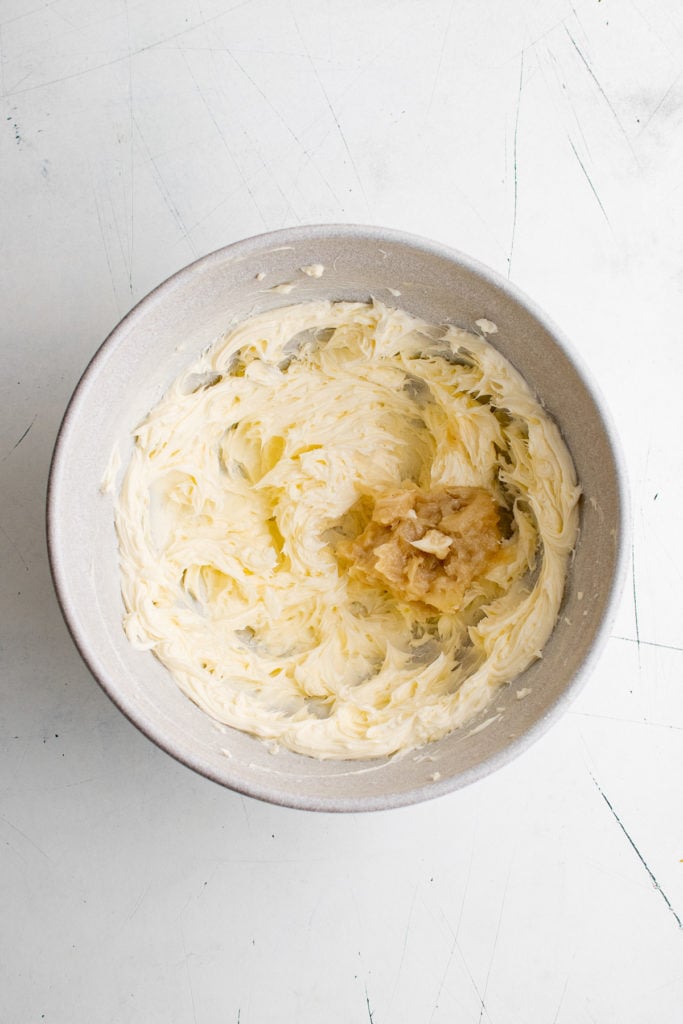
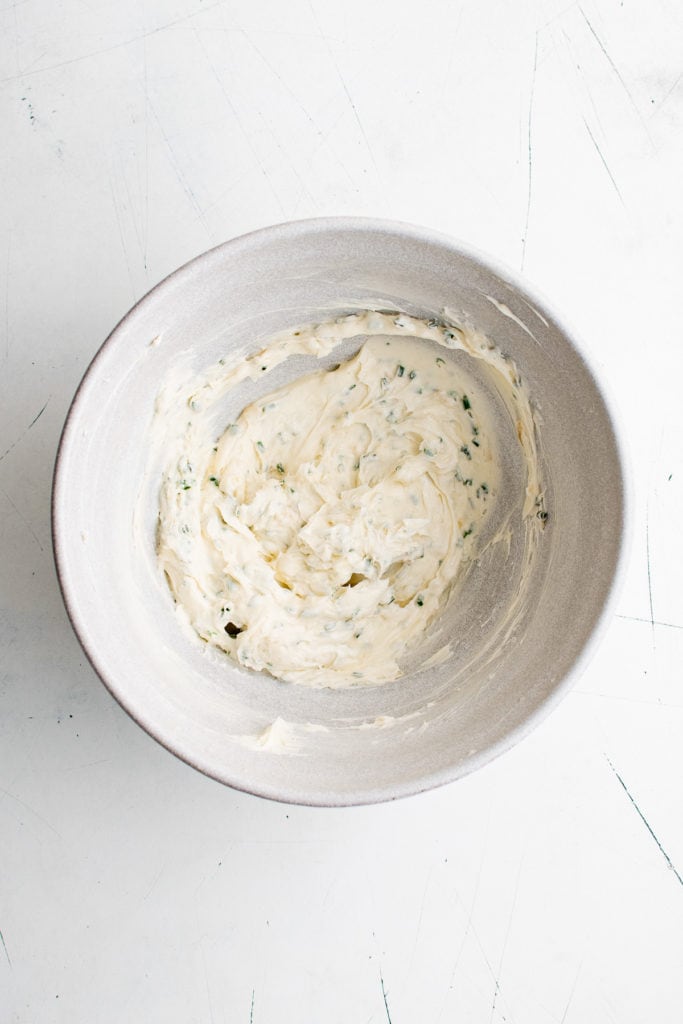
- Using a hand mixer, whip the butter. Add in the garlic and continue to mix until fully incorporated. Stir in the fresh chives.
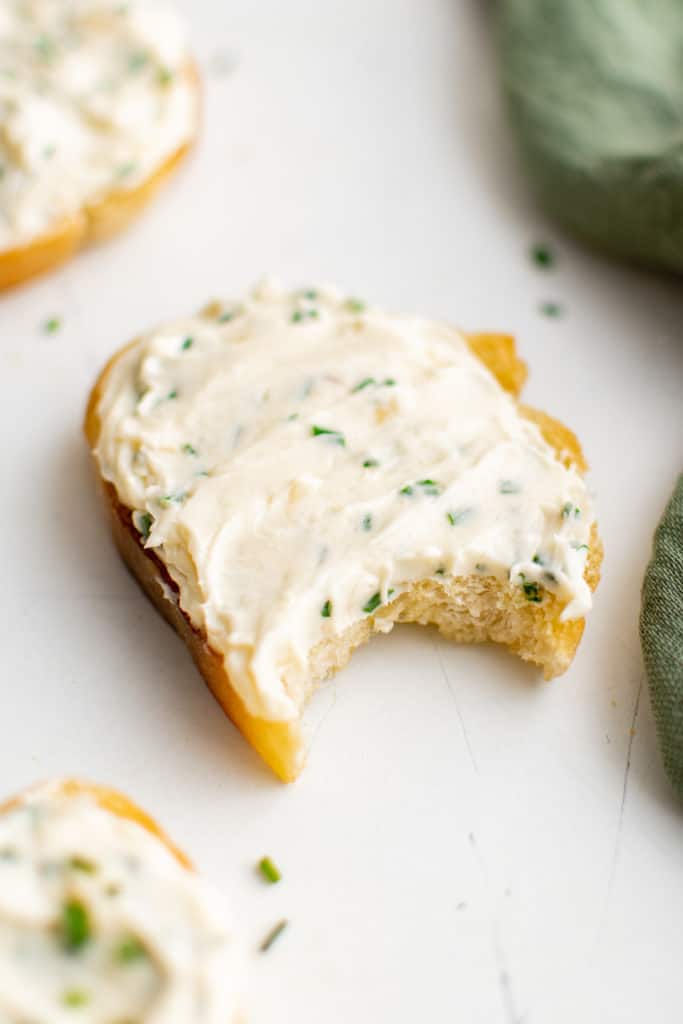
- Use roasted garlic butter on your favorite toasted baguette, baked potatoes, or melt over veggies like roasted asparagus or brussels sprouts.
Tips for Roasted Garlic Butter
- For even more flavor, add additional fresh herbs like oregano, rosemary, or basil.
- You can use salted or unsalted butter for this recipe. I typically opt for unsalted so it’s easier to control how much salt is in the overall dish. You can also add in pepper, onion powder, cayenne, any other seasonings you’d like to amp up the flavor.
- You can use a hand or stand mixer when whipping the butter and mixing in the garlic. I recommend stirring in any fresh herbs you want to add by hand so they don’t get completely torn up by the electric mixer.
- Soften your butter before mixing. It makes it so much easier to work with and to incorporate the garlic. Let it sit on the counter for a bit to naturally soften.
Storage
Storage: This roasted garlic butter will stay fresh in an airtight container in the fridge for up to 5 days.
Freezing: You can wrap this butter in a couple layers of plastic wrap or store in a freezer safe container for up to 3 months. Thaw in the fridge and enjoy.
Will garlic burn in the oven?
Yes, garlic will definitely burn in the oven. The idea here is to roast the garlic long enough to remove some of the sharp, bitter flavor.
The garlic becomes soft, spreadable, and light brown in color. It’s not nearly as strong in flavor as raw garlic. Just don’t leave it in the oven too long or the it will dry up and burn.
Can you freeze roasted garlic butter?
Yes, absolutely! When stored properly, roasted garlic butter stores well in the freezer for about 4 months. Thaw in the refrigerator before using.
Can I pre-peel my garlic?
You can, just keep in mind it may take a bit less time to roast. I would start with 20 minutes and check from there.
How can I serve this butter?
There so many ways we like to use flavored butter:
- Sauteing or roasting veggies. Spreading on a big ear of corn on the cob.
- Melted over steak just like those fancy steakhouses.
- Add flavor to chicken or fish.
- Add to mashed potatoes for the ultimate flavor.
- And of course spreading over warm, crusty bread or cornbread.
Try Adding This Garlic Butter To These Amazing Recipes:
- Mashed Sweet Potatoes
- Easy Lobster Rolls
- Sauteed Broccoli with Garlic
- Lobster Mashed Potatoes
- Lemon Chicken
- Chilean Sea Bass
Like this recipe?
We’d love it if you would leave a 5 Star ⭐️⭐️⭐️⭐️⭐️ rating and comment below!
What You’ll Need
- 3 whole heads of garlic, with the tops cut off
- 2 teaspoons olive oil
- ¼ teaspoon salt
- 1 cup butter, at room temperature
- 2 tablespoons fresh chives, minced
How to Make It
- Preheat the oven to 400°F.
- Lay a medium square of aluminum foil out on a baking pan and place the garlic onto the foil. Drizzle the garlic with the olive oil and sprinkle it with salt.3 whole heads of garlic2 teaspoons olive oil¼ teaspoon salt
- Wrap up the garlic and bake for 30 to 40 minutes or until the garlic is a light golden color.
- Let the garlic cool for 10 to 15 minutes then squeeze it out of the peels into a small bowl. Press and stir until it is fairly smooth.
- Use a hand mixer to whip the butter in a medium bowl. Add the garlic and continue to mix until combined. Stir in the chives then spread over toasted baguette or rolls if desired.1 cup butter2 tablespoons fresh chives
- See post for tips, FAQs, and storage options.
