Homemade Mayo
This post may contain affiliate links. If you make a purchase through links on our site, we may earn a commission.
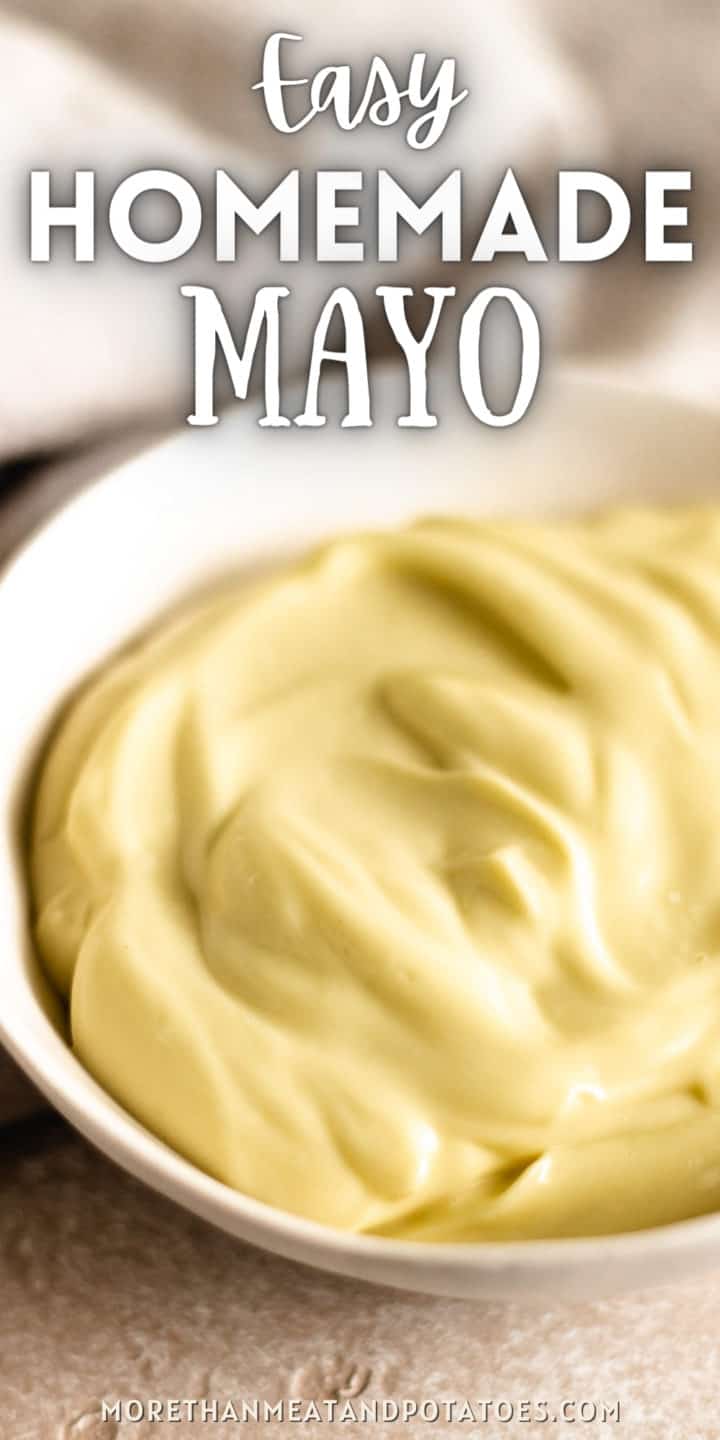
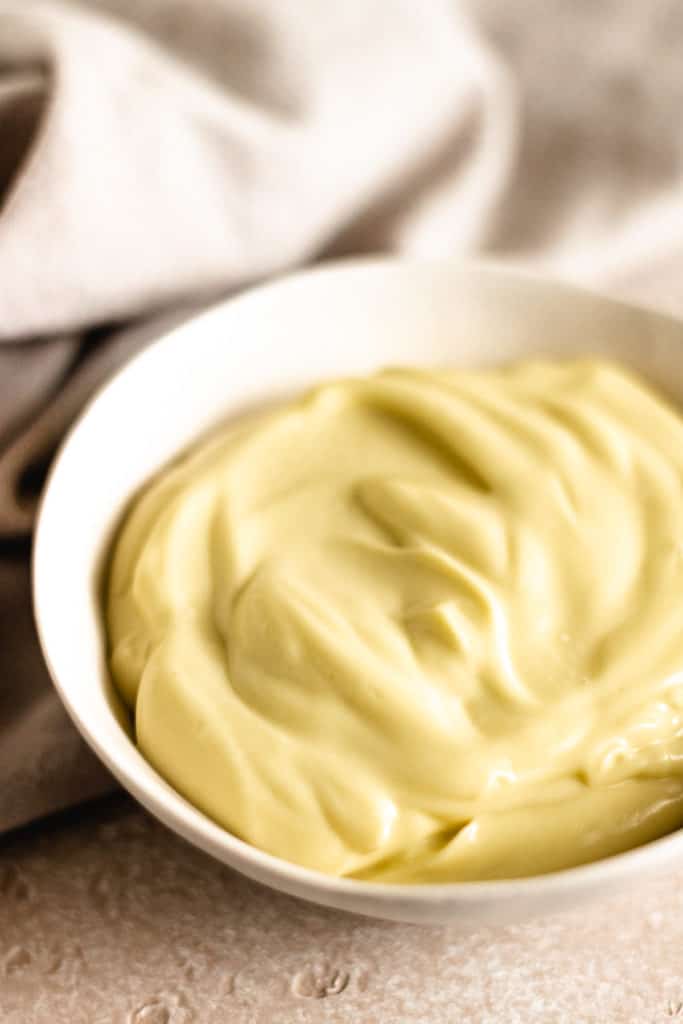
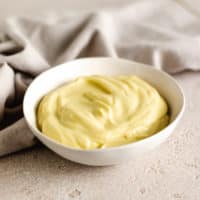
Homemade Mayo is quick to make and tastes far superior to the store bought versions. Made with kitchen staples and in under five minutes, this recipe is smooth, creamy, and flavorful. Great for a myriad of recipes, and the perfect condiment, this Homemade Mayo is a must in your recipe repertoire!
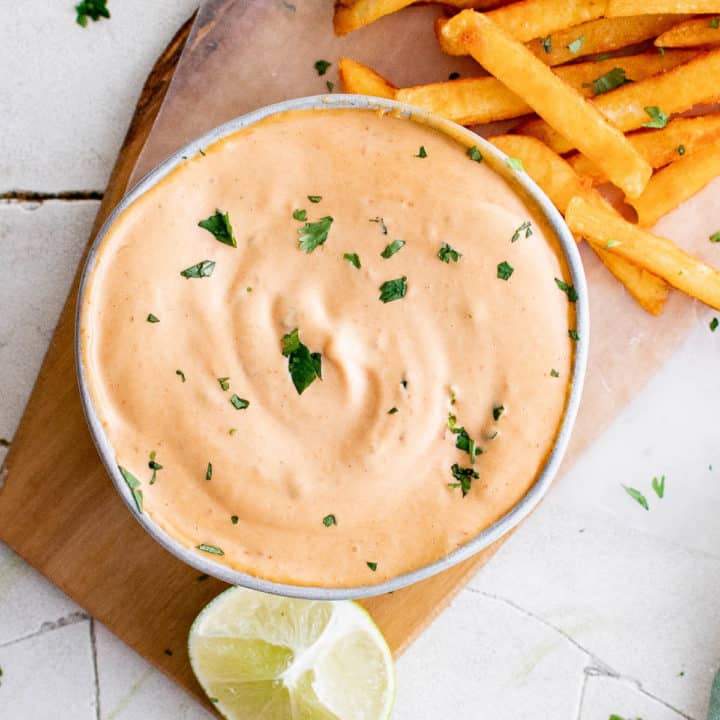
Serve your mayo atop a juicy, grilled chicken sandwich or sizzling burger, use as a dipping sauce for fries, or use it in our Red Potato Salad, Egg Salad Sandwich, and Cranberry Chicken Salad recipes!
How to Store Homemade Mayo
Refrigerator: Store leftovers in an airtight container in the fridge for up to a week.
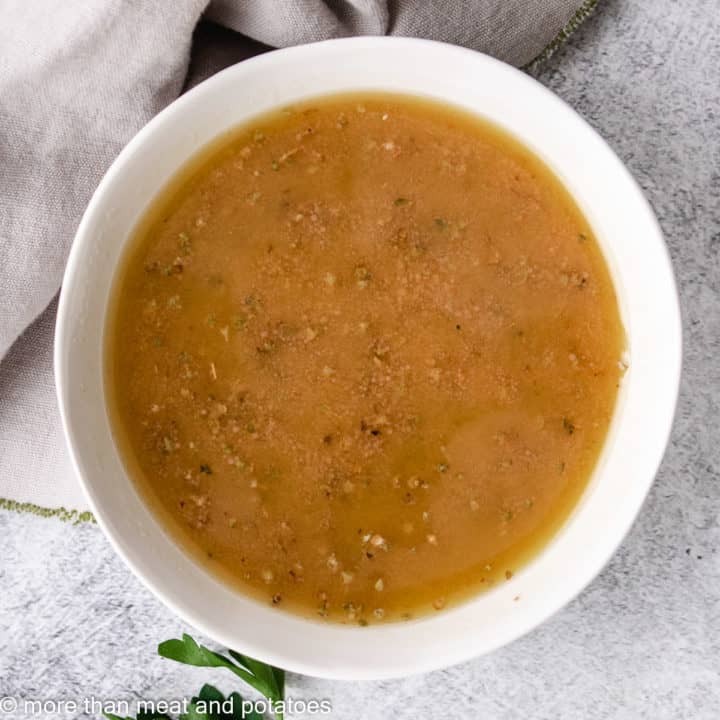
More Condiments You May Love
What You’ll Need
- 1 large egg, at room temperature
- 2 teaspoons freshly squeezed lemon juice
- 1 teaspoon white wine vinegar, red wine vinegar will work in a pinch
- ¼ teaspoon Dijon mustard
- ½ teaspoon salt, or to taste
- ¾ cup avocado oil, or olive oil
How to Make It
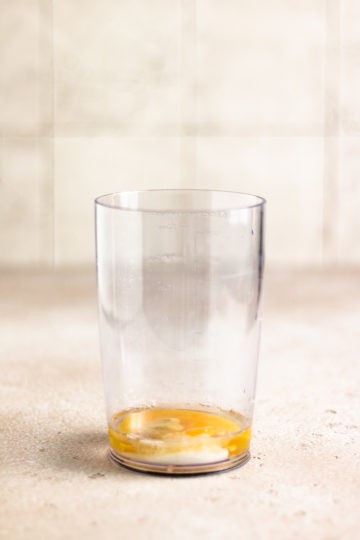
- This recipe uses an immersion blender and the plastic cup that comes with the immersion blender or another tall, skinny container similar to the plastic cup.
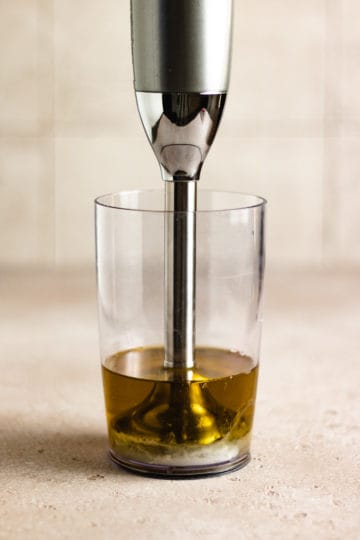
- Place the egg, lemon juice, vinegar, Dijon mustard, and salt in the plastic cup.1 large egg2 teaspoons freshly squeezed lemon juice1 teaspoon white wine vinegar¼ teaspoon Dijon mustard½ teaspoon salt
- Pour the oil in. Then use an immersion blender to pulse the ingredients on the very bottom of the cup.¾ cup avocado oil
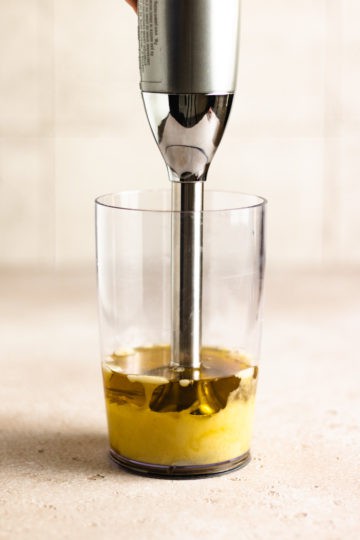
- Keep the blender near the bottom for several seconds while the ingredients mix and change in color. Slowly move the blender up the cup a bit to incorporate more oil into the mixture. Move the blender up and down until all the ingredients are well mixed and light in color.
- Transfer the mayonnaise to the refrigerator until ready to use.
- See post for tips and storage options.
Suggested Equipment
Notes
Nutrition
Serving: 1tablespoonCalories: 126kcalCarbohydrates: 0.1gProtein: 0.5gFat: 14gSaturated Fat: 2gPolyunsaturated Fat: 2gMonounsaturated Fat: 10gTrans Fat: 0.002gCholesterol: 14mgSodium: 104mgPotassium: 6mgFiber: 0.01gSugar: 0.04gVitamin A: 20IUVitamin C: 0.3mgCalcium: 2mgIron: 0.1mg