Cheddar Chive Scones
Our cheddar chive scones are savory, crumbly and delicious! Serve them as a side dish for any meal or enjoy one as an afternoon snack.
Now, if you follow both of our websites, then you know we love biscuits, rolls, and homemade breads. What you may not know is that we also make scones from time to time. Today, we’re sharing our cheddar chive scones. It’s a cheesy twist on the traditional scone formula.
Kim took a homemade scone recipe and added cheddar cheese and chives. If you’ve never tried a scone, they’re similar to biscuits. However, scones are a bit drier and denser. Personally, I enjoy them with a cup of coffee. But, you can serve them any way you want.
How to make cheddar chive scones:
First, cut your butter into small cubes and store it in your fridge until you’re ready to use it.
Afterward, preheat your oven to 375 degrees F. and line a large sheet pan with parchment paper.
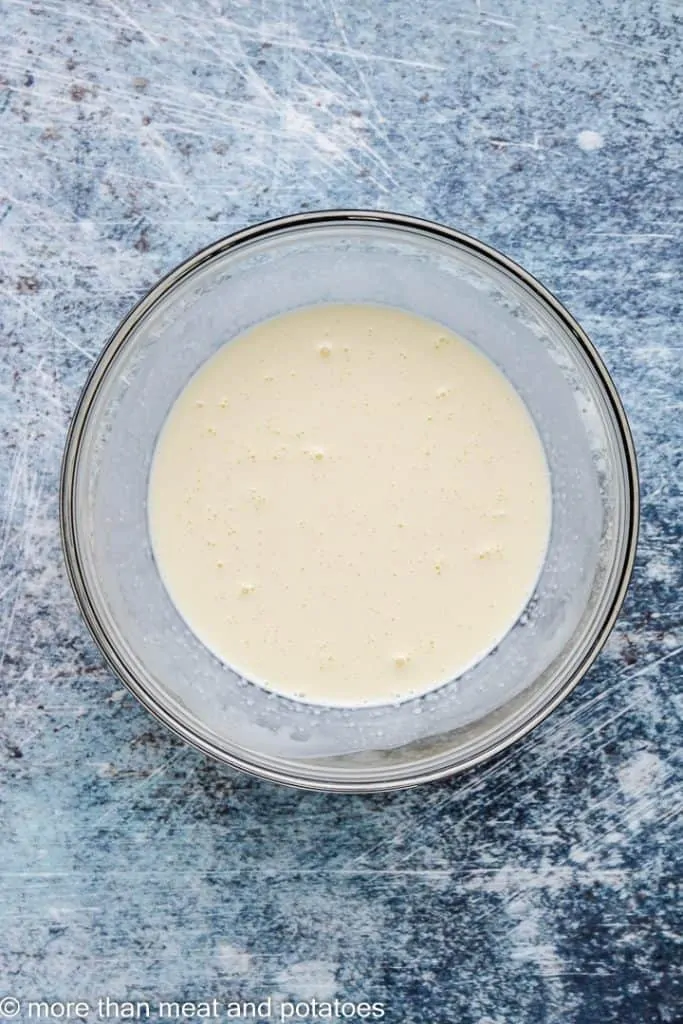
Next, grab a medium mixing bowl and a whisk. Combine 3/4-cup of heavy cream with a cracked egg. Set the mixture aside.
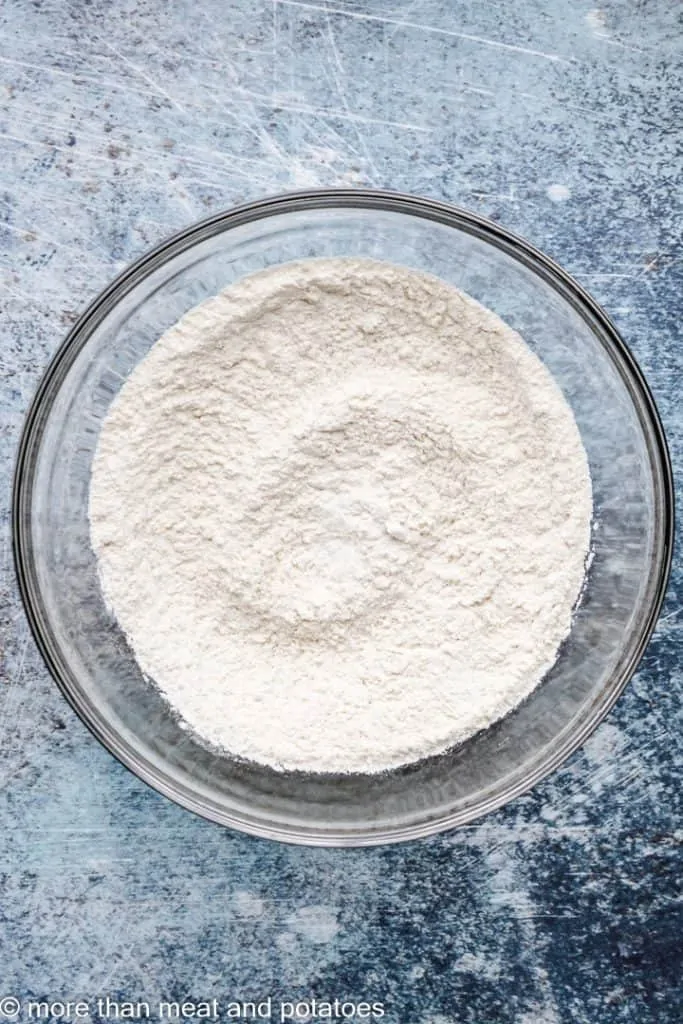
After that, in a large mixing bowl, whisk together the flour, baking powder, sugar, and salt.
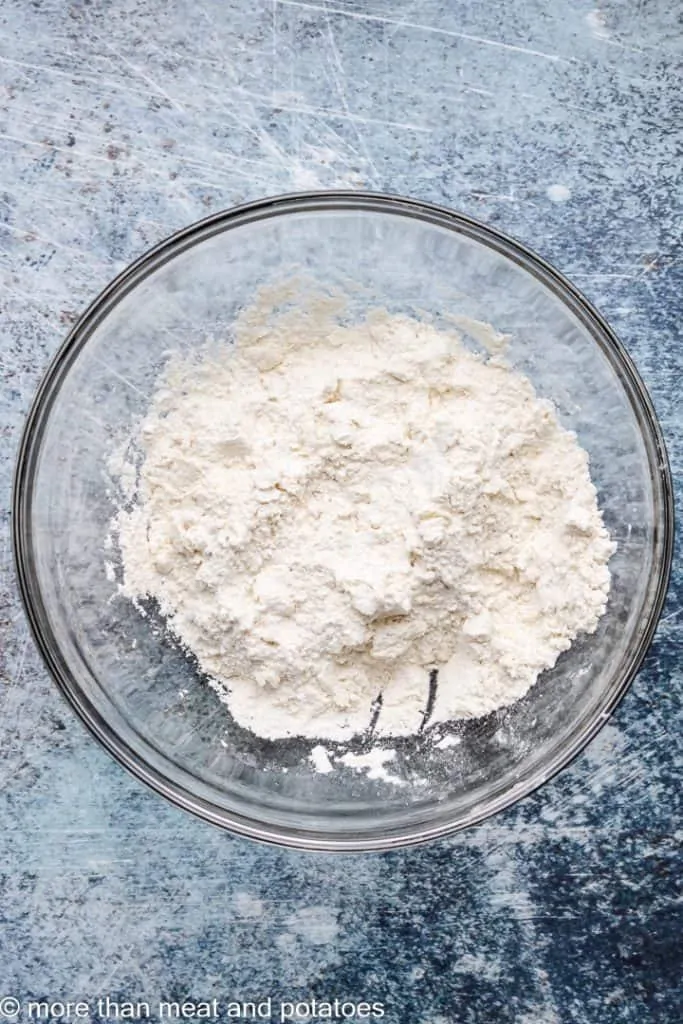
Now, add the cubed butter to the dry ingredients and use a pastry cutter to combine everything.
When the mixture looks like coarse cornmeal or damp sand, sprinkle in the cheese and chives.
Use a fork or a spoon to toss the ingredients together.
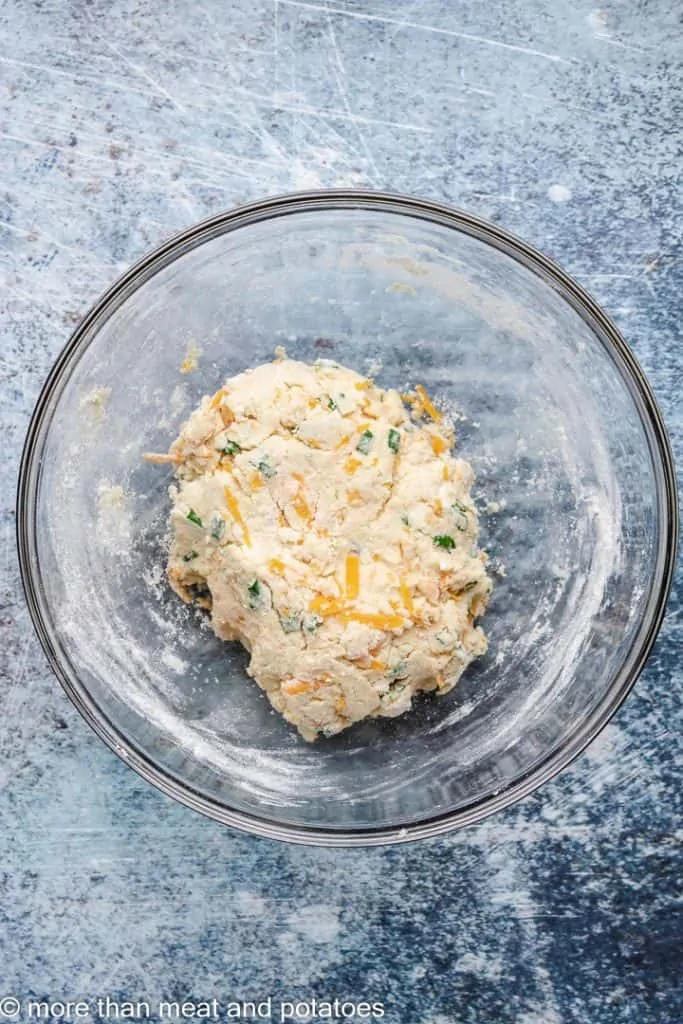
Then, pour the heavy cream and egg mixture into the dry ingredients. Now, use a spoon to combine the mixtures into a dough.
The scone dough should hold together when pressed. If not, add a little extra cream.
At this point, transfer the dough to a lightly floured surface. Form it into a circular disk that’s about 1-inch thick.
Using a pastry brush, spread the 2-tablespoons of heavy cream across the top of the dough.
Cut the dough into 8 equal sized triangles and transfer them to the prepared baking sheet.
Be sure to leave about 2-inches of space between each scone.
Last, place them into the oven to bake for 16-18 minutes or until they’re golden brown.
That’s it, your cheddar chive scones are done! Kim and I hope you enjoy them and wish you all the best 🙂
Recipe Tips
- You can use a food processor to combine the cubed butter with the dry ingredients. Once that’s done, follow the recipe as it’s written.
- If the dough is too wet and sticks to your fingers, then stir in more all-purpose flour (1-tablespoon) at a time.
- The scones can be stored in your fridge, in a sealed container for up to 4-days.
How do I get my scones to rise and become fluffy?
Make sure your baking powder has not expired. Also, be sure that the butter is cold when you place the scones into the oven to bake.
Furthermore, be sure your oven is fully preheated before baking the scones. All three of the factors can affect how well your scones turn out.
Are scones supposed to rise?
Absolutely, that’s why the recipe(s) call for baking powder.
What is the secret to making scones?
There is no secret. Like anything else in life, it takes practice, failures, and learning how to adjust the process to work for you.
For example, if you live at higher elevations, you will need to adjust your baking methods. Just because you’re ignorant that information doesn’t make it a secret. Nobody is intentionally keeping the information from you.
Before you start something, look it up, do some research, and try your hardest to get things right. However, even if you try your hardest, you may still fail miserably. But, you can learn from that failure and try again. Keep at it until you have the expertise and experience to complete the task as it was intended.
Other Recipes to Try
- Puff Pastry Cheese Straws
- Bacon Cheddar Scones
- Cheddar Biscuits
- Irish Soda Bread Scones
- Cranberry Orange Scones
- Jalapeño Cornbread Muffins
Like this recipe?
We’d love it if you would leave a 5 Star ⭐️⭐️⭐️⭐️⭐️ rating below and follow us on Facebook and Pinterest!

Ingredients
- ¼ cup (57 g) unsalted butter
- ¾ cup plus 2 tablespoons (170 g) heavy cream
- 1 (50 g) large egg
- 2 cups (240 g) all-purpose flour
- 1 tablespoon(s) baking powder
- 1 tsp. granulated sugar
- 1 tsp. salt
- 1 cup (110 g) cheddar cheese, shredded off the block
- ½ cup chives, freshly chopped
Instructions
- Cut the butter into small cubes, and place back into the refrigerator or freezer until ready to use. Preheat the oven to 375°F, and line a baking sheet with parchment paper.¼ cup (57 g) unsalted butter
- In a medium bowl, whisk together ¾ cup of heavy cream and the egg. Set aside.1 (50 g) large egg
- In a separate, large bowl, whisk together the flour, baking powder, sugar, and salt. Add the butter to the dry ingredients and use a pastry cutter to cut the butter into the flour mixture. The dry ingredients will start to look like coarse cornmeal. Add the cheese and chives then use a fork to toss and combine.2 cups (240 g) all-purpose flour1 tablespoon(s) baking powder1 tsp. granulated sugar1 tsp. salt1 cup (110 g) cheddar cheese½ cup chives
- Pour the wet ingredients into the dry ingredients. Stir the ingredients until everything is well mixed. The mixture will look slightly dry and shaggy but should hold together when pressed. If it doesn’t, add an additional teaspoon or two of heavy cream.
- Turn the dough out onto a lightly-floured surface. Form the dough into a round disc, about ¾ – 1 inch thick. Use a pastry brush to apply the remaining 2 tablespoons of heavy cream to the top of the dough.
- Use a sharp knife or bench scraper to cut the dough into 8 equal, triangle-shaped pieces. Transfer the scones to the prepared baking sheet and place them about 2-inches apart. Bake for 16 to 18 minutes. The edges and tops should be lightly browned when finished.
- Serve warm, and store leftovers in an airtight container, in your fridge, for up to 4 days.





Are these a drier scone or a more moist scone?
Hi Katherine!
In my opinion, these scones are more moist than dry. They don’t crumble and break into crumbs as you eat them. I also don’t feel like I need a drink of coffee or water after each bite. They definitely aren’t moist like a fresh cinnamon roll or a slice of banana bread, though. Hope that helps! Have a wonderful week! 🙂
Have you ever swapped out the chive for jalapeños?
Good Morning JH, no we’ve never tried to substitute jalapenos for chives. However, I feel like it would work out just fine. If I used pickled jalapenos, I would take a moment to pat them dry with a paper towel. That way, I didn’t add extra moisture to the scones. If you decide to try the swap, can you share your experience? Thank you for commenting and have a lovely day 🙂
Can I make this dough the night before, and bake it in the morning? 😊
Hi Kayla!
Yes, form the dough into a disc and wrap it in plastic wrap. When you’re ready to bake the scones, apply the heavy cream and cut the disc into triangles. Follow the rest of the instructions from there. Have a great evening! 🙂
These were pretty tasty, but honestly I think they could do with about twice as much better and half as much salt! Mine came out a little dry and pretty salty and I missed that richness that I was craving! Otherwise it’s a solid recipe and thank you for sharing!!!
Hi Ara!
We’re glad you liked the recipe and sorry it was a tad too salty. Thanks so much for coming back to comment. We hope you have a great week! 🙂