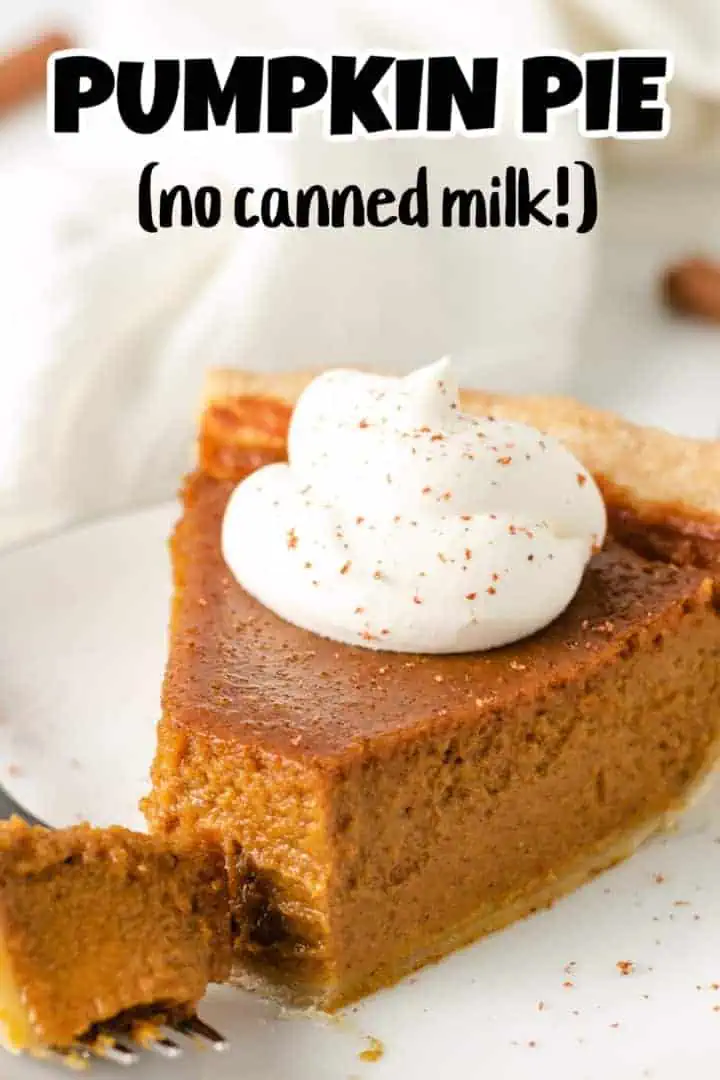
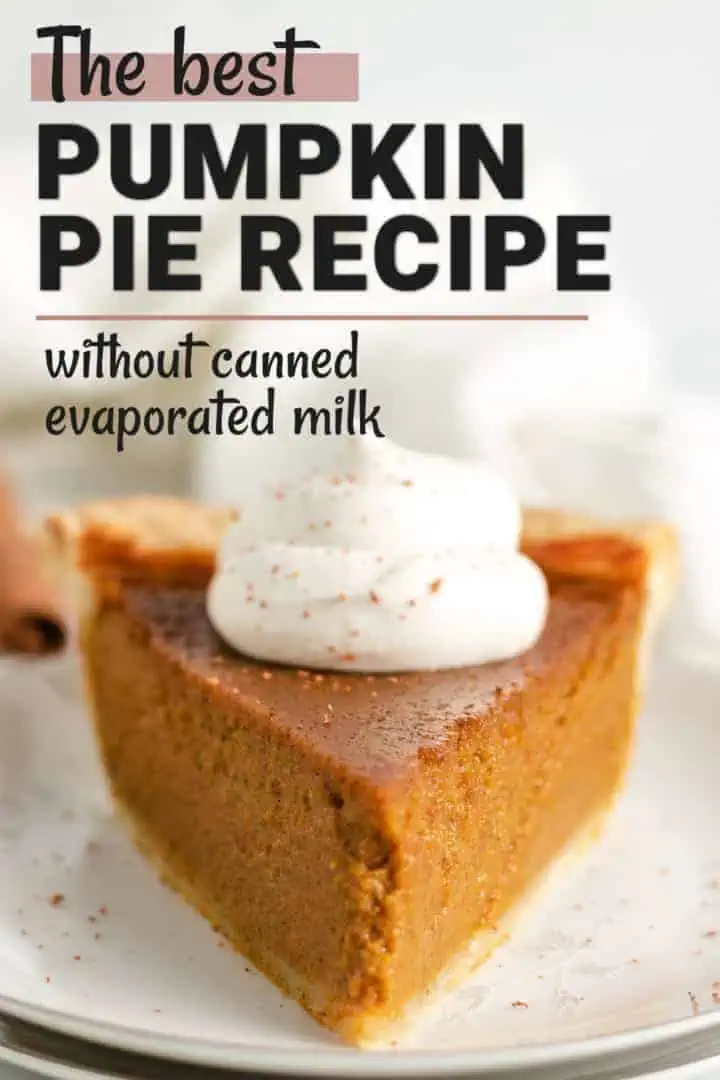
Pumpkin Pie
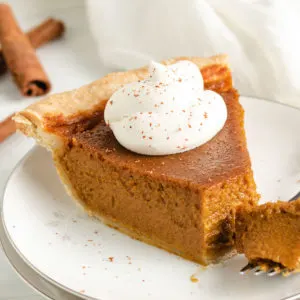
Pumpkin Pie without evaporated milk is a delicious twist on a classic fall dessert. This creamy and flavorful variation, made with rich heavy cream in place of canned milk, takes your traditional pie to a new level. Perfect for autumn, it’s the best pumpkin pie you’ll ever taste!
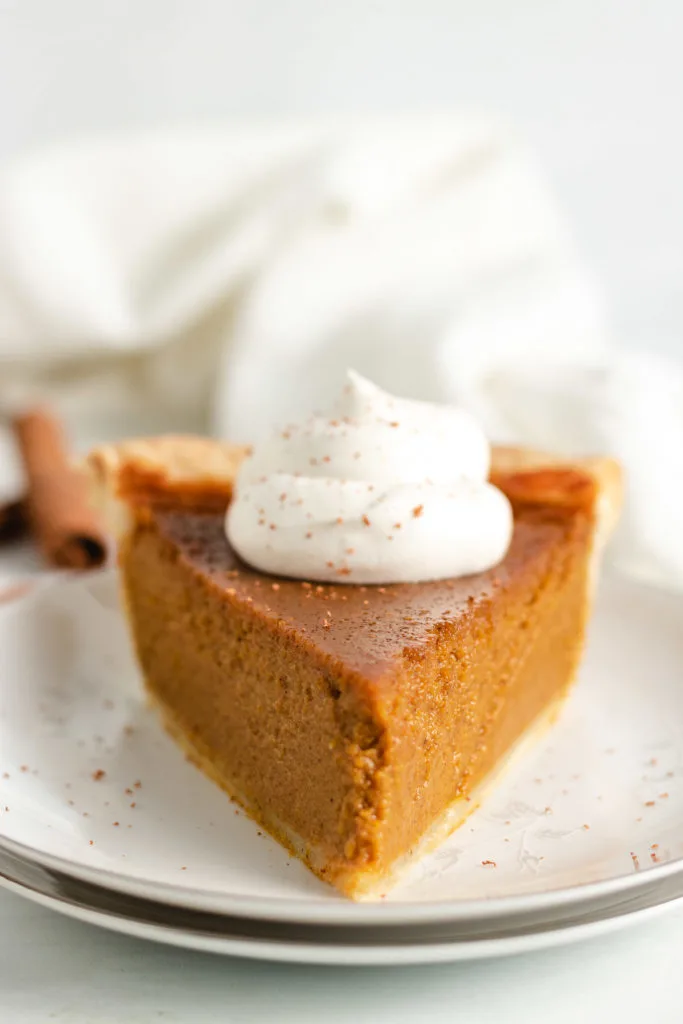
A traditional pumpkin pie is probably one of the most popular items on Thanksgiving menus each year. What’s not to love? It’s a creamy, perfectly spiced custard in a buttery, homemade pie crust filled with the flavors of fall.
This classic dessert makes an appearance at our house every year. John makes a variation of his dad’s recipe by adding a touch of ground ginger to the recipe.
If I’m making the pie, I make this recipe. It’s made with heavy cream and whole milk in place of canned evaporated milk for an extra rich, smooth, creamy texture.
Then, I use brown sugar and granulated sugar for sweetness and a slight caramel flavor. It’s spiced with pumpkin pie spice and cinnamon for the perfect amount of seasonal flavors.
I hope you love my twist on the classic pumpkin pie recipe as much as we do! It’s incredibly delicious and just as good as the original.
Tips
- Pumpkin Purée: When using canned pumpkin purée, make sure it’s 100% pure and not pumpkin pie filling. The filling contains added spices and sugar, which we’re adding separately to the pumpkin mixture.
- Cooking Time: Every oven and pie plate cooks a little differently. Use our times as a guideline, but adjust those times as needed.
- Foil Tent: Make a foil tent for the pie crust if it starts to brown too quickly.
- Topping: Serve with whipped cream, a sprinkle for cinnamon, or pie crust leaves.
Storage
Refrigeration: Cover the pie loosely with plastic wrap or aluminum foil and put it in the refrigerator. It will keep well for 3-4 days.
Freezing: If you want to make the pie ahead of time, you can freeze it. After the pie has completely cooled, wrap it tightly with plastic wrap and then with a layer of aluminum foil. It can be kept frozen for up to one month.
Thawing: To serve, thaw it in the refrigerator overnight and then at room temperature before slicing and serving. The texture is slightly different once the pie thaws. The pie can be frozen and thawed, but it’s best to enjoy it fresh.
Can I make my homemade pumpkin pie in advance?
Absolutely! You can prepare the pie ahead of time and store it in the refrigerator. It’s good for 3-4 days in the fridge.
Can I use fresh pumpkin instead of canned purée?
We developed this pumpkin dessert using canned pumpkin purée and aren’t sure how fresh pumpkin would work. If you decide to try fresh pumpkin, we recommend doing a test run first to see how it goes. Don’t wait until the holidays to try it out.
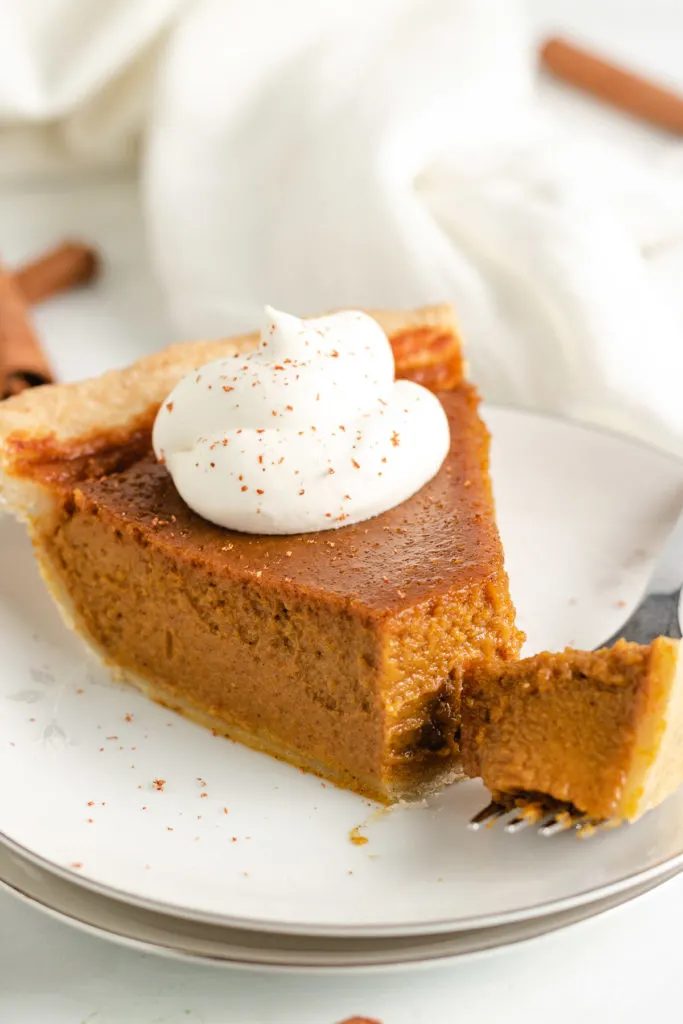
How can I prevent my pumpkin pie from cracking?
To avoid cracks, be sure not to overcook the pie. The center should still wobble slightly when it’s ready to come out of the oven.
Sudden changes in temperature contribute to cracks in custard pies. Turn the oven off, and let the pie cool in the oven for 10-15 minutes before moving it to a wire rack to cool completely. Let the pie cool completely at room temperature, usually about an hour, before placing it in the fridge to cool completely.
Are the seasonings adjustable?
Yes, the seasonings are adjustable in this pumpkin pie recipe. Feel free to modify the amounts of cinnamon, pumpkin pie spice, vanilla, and salt to suit your tastes.
However, it’s crucial to stick with the specified amounts for the other ingredients, particularly the pumpkin purée, eggs, heavy cream, milk, etc. Changing or omitting these could impact the texture and firmness of your pie.
What’s the best brand of pumpkin purée for pie?
We like Libby’s canned pumpkin purée for homemade pumpkin pie, because it doesn’t contain a lot of liquid which can affect the texture and firmness of the pie. We tend to shy away from organic and homemade purée.
Do I need to blind bake the pie crust before adding the pie filling?
Blind baking the pie crust isn’t necessary for this pie recipe. The pumpkin filling cooks at the same rate as the pie crust, ensuring that the crust doesn’t become soggy.
If you’re worried about a soggy crust, you can brush the pie crust with a beaten egg before adding the pumpkin mixture. It creates a barrier between the crust and the filling and helps to keep it crisp. However, this is an optional step.
Other Pie Recipes You’ll Love:
Like this recipe?
We’d love it if you would leave a 5 Star ⭐️⭐️⭐️⭐️⭐️ rating and comment below!
What You’ll Need
- 1 pie crust, homemade or store bought (9-inch)
- 15 ounces (425 g) pumpkin puree, 1 can
- 1 cup (240 ml) heavy cream
- 1 cup (200 g) granulated sugar
- ¼ cup (50 g) light brown sugar
- ¼ cup (60 ml) whole milk
- 3 large eggs
- 1 tablespoon plus 2 teaspoons pumpkin pie spice
- 1 teaspoon ground cinnamon
- 1 teaspoon vanilla extract
- ½ teaspoon salt
How to Make It
- Preheat the oven to 350°F, and add the pie crust to a 9-inch pie plate. Transfer the pie plate to the refrigerator while the filling is being prepared.1 pie crust
- In the bowl of a stand mixer fitted with the paddle attachment, combine the pumpkin puree, heavy cream, granulated sugar, brown sugar, milk, eggs, pumpkin pie spice, cinnamon, vanilla, and salt. Mix on low speed until smooth.15 ounces (425 g) pumpkin puree1 cup (240 ml) heavy cream1 cup (200 g) granulated sugar¼ cup (50 g) light brown sugar¼ cup (60 ml) whole milk3 large eggs1 tablespoon plus 2 teaspoons pumpkin pie spice1 teaspoon ground cinnamon1 teaspoon vanilla extract½ teaspoon salt
- Pour the filling into the chilled pie shell, and place the pie plate onto a baking sheet for easy handling.
- Bake for 50-60 minutes or until the center is almost set but still jiggles some. It will continue to set once it’s removed from the oven.
- Allow the pie to cool for an hour at room temperature before transferring to the refrigerator to cool completely, about 2-3 hours.
- Serve chilled with fresh whipped cream.
- Scroll up and see the post for tips, FAQs, and storage recommendations.
