Flaky Homemade Biscuits
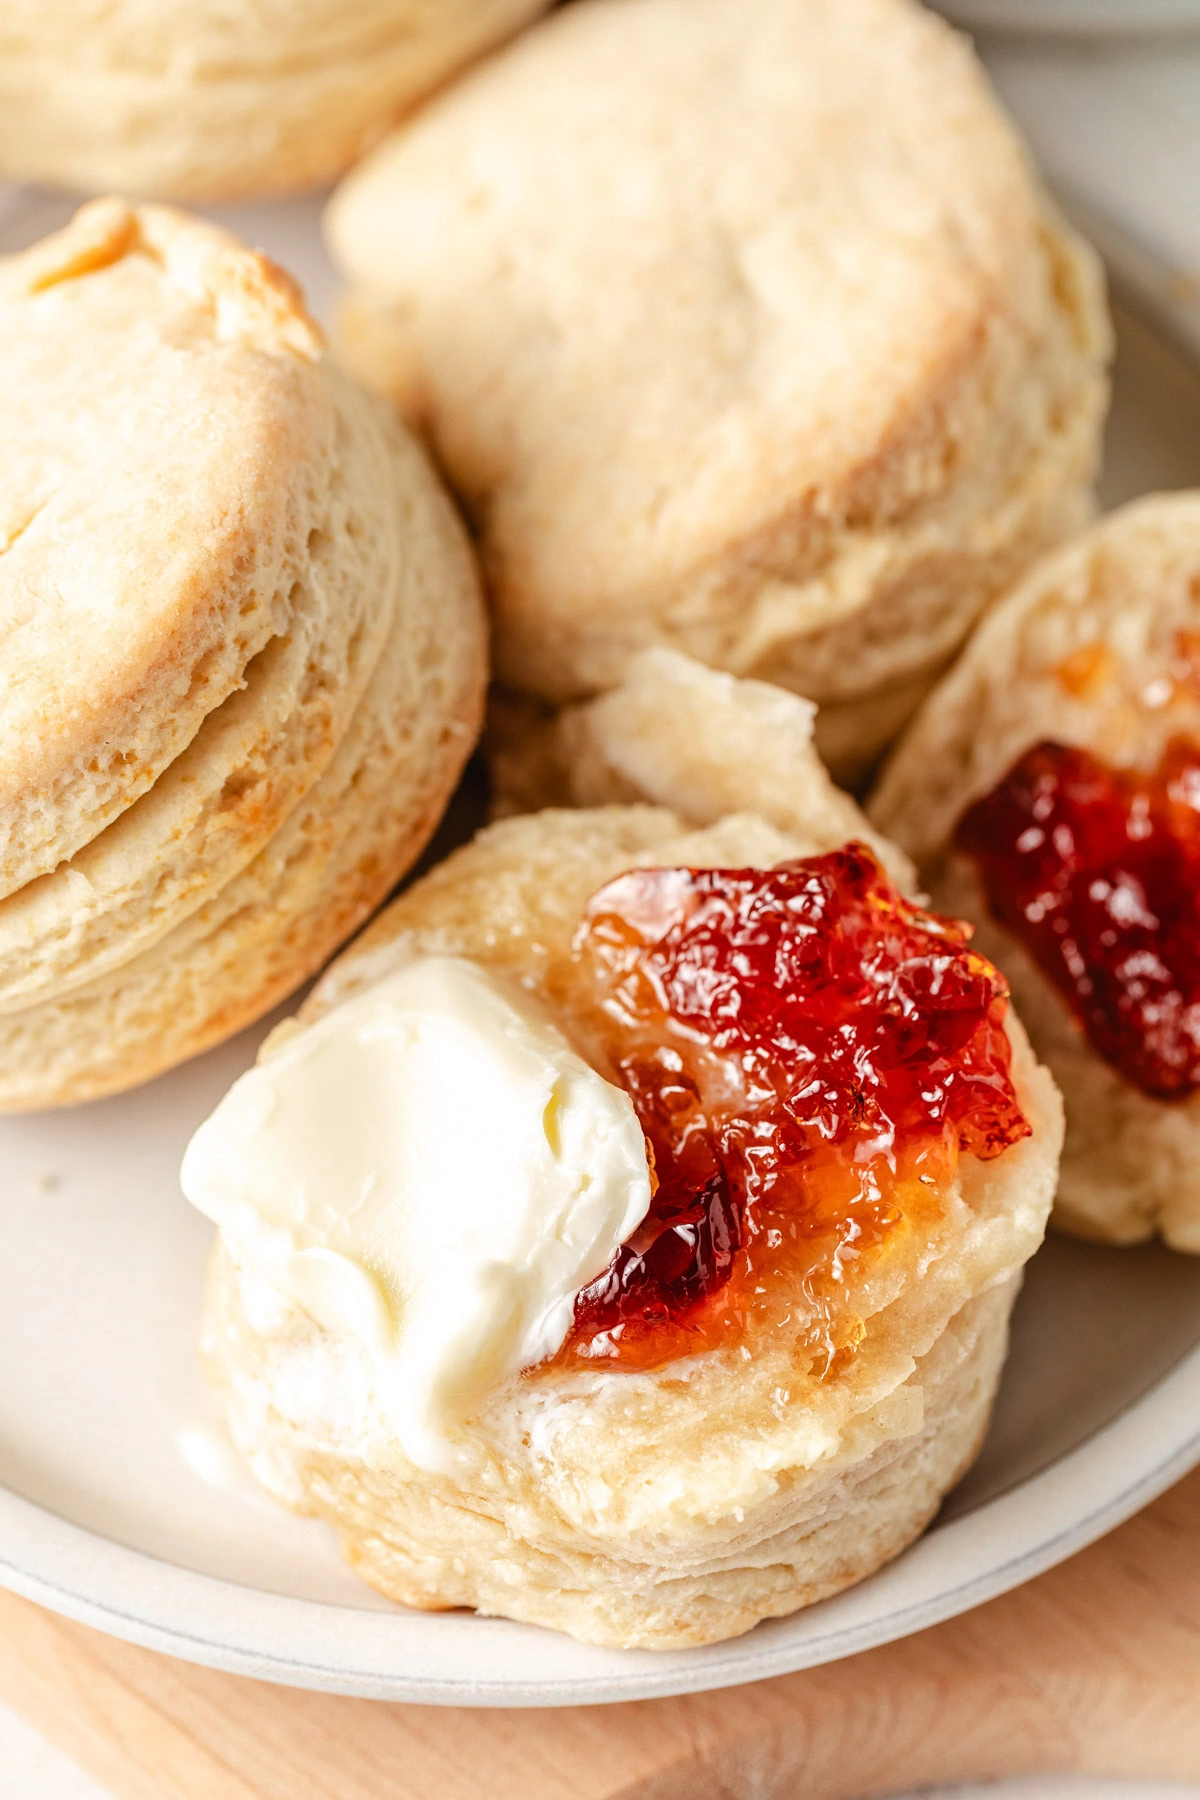
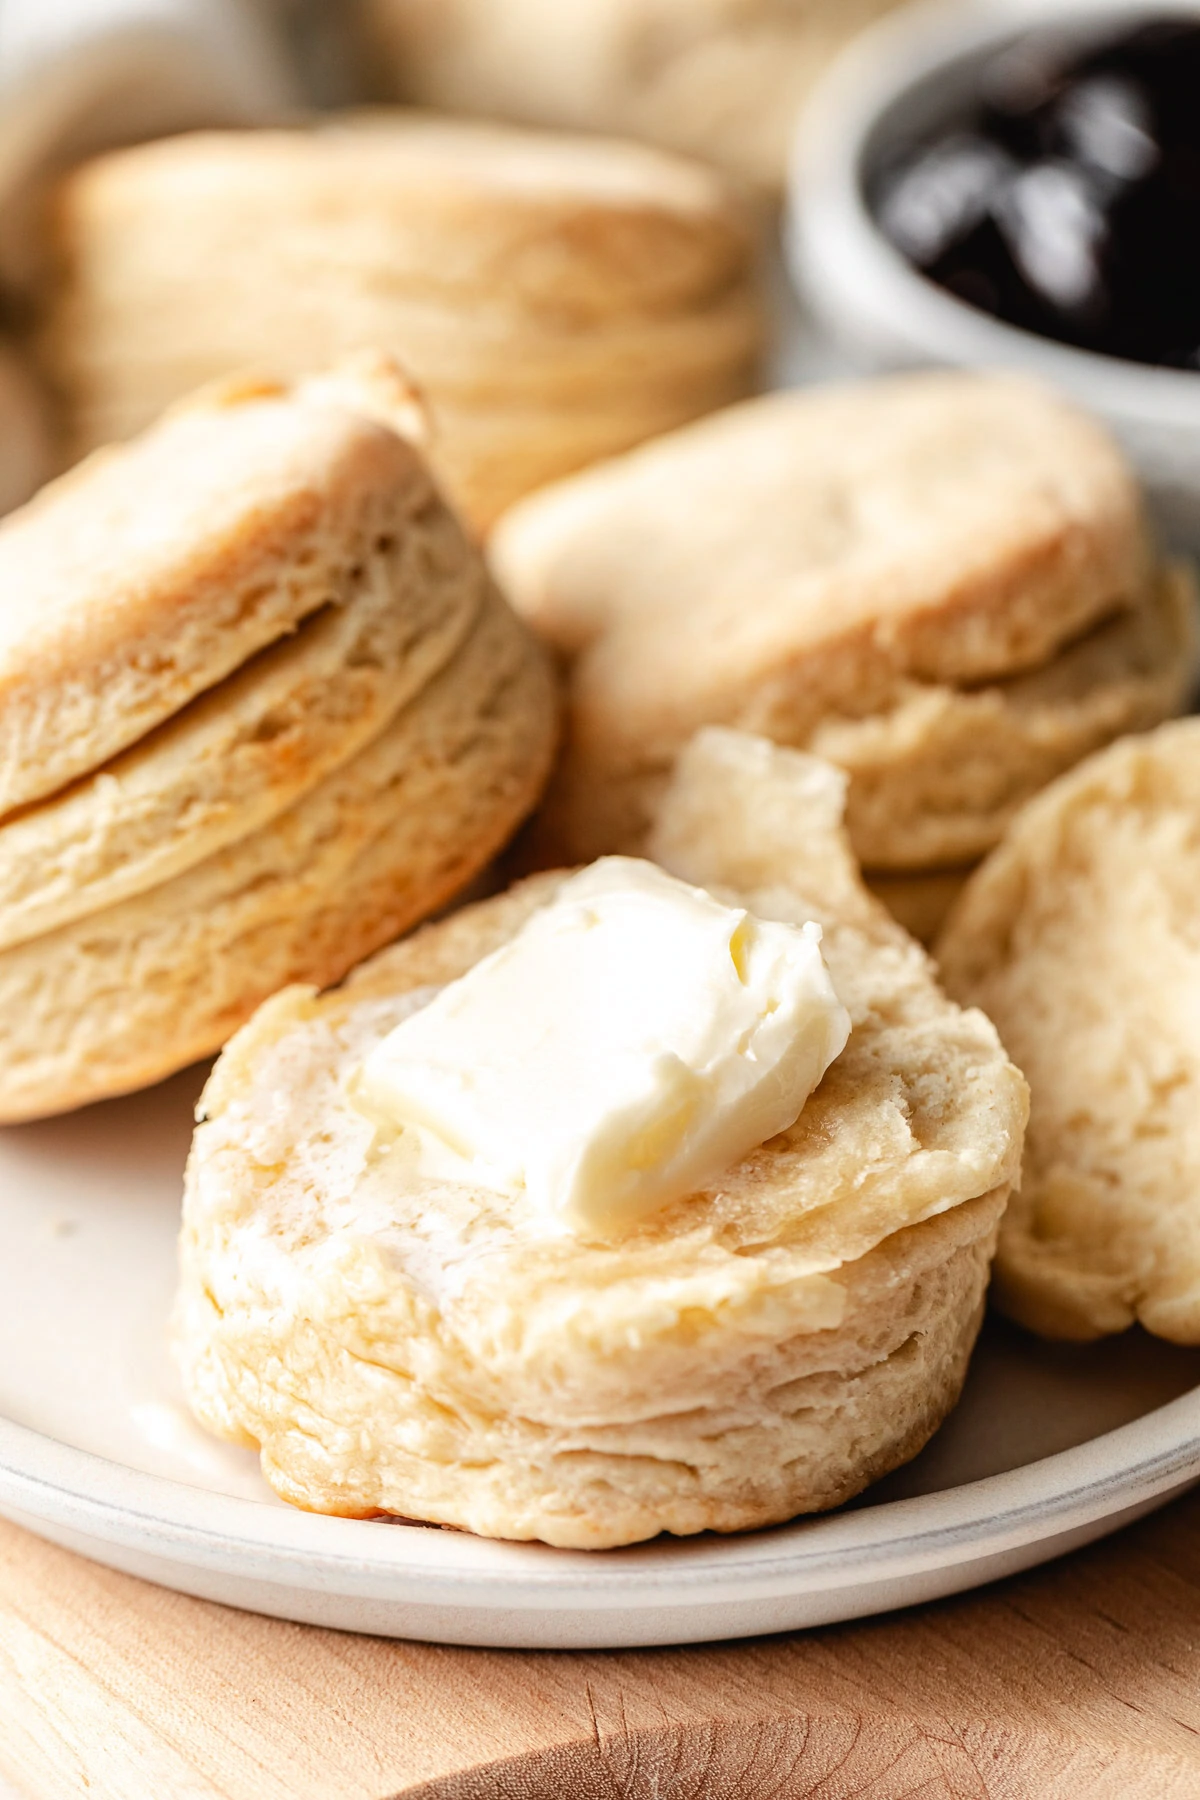
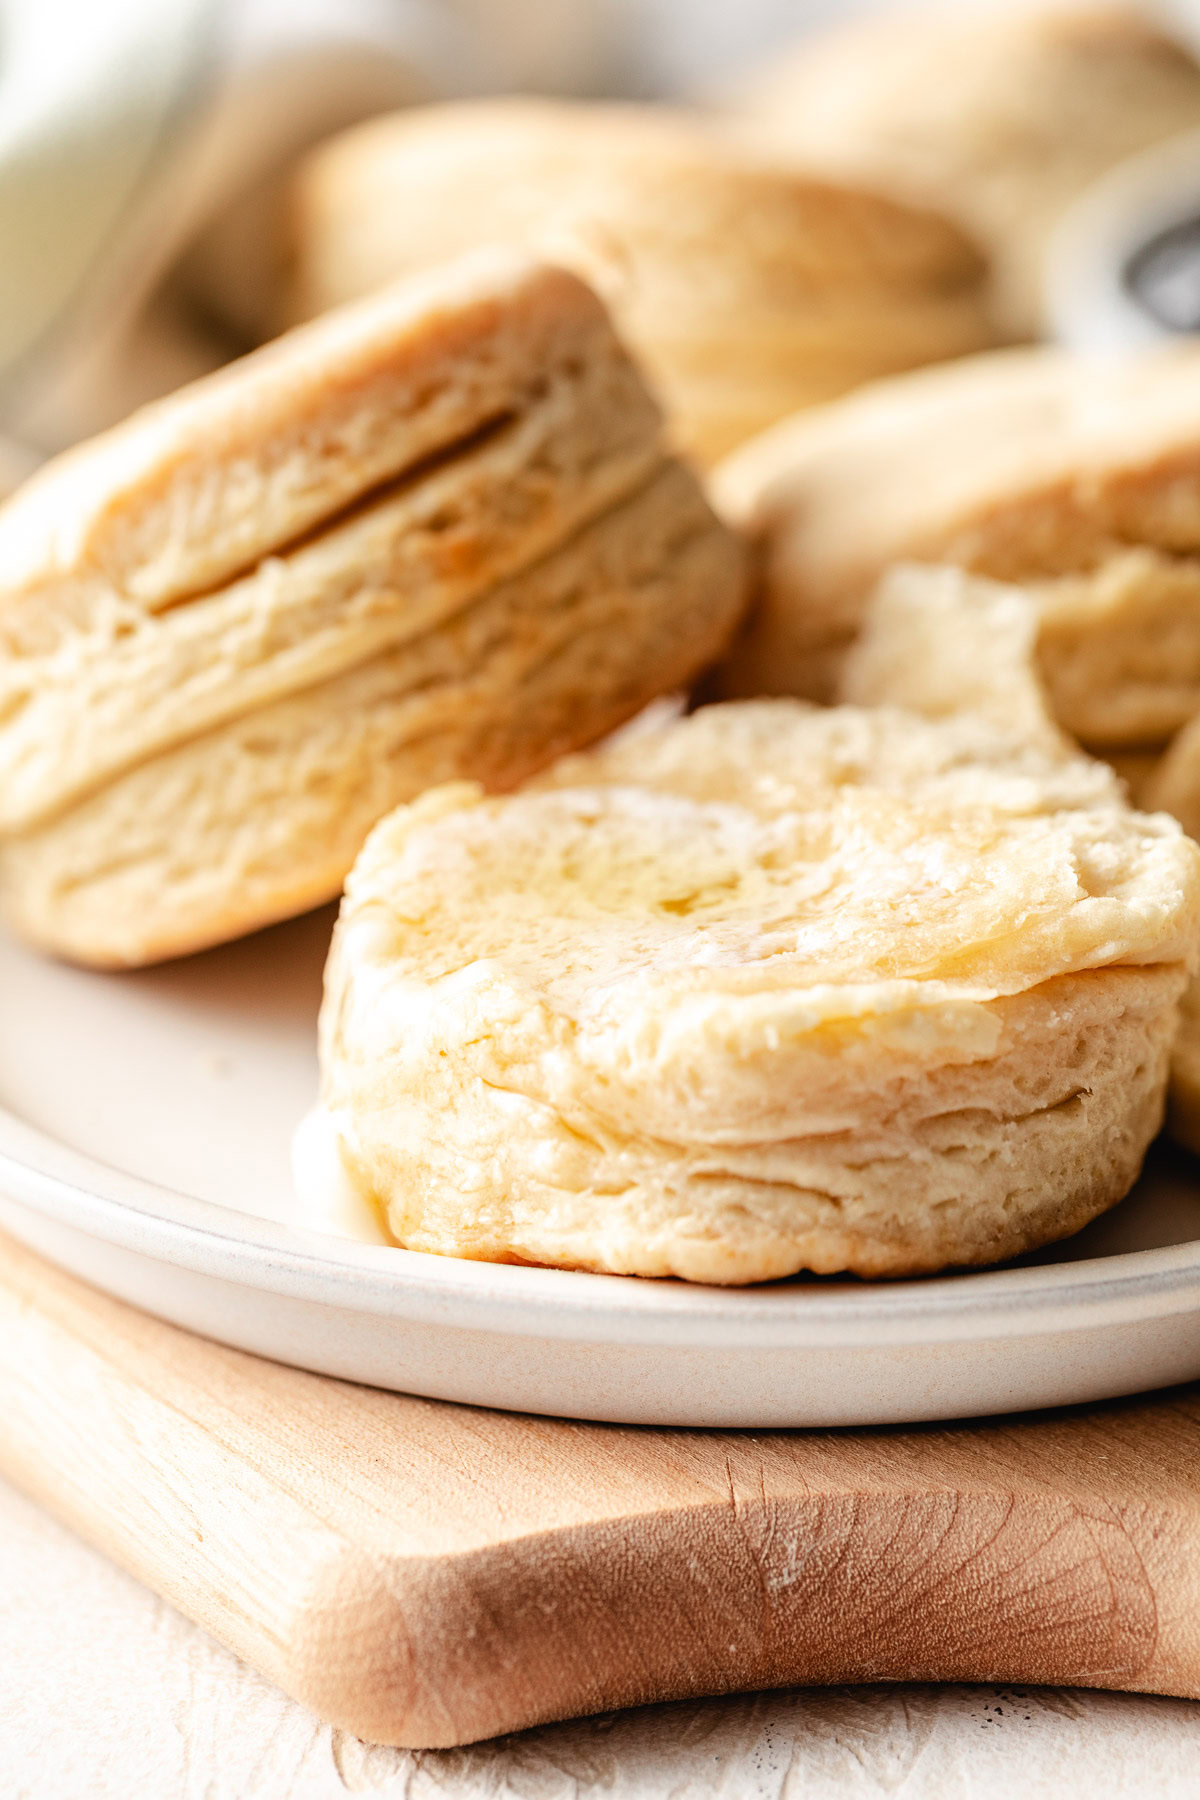
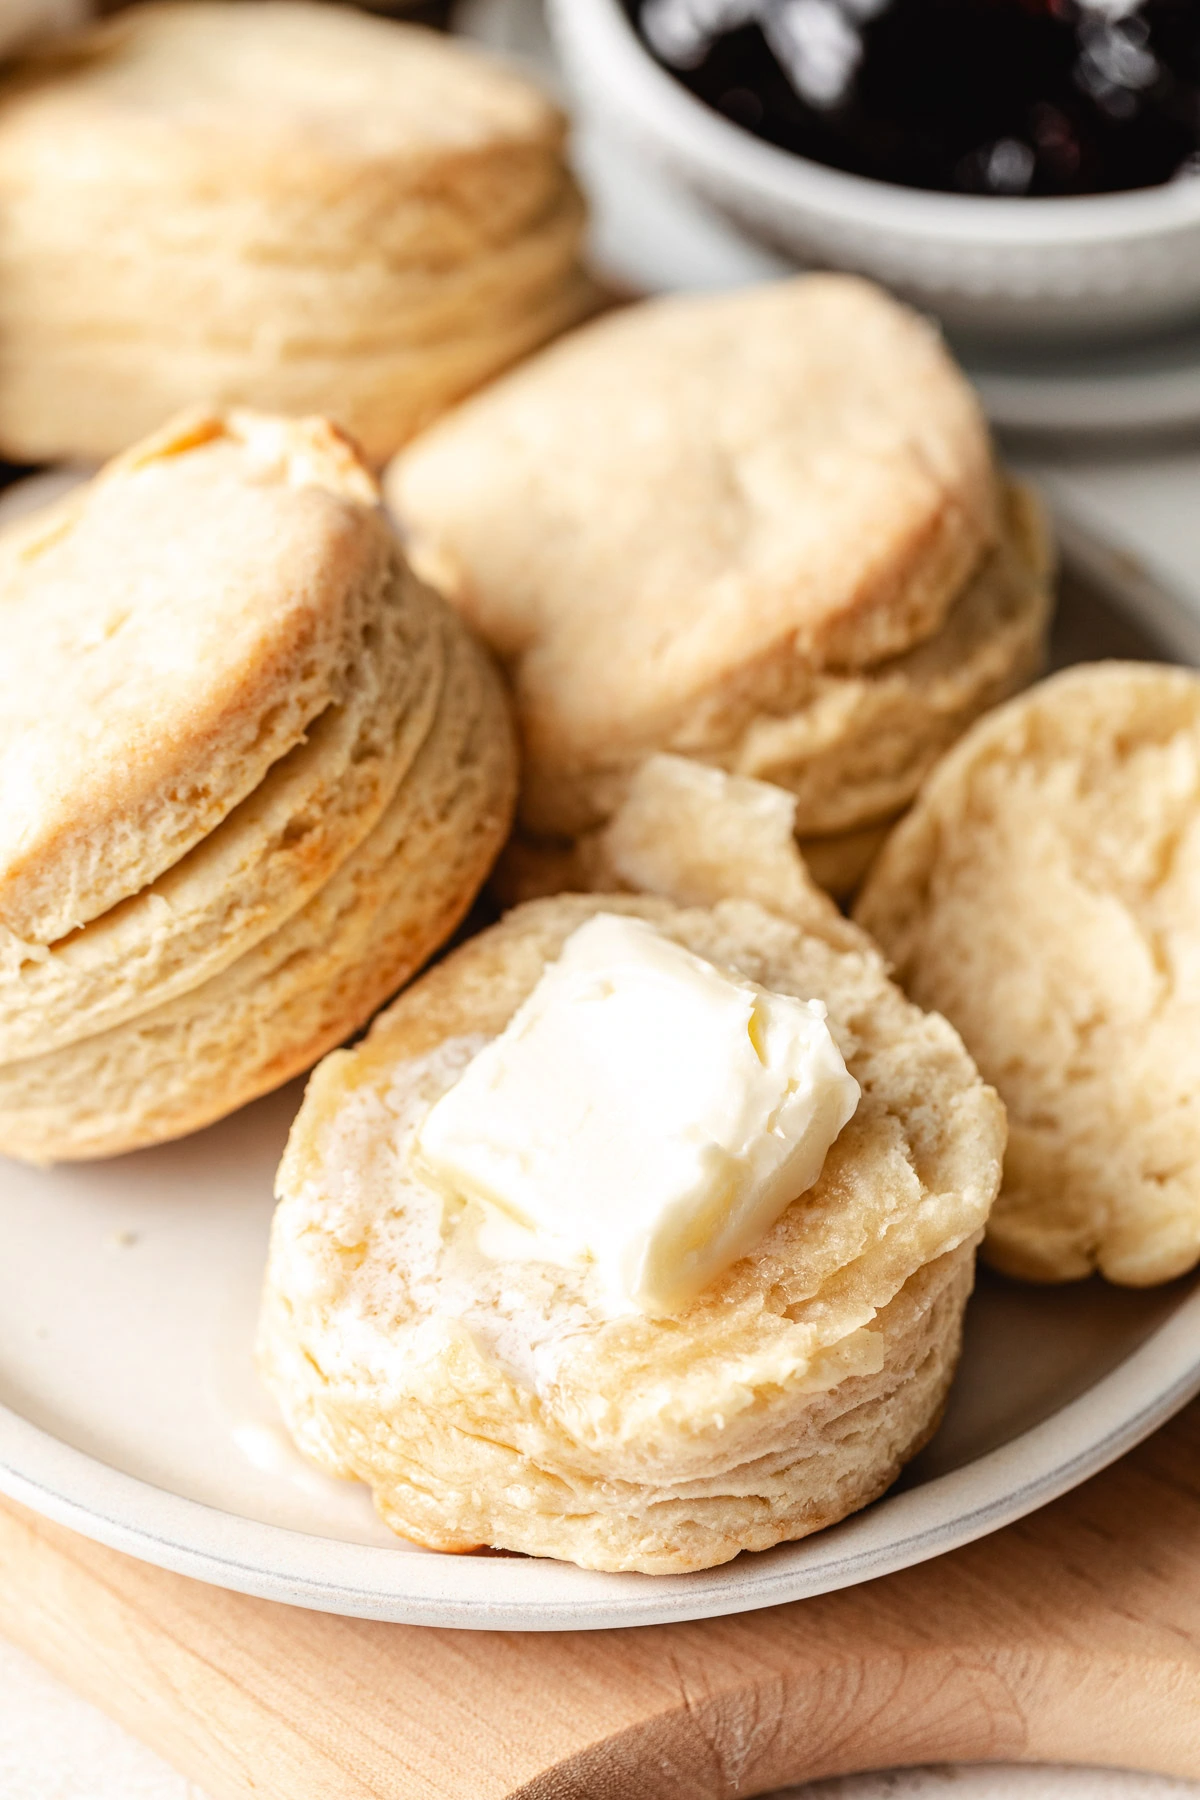
Homemade biscuits are a staple in my kitchen and for good reason. They bake up soft, buttery, and full of flaky layers that practically melt in your mouth.
You may also love my sweet potato biscuits and sourdough biscuits.
Want to Save this Recipe?
Best Buttermilk Biscuits Recipe
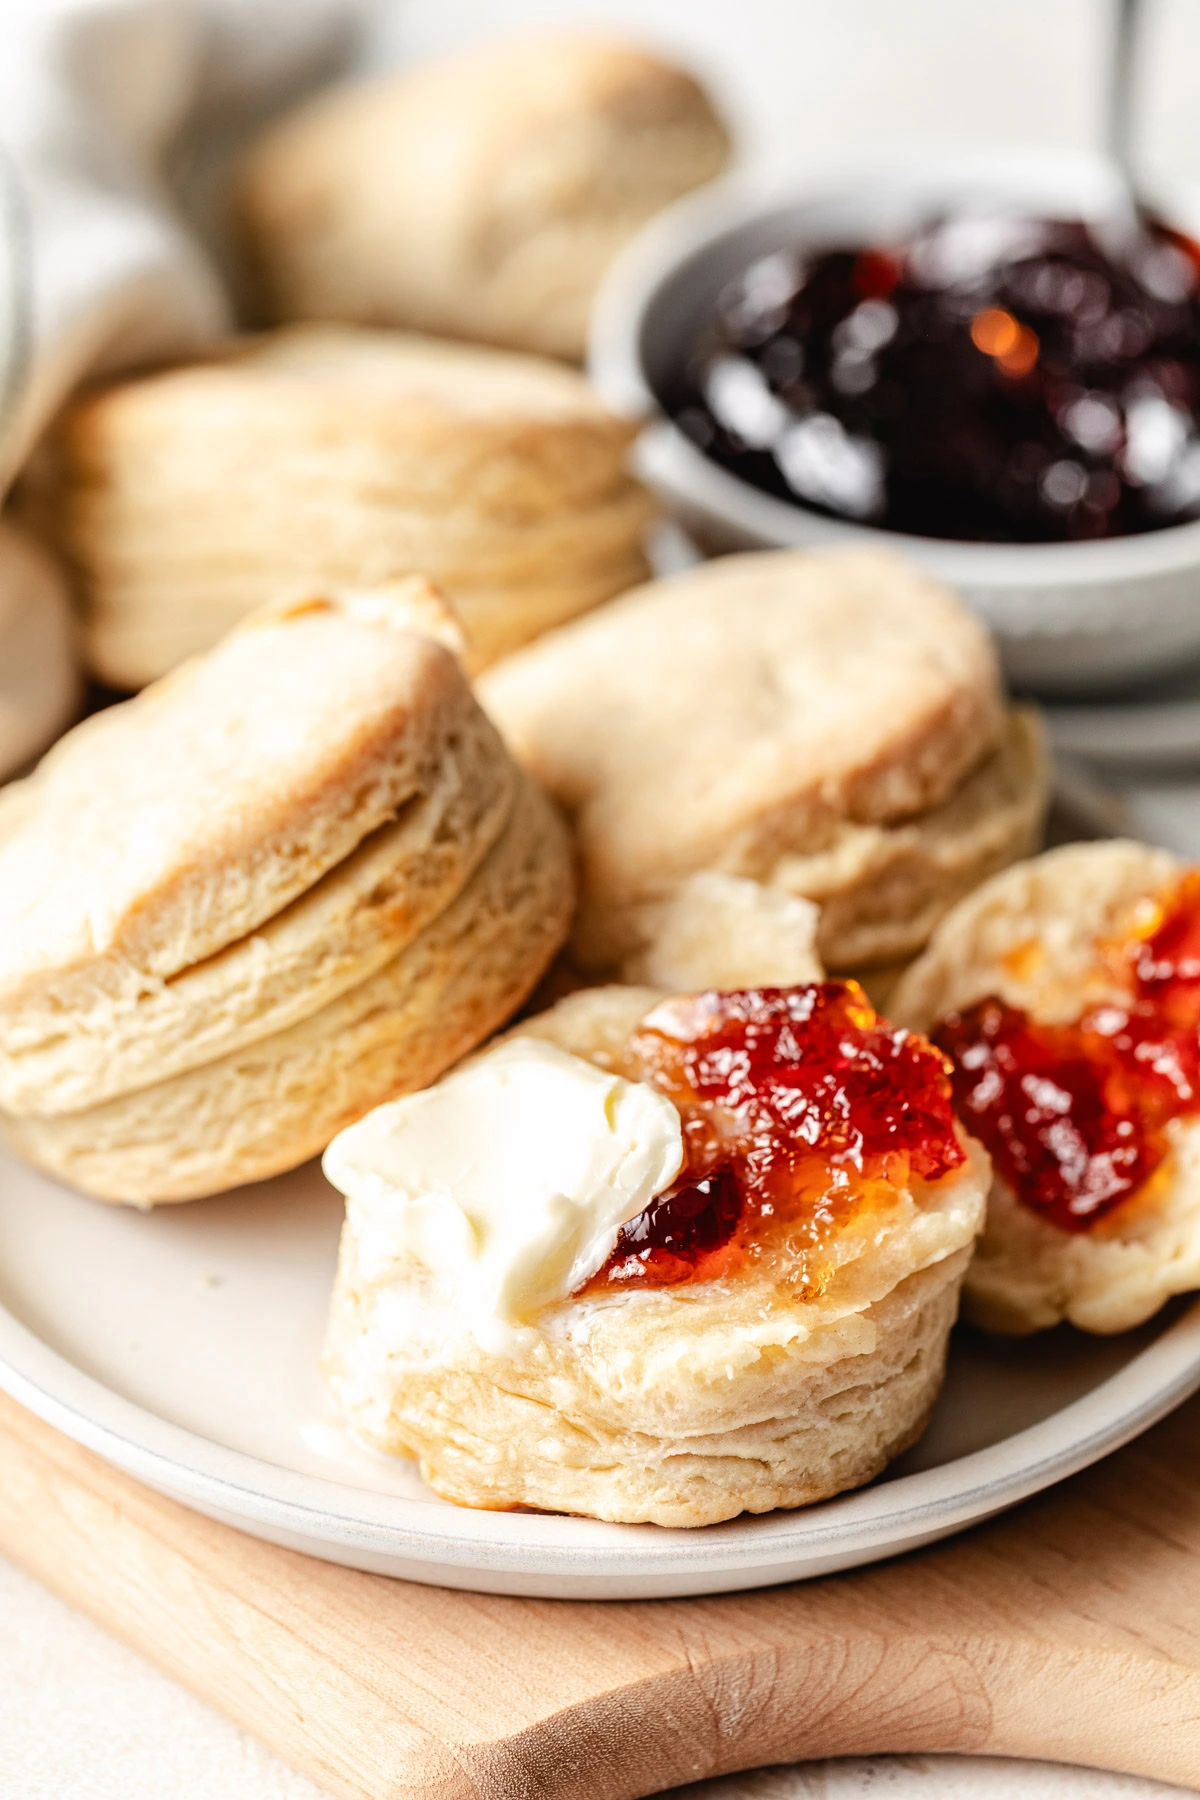
Around here, a warm batch of biscuits never lasts long whether we’re serving them with gravy, honey, or a spoonful of jam.
I grew up in an area of the country where people made biscuits from scratch more often than they bought canned, and that tradition stuck.
These days, I can have a pan ready in about 20 minutes, which makes them perfect for busy weekdays or slow weekend breakfasts. My family loves them, and I think yours will too.
How to Make Homemade Biscuits
Follow along with the photos below to see how these biscuits come together. You’ll find the full, detailed instructions in the recipe card at the bottom of the post.
Preheat the oven to 450°F, and lightly grease a baking sheet or cake pan.
Start by cutting the butter into cubes and placing it into the freezer.
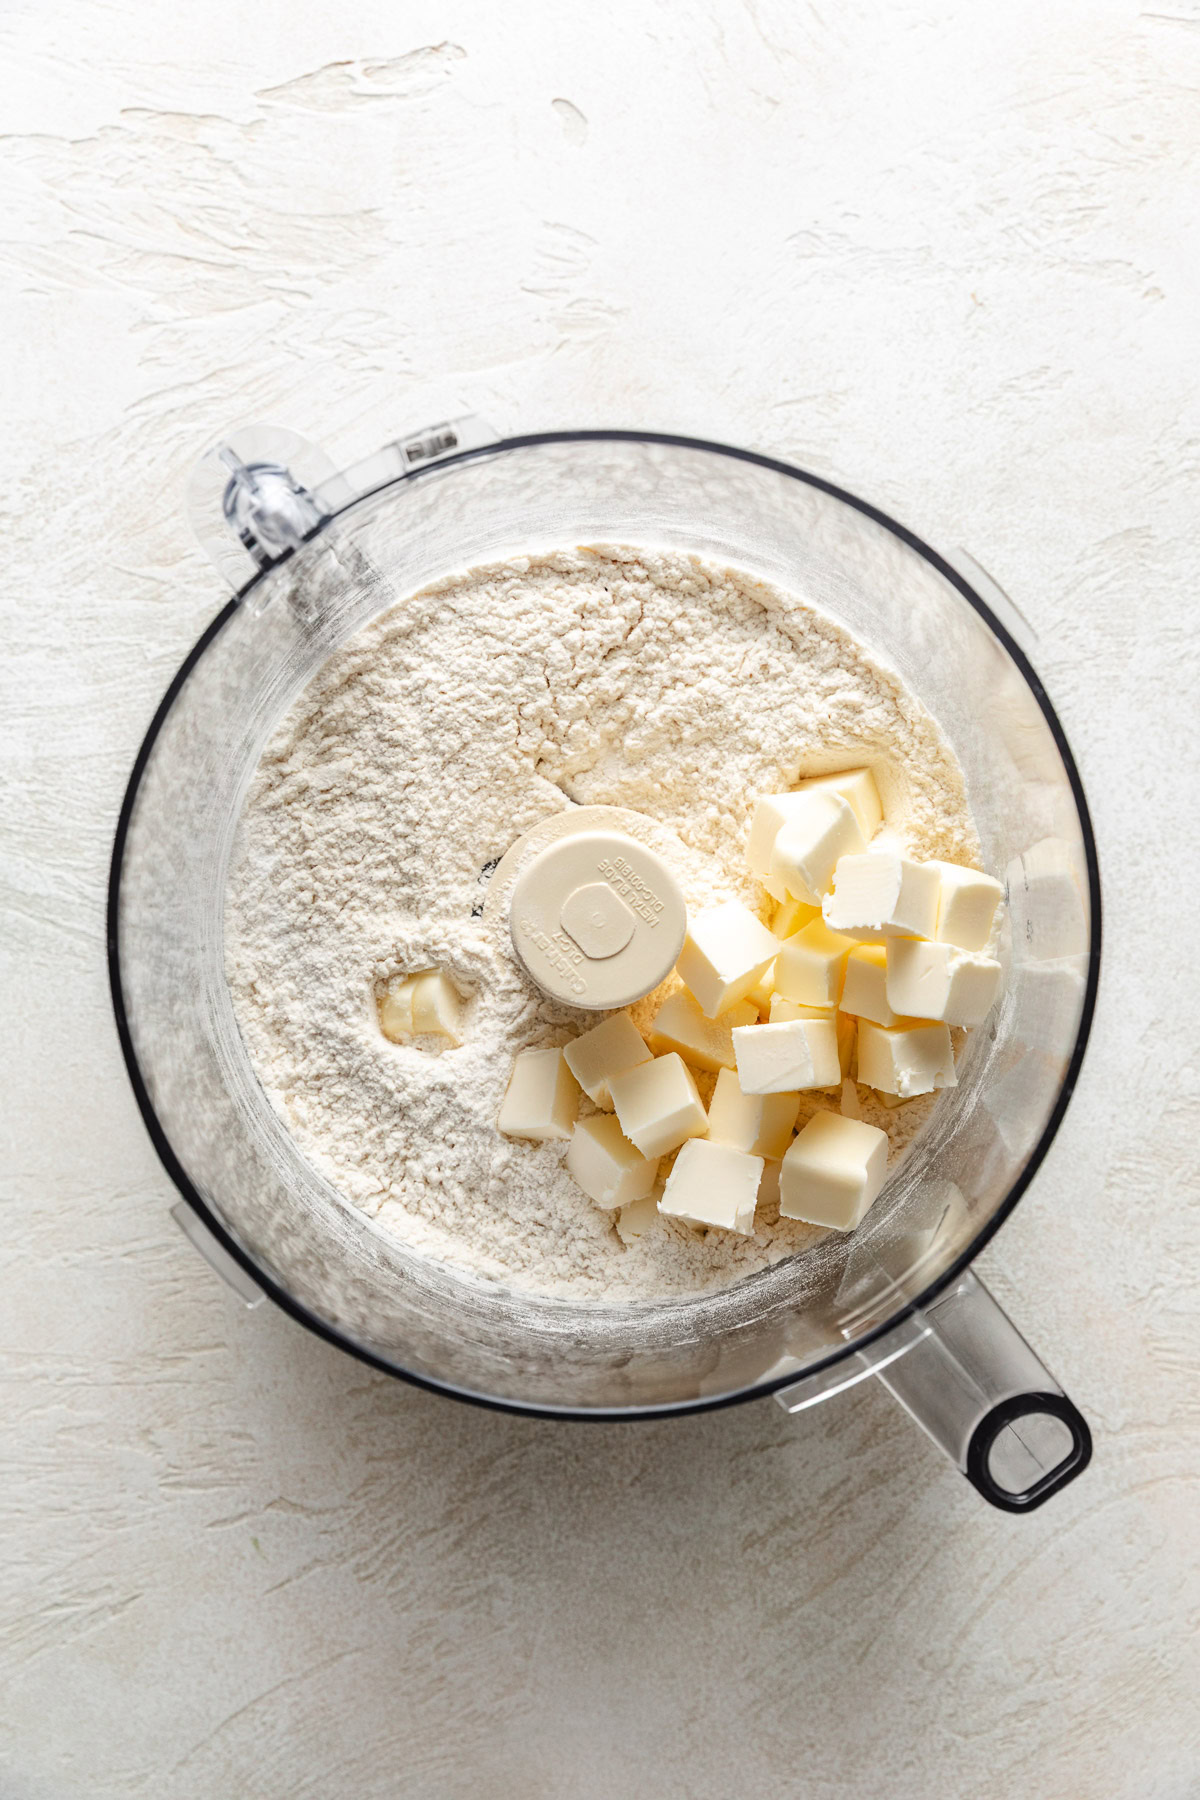
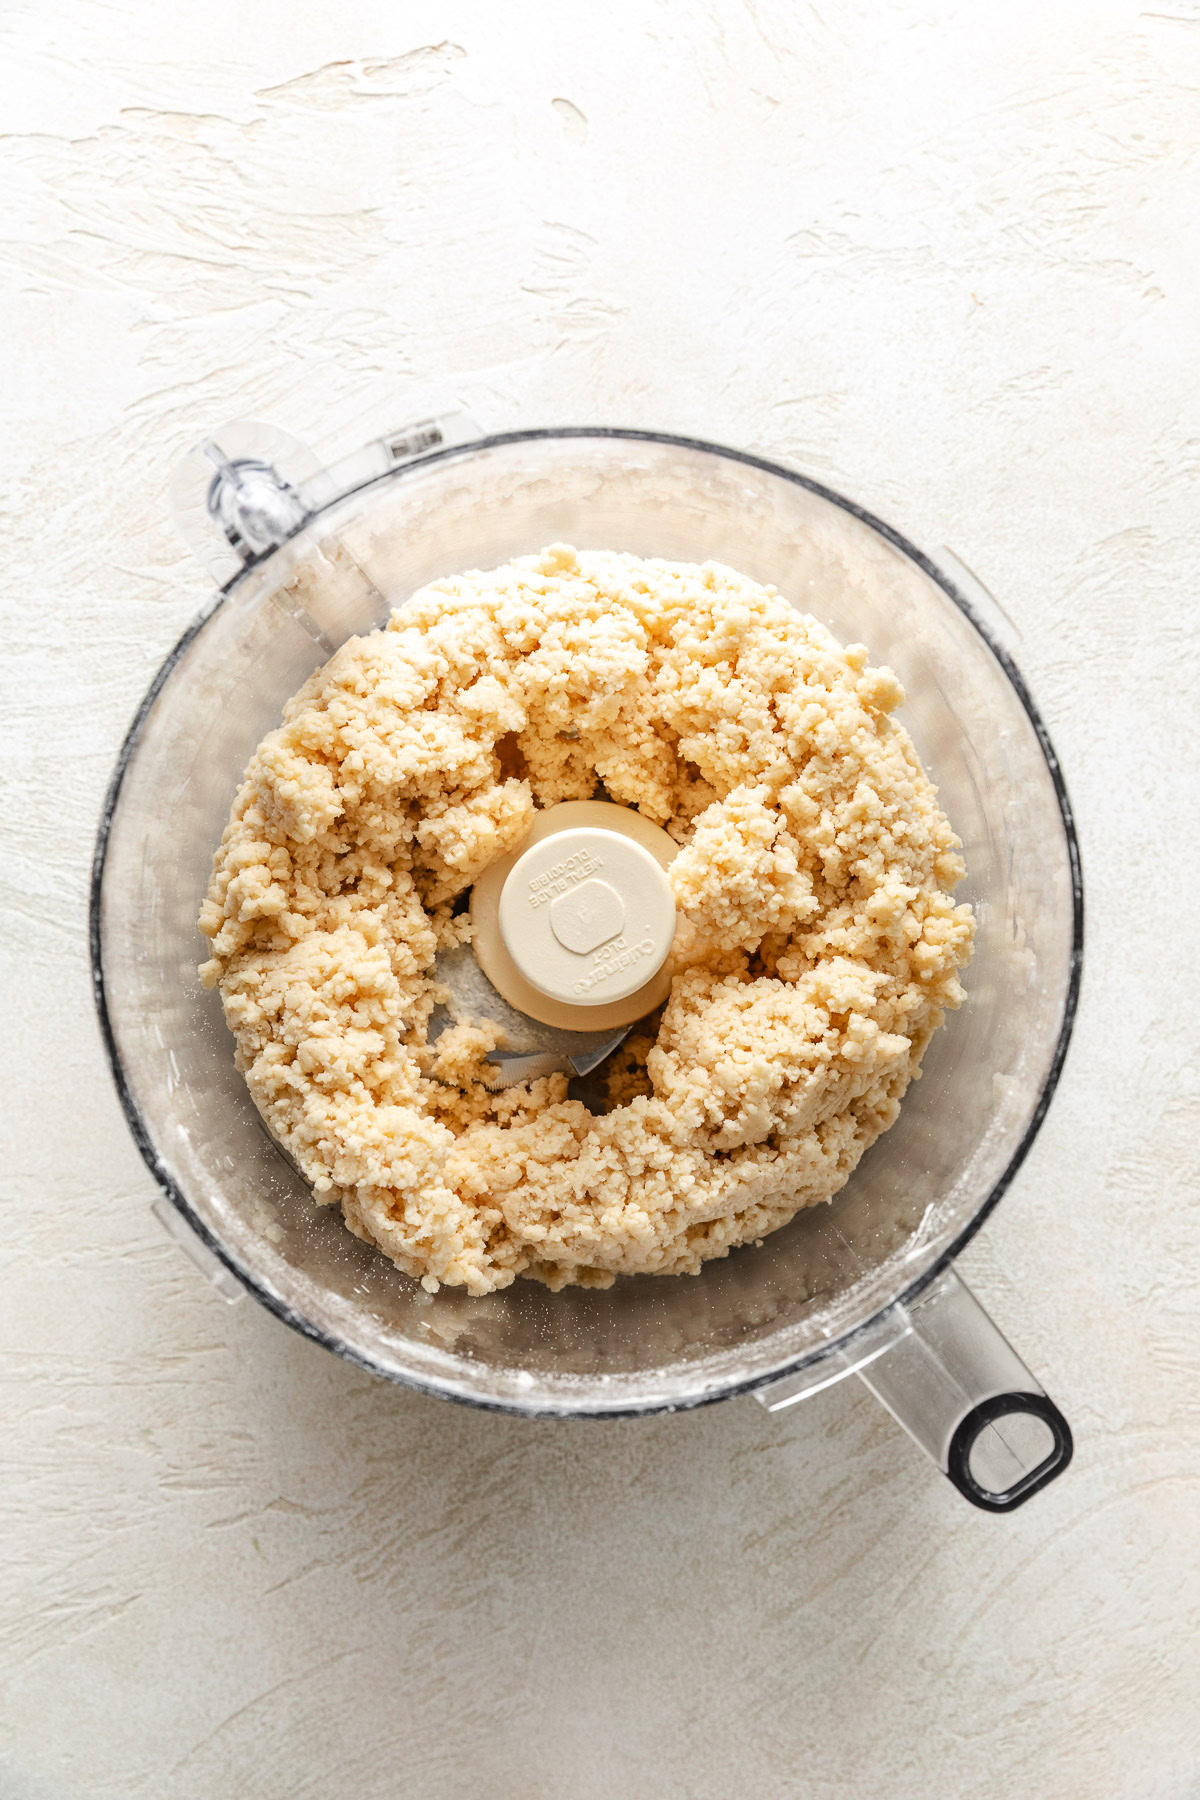
Place the flour, baking powder, and salt into a food processor and pulse to combine. Add the cold butter and pulse until the mixture looks like coarse crumbs.
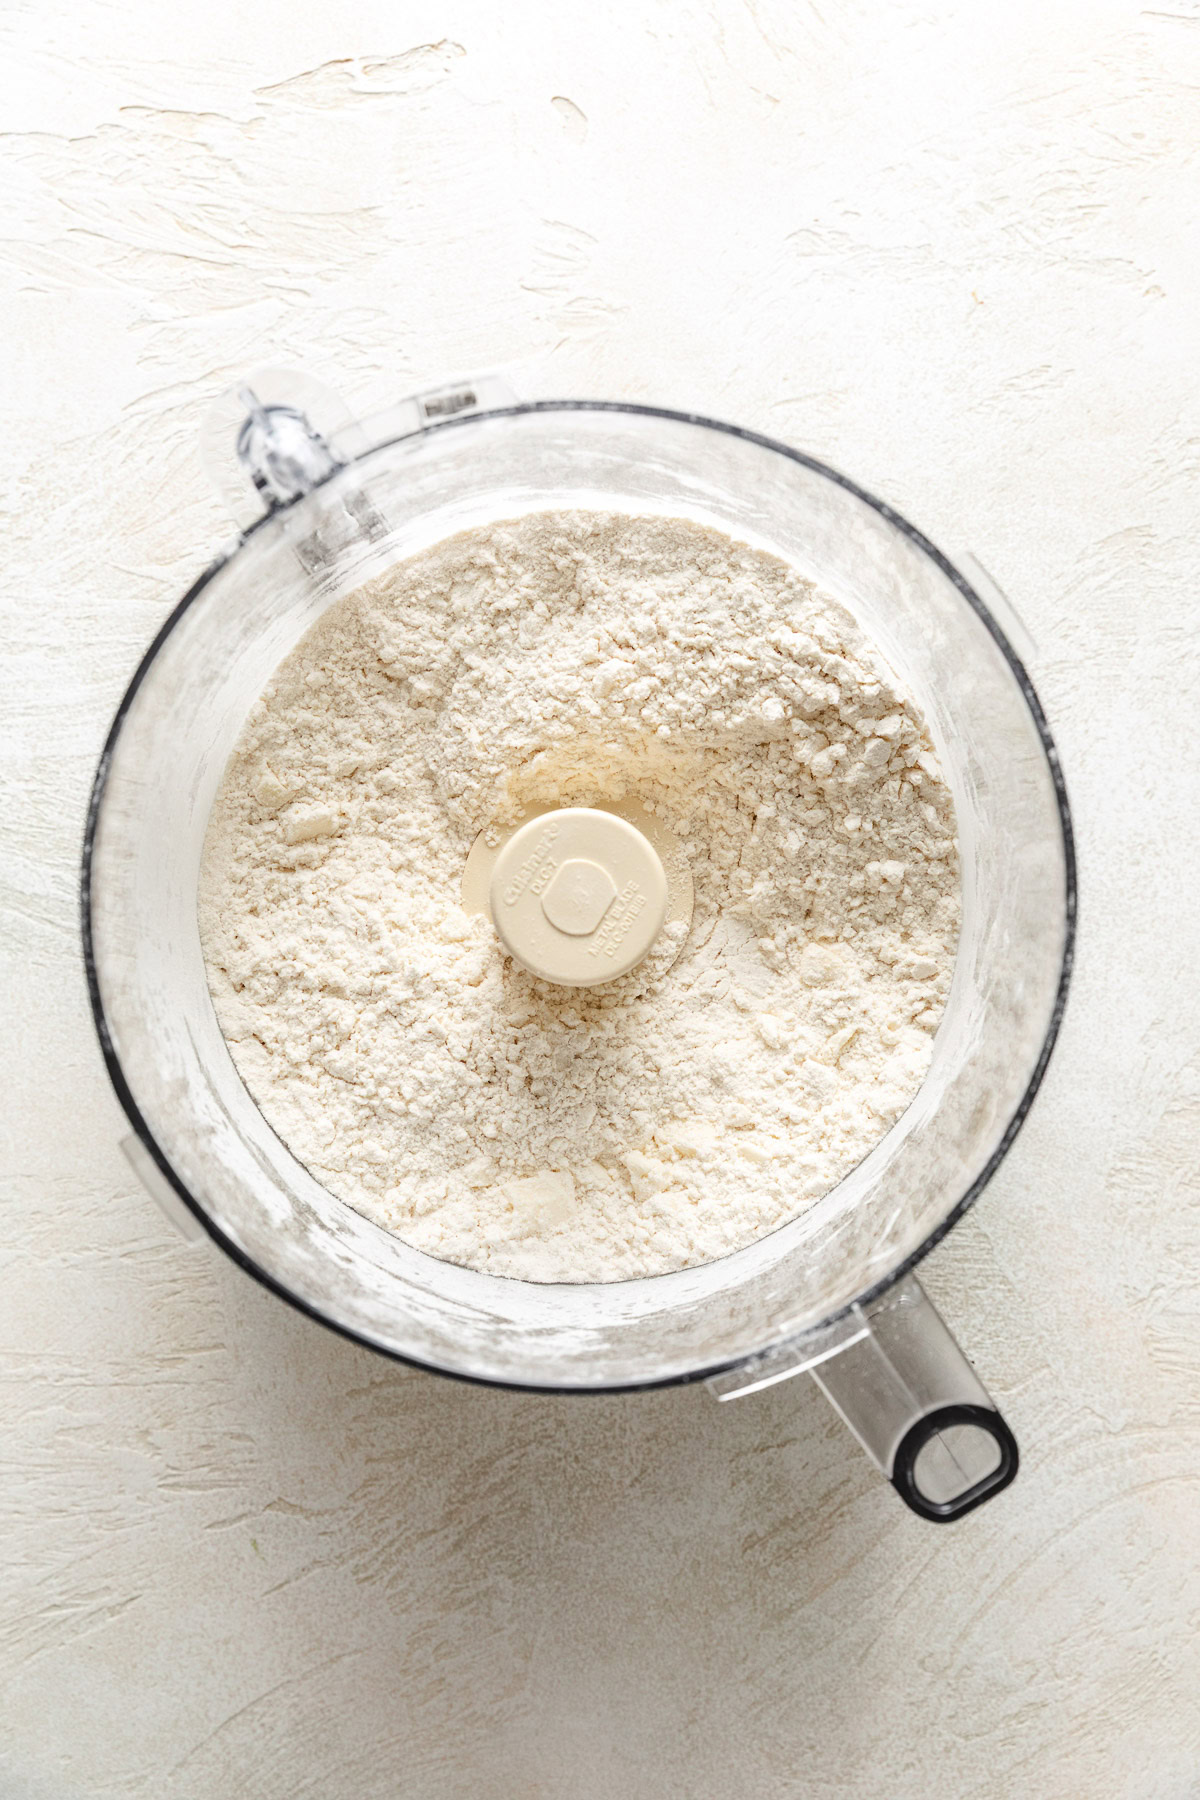
While the food processor is running, slowly pour in the buttermilk until the dough is damp and holds together when pressed. It shouldn’t be as moistened as cookie dough.
Turn the dough onto a floured counter. Gently pat it into a rectangle, then fold it in half. Pat it out again and repeat 4–5 times. Don’t overwork it. Cold butter is what gives you those flaky layers.
Pat the dough to ½–1 inch thickness. Dip a biscuit cutter in flour, then press straight down without twisting. Stack scraps together, pat out, and cut again.
Place the biscuits on the baking sheet. Bake for 10–14 minutes until they’re fluffy and golden brown. Brush with extra melted butter and serve.
Quick Tips
- Keep everything cold. If the dough warms up, chill the cut biscuits for 30 minutes before baking.
- Don’t overwork the dough. Handling the dough too much or using a rolling pin can make the biscuits dense and tough.
- Cutting the dough. When cutting the biscuits, press straight down with the cutter. Avoid twisting. It seals the edges and keeps them from rising as tall.
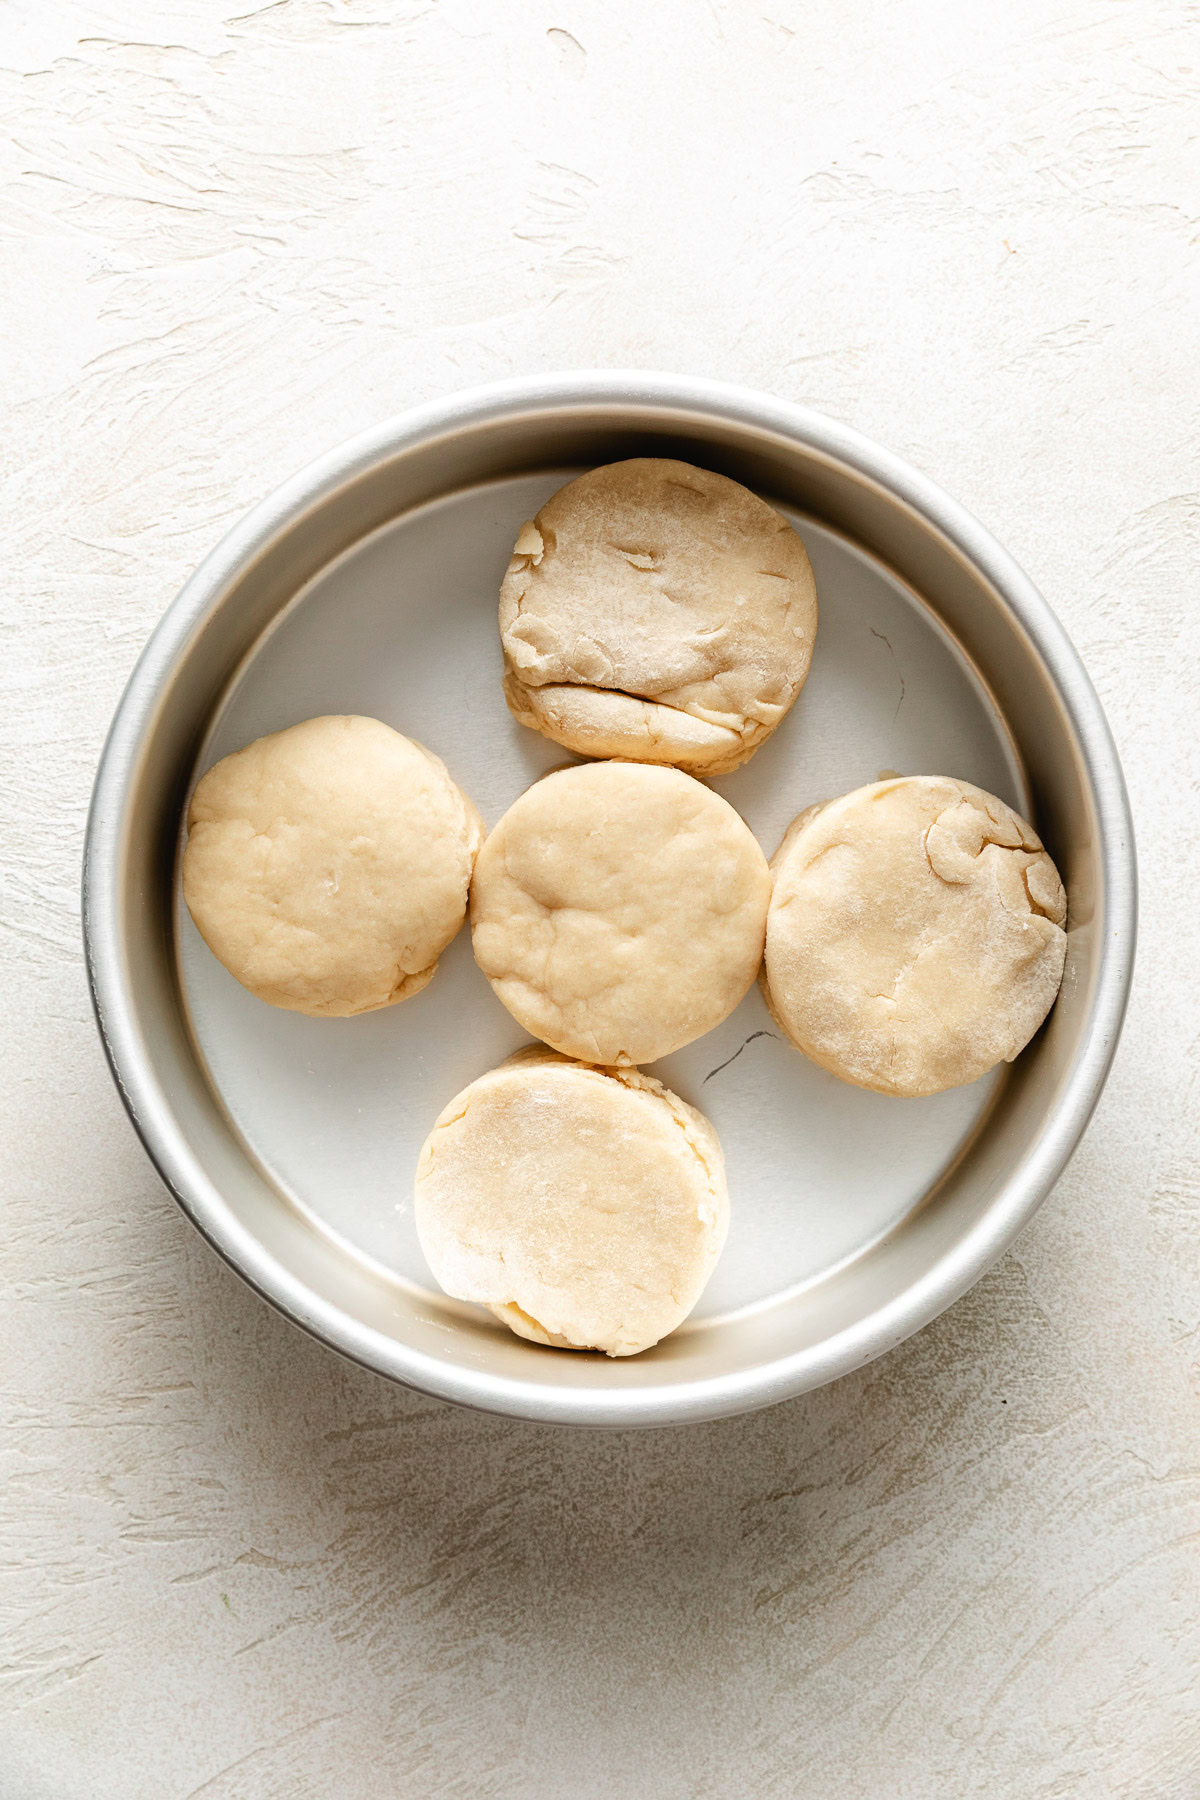
- Placement on the pan. Place the biscuits so the sides touch. They’ll rise higher when they can support each other as they bake.
Substitutions
Buttermilk: If you don’t have buttermilk, whole milk or 2% milk also works.
You can also make sour milk by adding 1 tablespoon of lemon juice or white vinegar to 1 cup of milk. Let it sit for 5–10 minutes until it thickens slightly.
Self-Rising Flour: Using self-rising flour is an easy shortcut. If you go this route, leave out the baking powder and salt from the recipe.
Use the same amount of self-rising flour as all-purpose flour—in this case, 2 cups. Self-rising flour already contains leavening and salt, so there’s no need to add more.
Ways to Cut in the Butter
There are several ways to cut the butter into the flour, and each one works a little differently.
Food Processor: A food processor is fast and easy, but it comes with a couple of downsides.
The blades can warm the butter, which keeps it from forming those flaky layers. It can also overwork the dough if you run it too long.
If you use this method, pulse in short bursts just until the mixture looks like coarse crumbs, and consider chilling the biscuits for at least 30 minutes before baking.
By Hand or with a Pastry Cutter: Using a large bowl with a pastry cutter, two forks, or even your fingertips gives you the most control.
You’ll work the butter into the flour until you have a mix of fine crumbs and pea-sized pieces. The goal is to keep the butter cold while breaking it up evenly, so the biscuits bake up light and flaky.
How to Store Leftovers
Biscuits taste best the day they’re baked, but you can store them in an airtight container at room temperature for up to 2 days or in the fridge for up to 4 days.
For longer storage, freeze baked biscuits in a single layer, then transfer to a bag. Reheat in a 350°F oven for 8–10 minutes.
You can also freeze unbaked biscuits. Cut them out, freeze on a sheet pan, then store in a bag. Bake straight from the freezer, adding 2–3 minutes to the baking time.
More Baking Recipes
Like this recipe?
We’d love it if you would leave a 5 Star ⭐️⭐️⭐️⭐️⭐️ rating and comment below!
Ingredients
- 8 tablespoons unsalted butter, very cold and cubed
- 2 cups all-purpose flour
- 1 tablespoon baking powder
- ½ teaspoon salt
- ¼ to ½ cup cold buttermilk, as needed for a shaggy dough
Instructions
- Cut the butter into cubes and place it in the freezer while gathering the rest of the ingredients.8 tablespoons unsalted butter
- Add the flour, baking powder, and salt to a food processor. Pulse a few times to combine.2 cups all-purpose flour1 tablespoon baking powder½ teaspoon salt
- Add the cold butter and pulse until the mixture looks like coarse crumbs with some pea-sized pieces.
- With the food processor running, slowly pour in the buttermilk. Stop as soon as the dough is damp and holds together when pressed.¼ to ½ cup cold buttermilk
- Turn the dough onto a floured counter. Pat into a rectangle, fold in half, and repeat 4–5 times.
- Pat the dough to ½–1 inch thickness. Dip a biscuit cutter in flour, press straight down without twisting, and cut out the biscuits. Stack scraps, pat out, and cut again.
- Place the biscuits on a baking sheet. Bake at 450°F for 10–14 minutes until fluffy and golden brown.
- Brush the tops with melted butter before serving.
Want to Save this Recipe?
Suggested Equipment
Notes
Nutrition
Meet Kim
Hi, I’m Kim Vargo! I love making scratch-made desserts and classic dinners that bring back a little nostalgia. Whether it’s a stovetop meal or a simple pasta bake, I’m all about good food made without the extra fuss.


